A Quick Look at Lightroom's New Dehaze Tool
The signature feature of the recent Lightroom CC 2015.1 update was the addition of a new "Dehaze" tool. The purpose of this new function is pretty straight forward. It is designed to remove haze from your images. In operation it couldn't be simpler. A single slider has been added at the bottom of the effects panel called "Dehaze" and sliding this to the right causes Lightroom to do its magic.
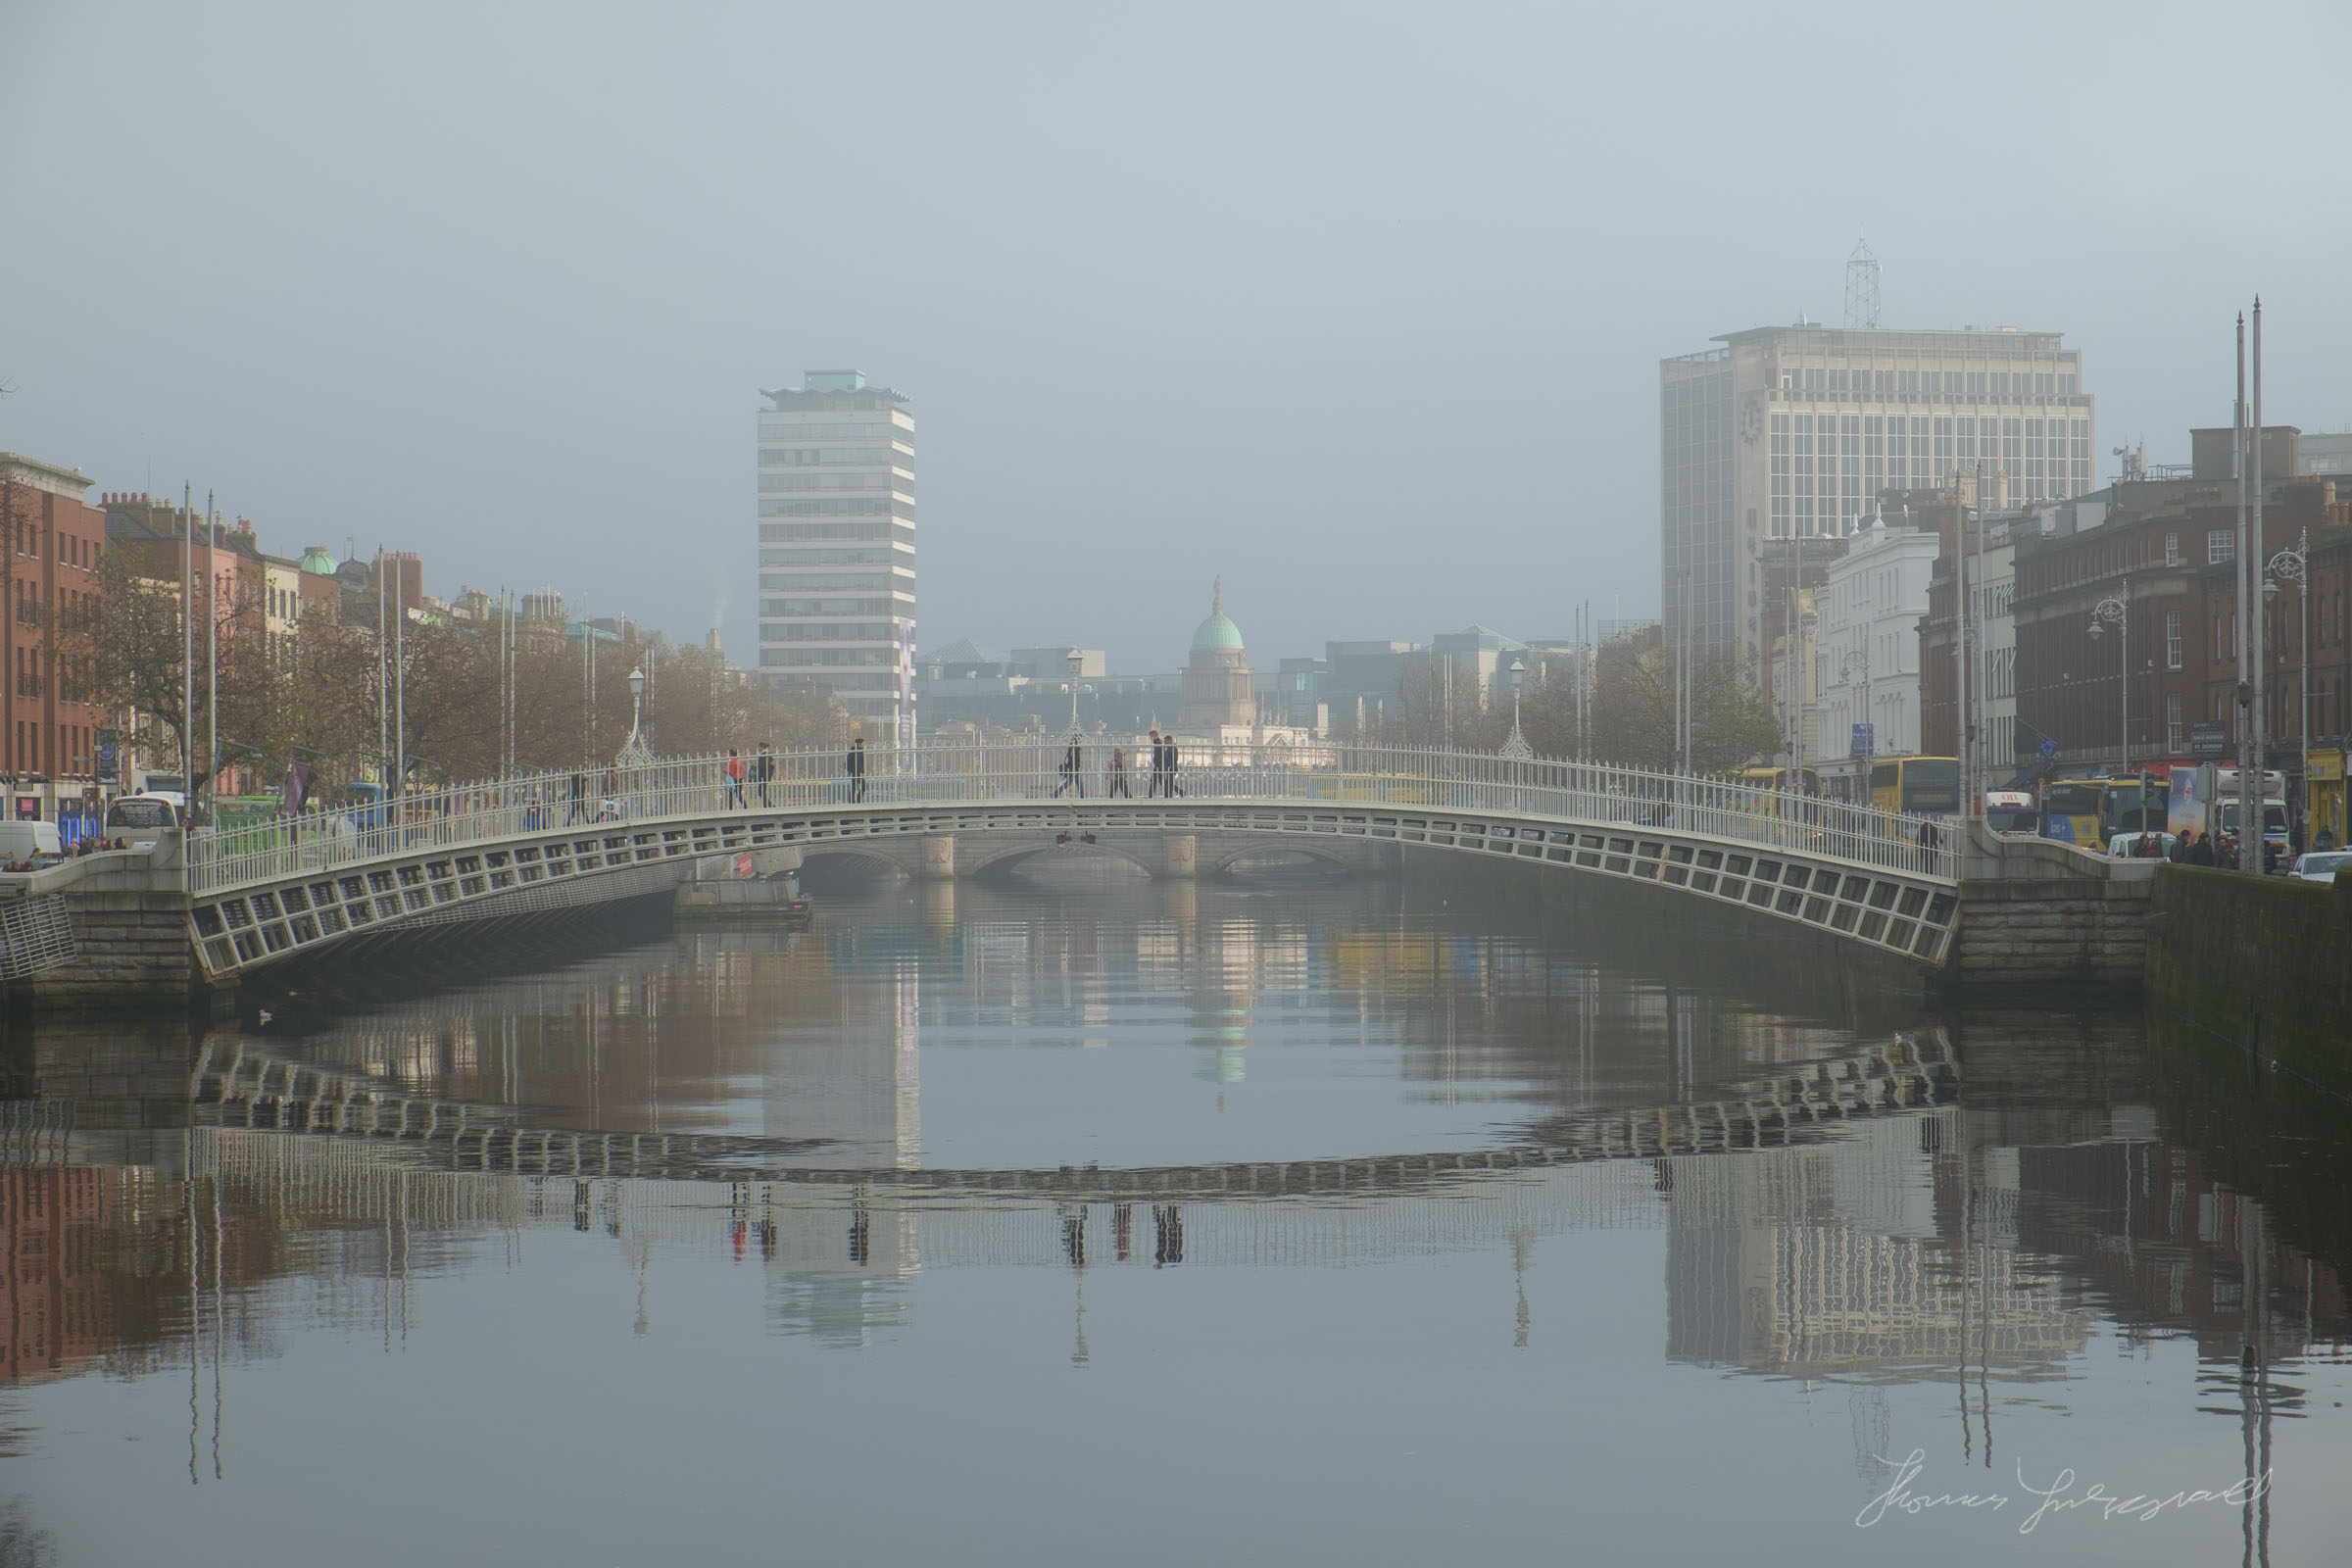
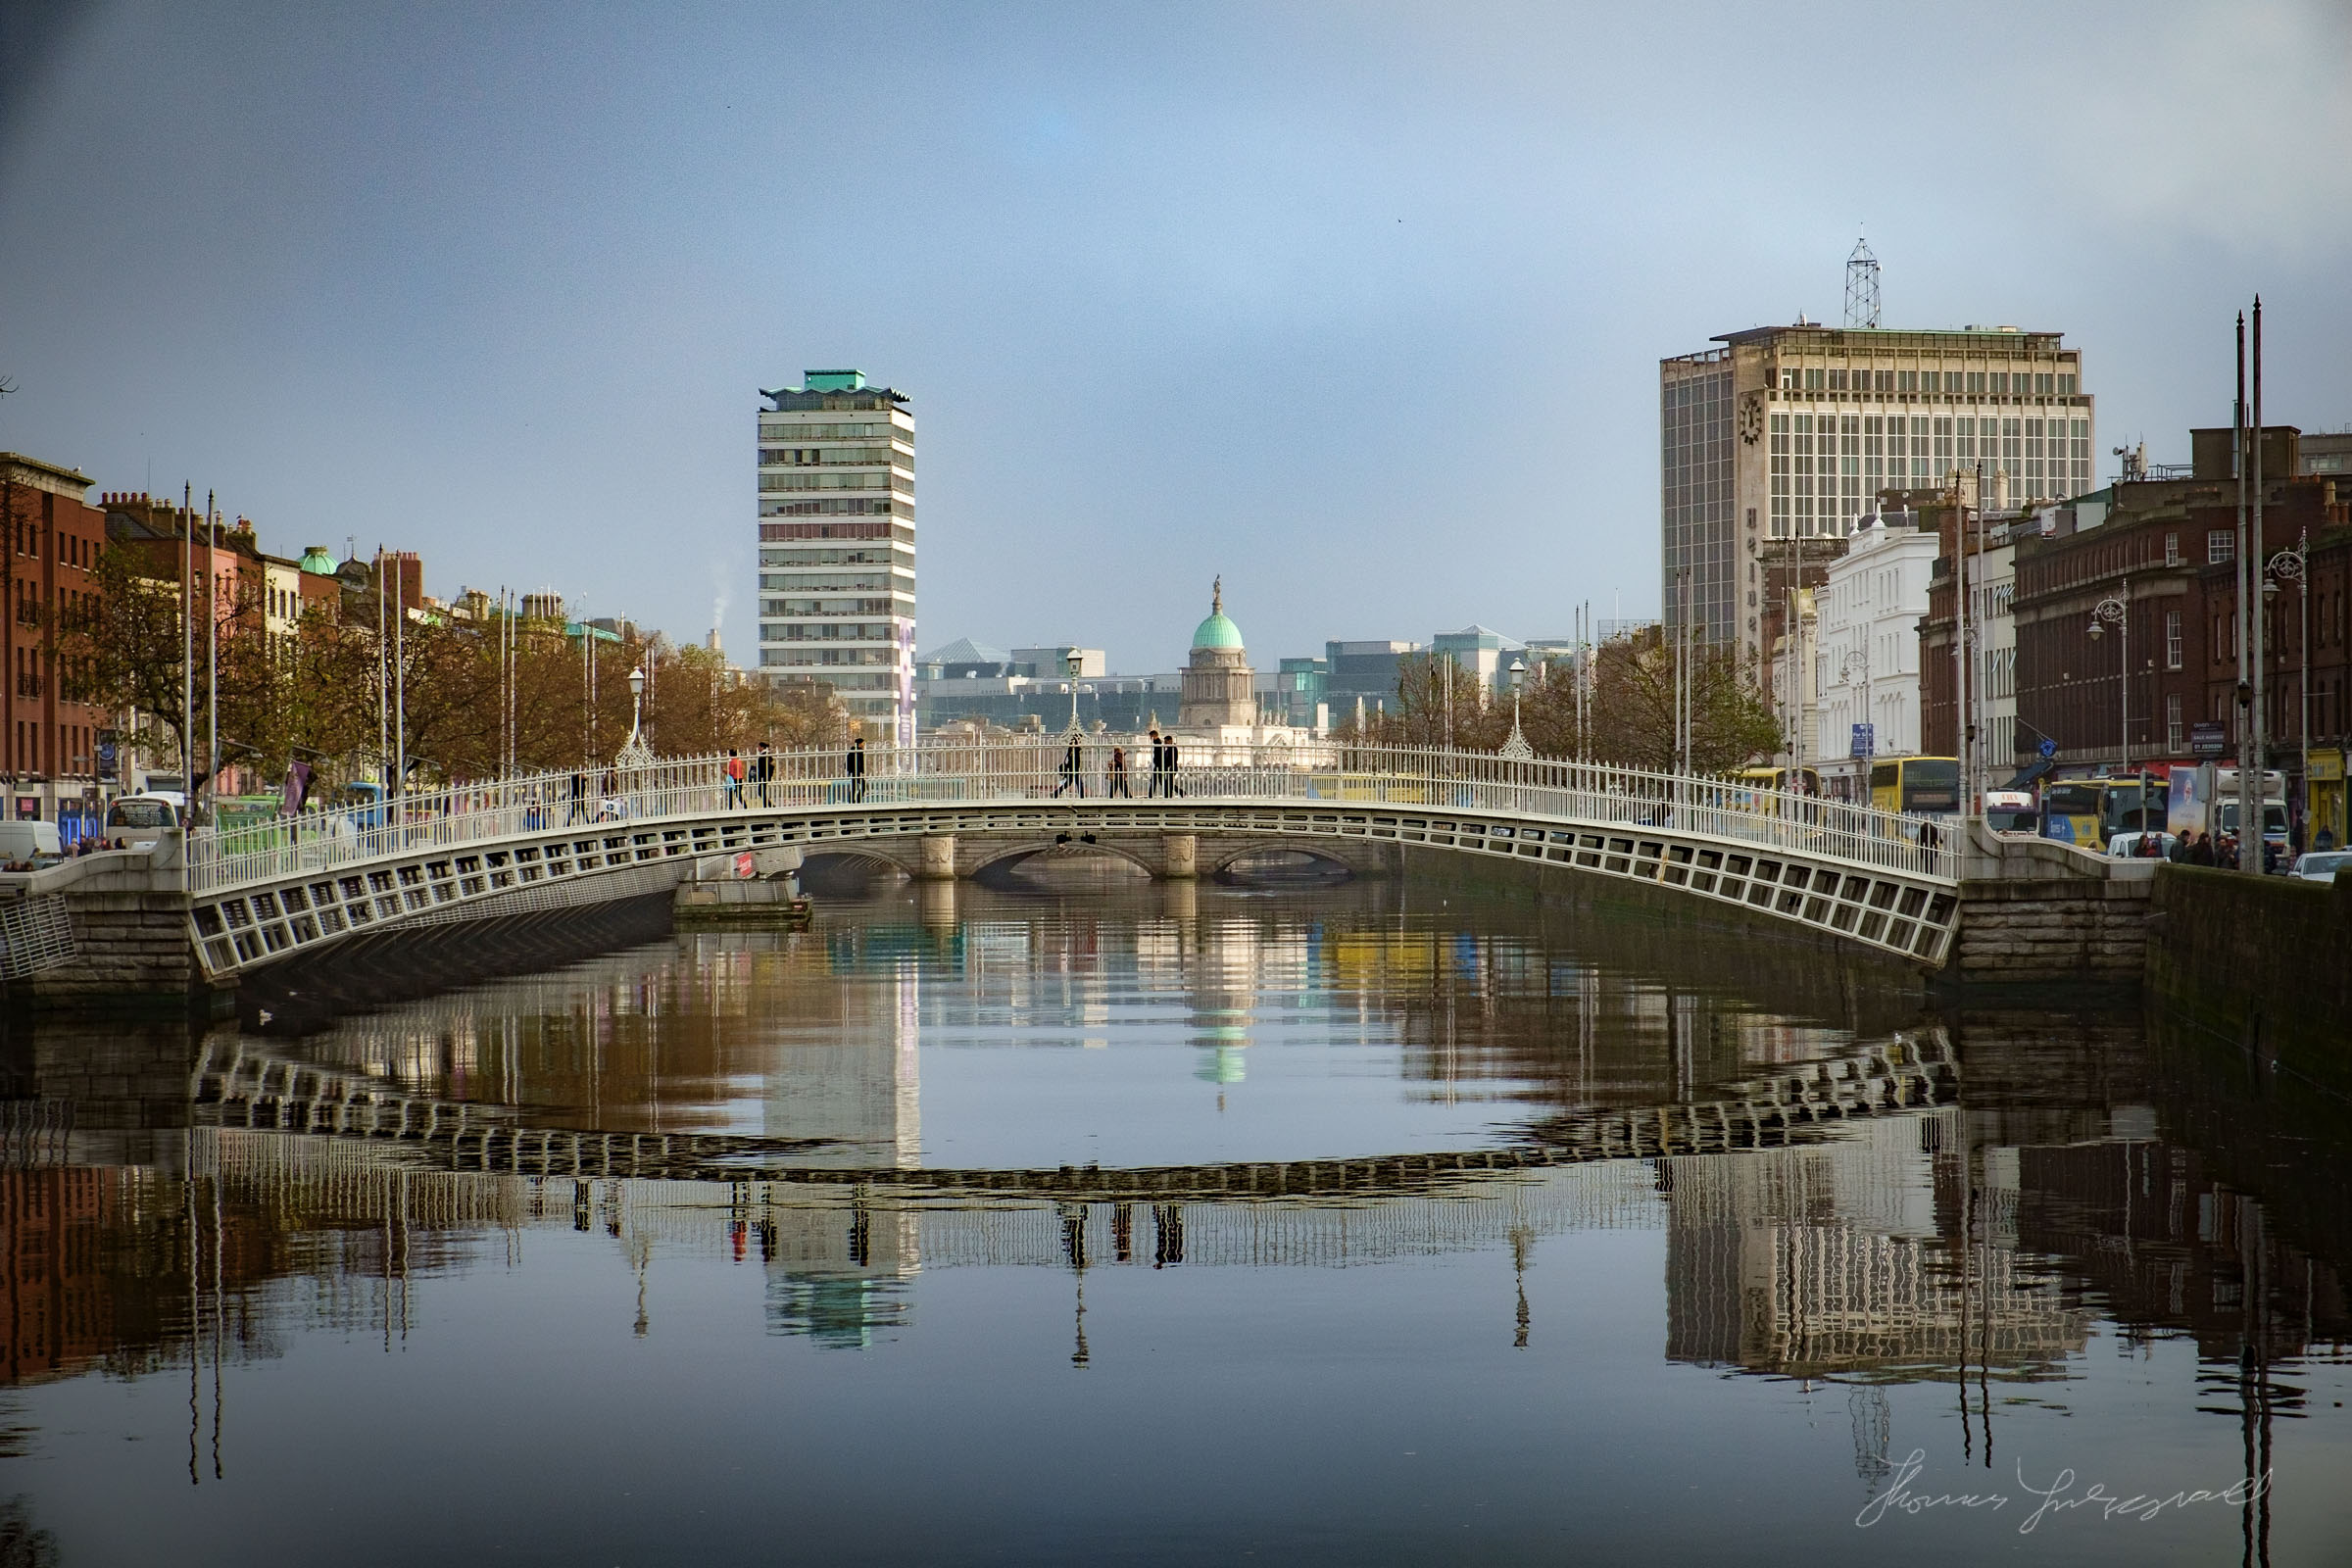
While designed to handle Haze more than Fog, I decided to see how far I could push it, and how effective it is. A while ago I shot some photos of a foggy day here in Dublin, so that seemed like a good place to start. (That, and because these were the only images I had readily to hand which had anything like a strong haze in them, or in this case fog). As already mentioned, the operation is pretty simple: you just slide the slider to the right and it removes the haze or in this case fog. And the results are pretty impressive.
Here's the original image, before doing anything to it:
Fog - Before Dehaze
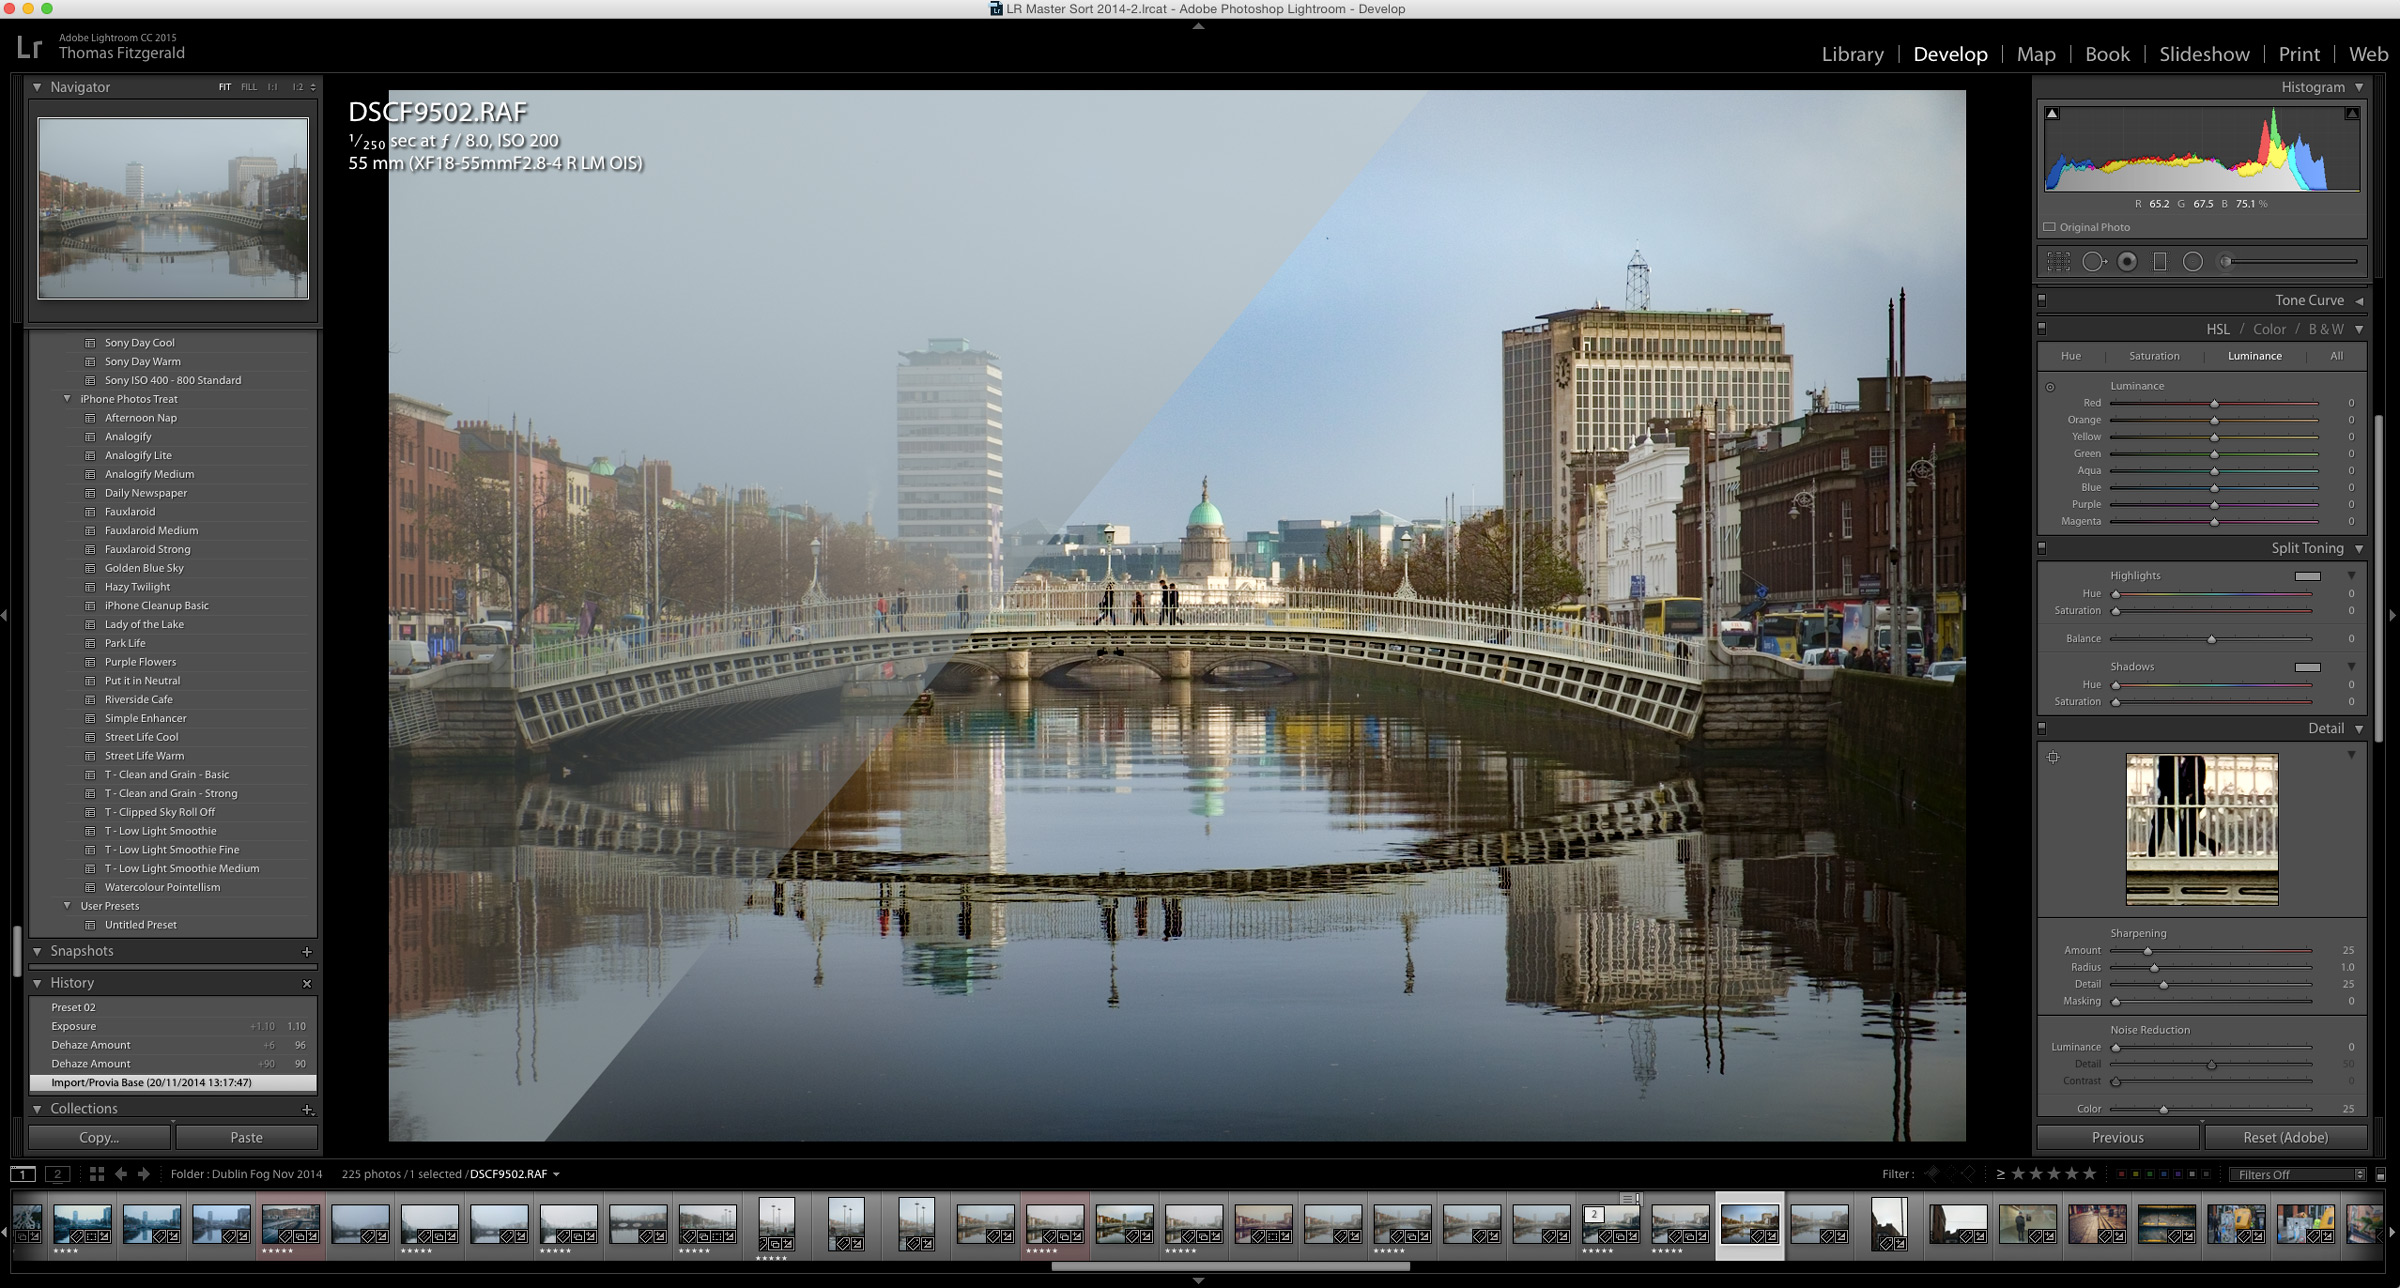
And here's the image after using the Dehaze slider:
Fog - Dehaze 100
This seems pretty impressive. You may end up with some weird colours after applying dehaze mind you, and in this case I've added a few tweaks to equalise the result.
I must state the obvious here. I'm only using this image to showcase the effect. Obviously, the main feature of this image is the Fog, so it's not something I would actually use on this particular shot, but I think it shows the potential and the clever programming that went into it.
Here's another Quick Before and After:
Additional Uses
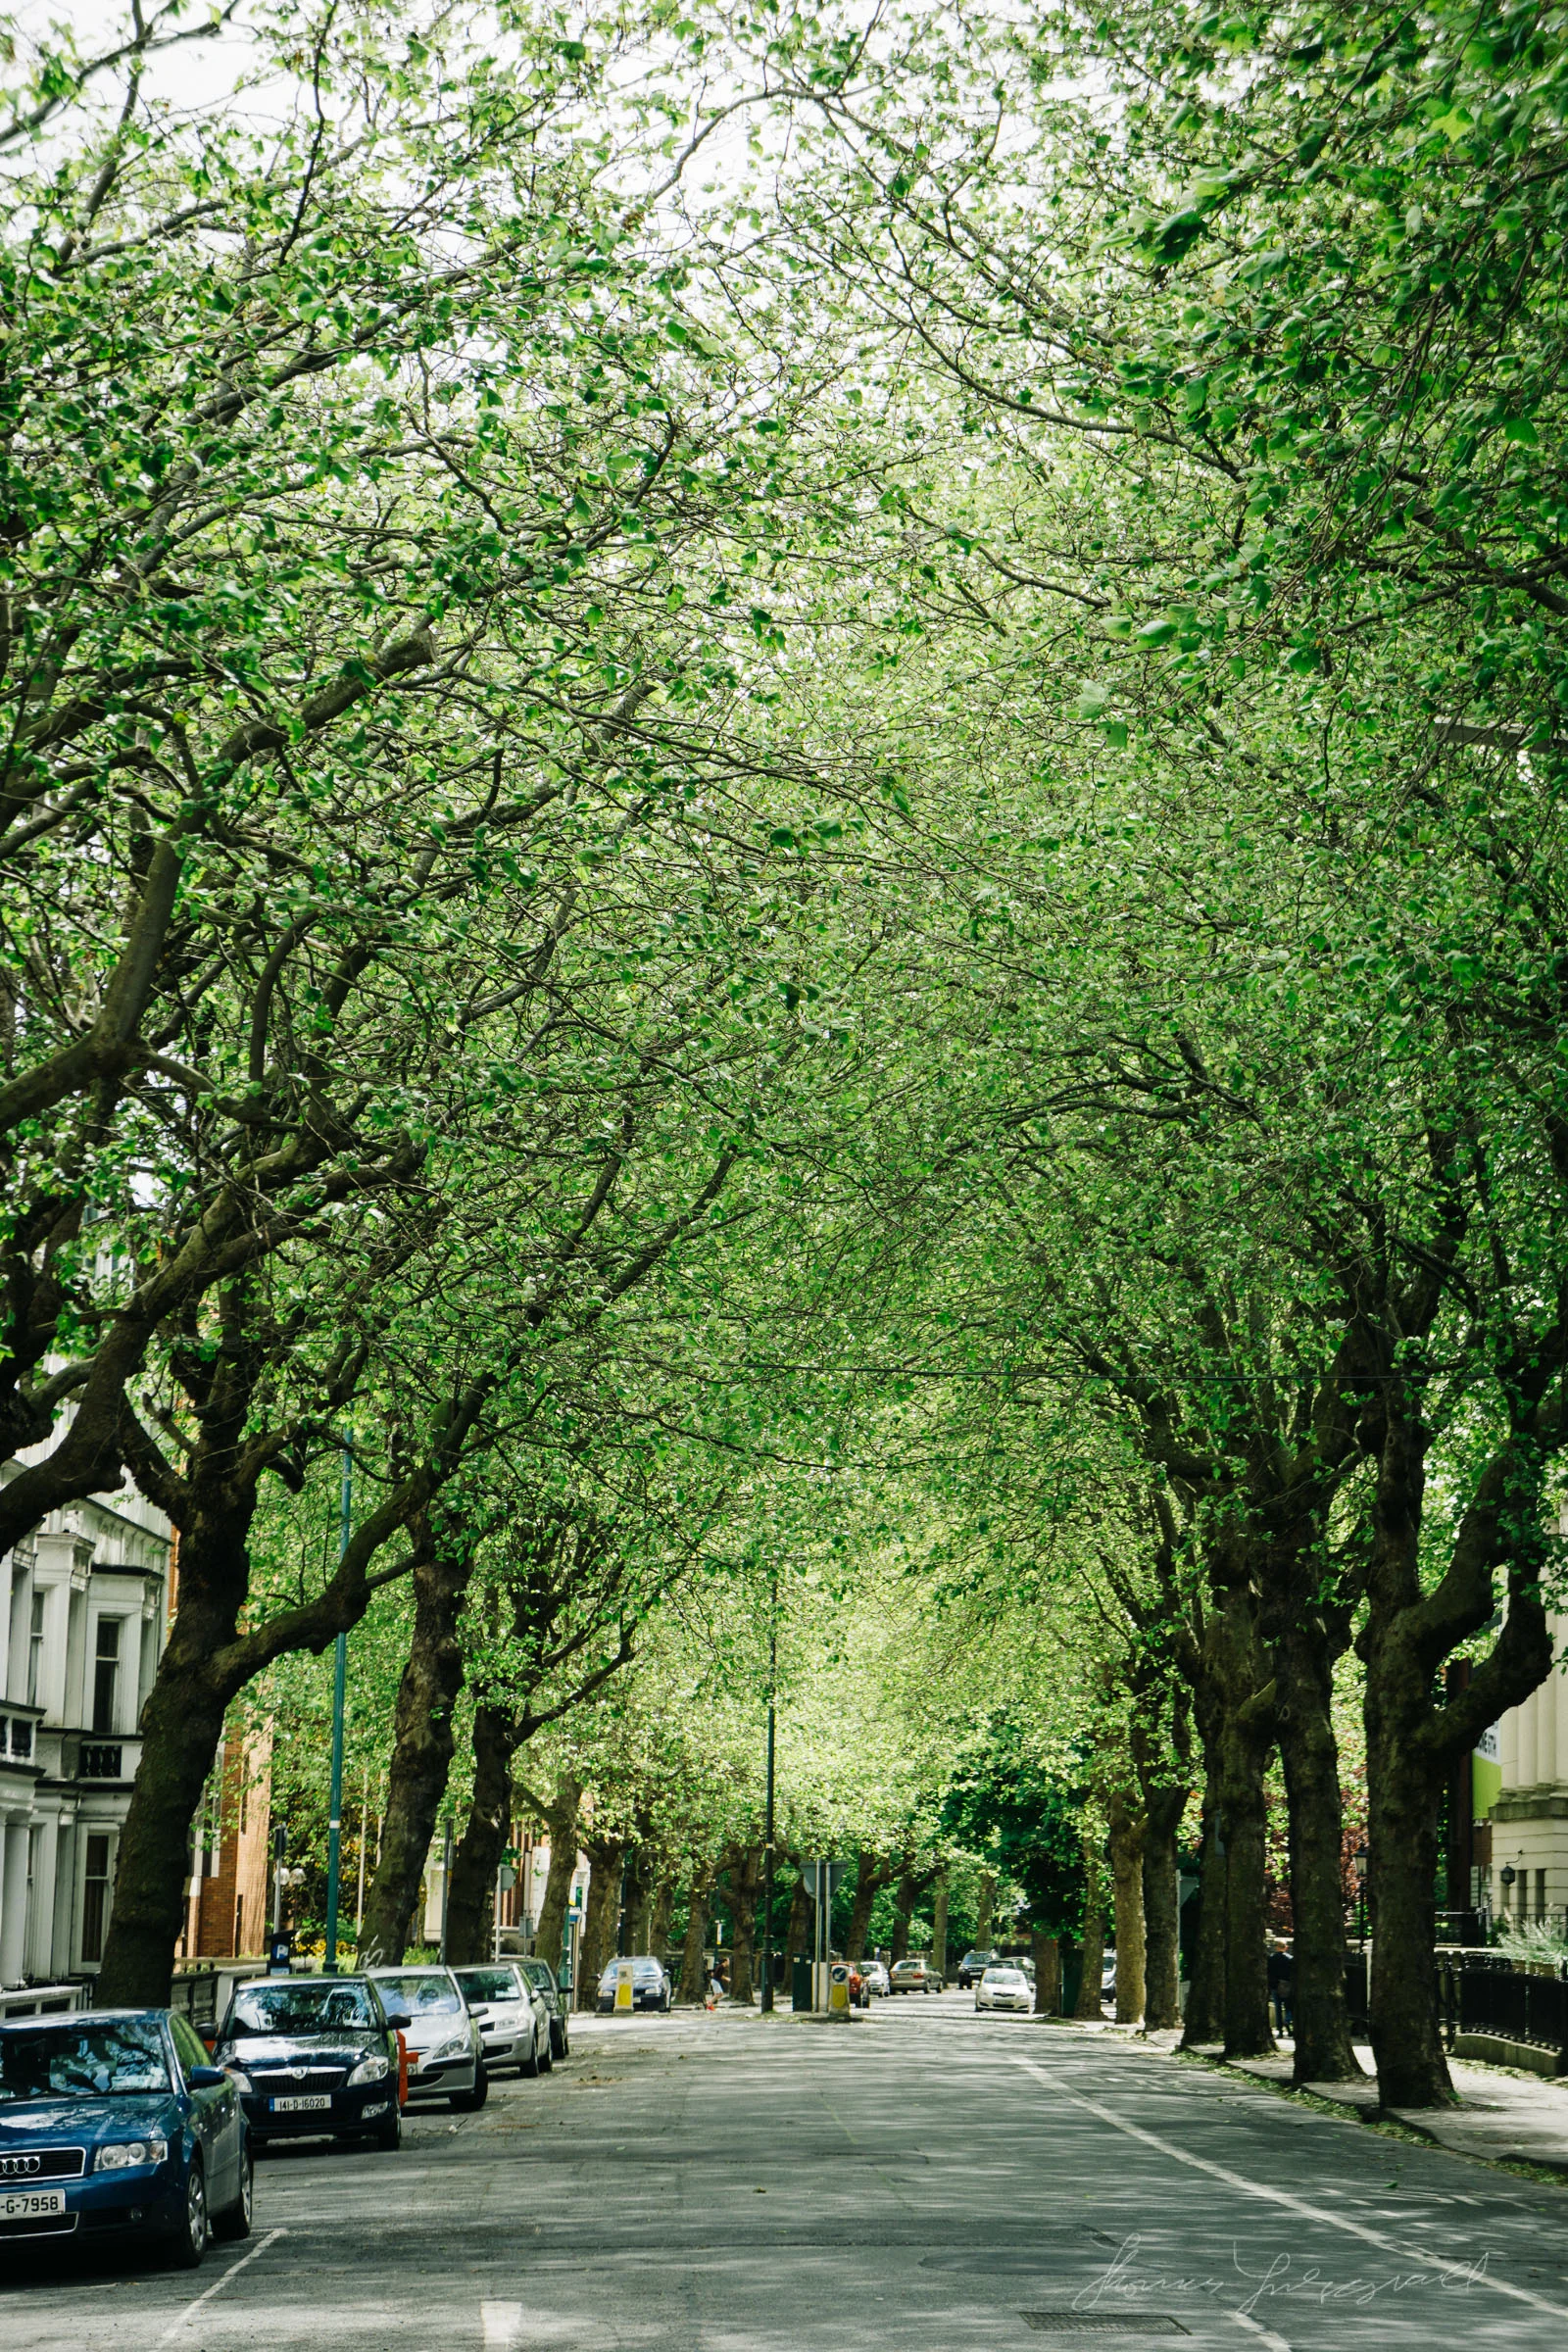
I discovered something else interesting while playing around with the Dehaze slider. It does some interesting things when you apply it to images without any haze or fog in them. In particular, it works well with images containing a lot of green to add contrast, but to only the green areas.
Here's an example. Here's a random picture of some buttercups:
Here's the same image with a little bit of dehaze (+30) applied. Notice how it adds contrast to the greens but leaves the yellows alone.
You can get some interesting effects by using negative values too. With the same image, adding negative dehaze creates an effect almost like adding flare to the image, almost like using a lens whacking technique.
Again, I'm only using this as an example to show uff the functions of the slider. I'm not suggesting that I would use this exact technique on this exact image.
Here's another quick example:

If you're thinking that this is just the same as adding contrast, it's not. I tried that, and contrast affects the whole image, but Dehaze only affects certain tones.
You should take some time to play around with it and see what effects you can get. It's another useful tool in the Lightroom arsenal. Incidentally, for those with the standalone Lightroom 6, (and this is going to hurt) while the slider isn't in the Lightroom 6 upgrade, the functionality is actually there. I don't really want to get into the politics of this or the fact that Adobe added features not long after the initial release, or the politics of Adobe's subscription model vs Standalone. Anyway, those issues aside, Stu over at ProLost found a clever way around the disparity.
Like what I'm doing? Please Check out my Photography Tools:
Lightroom Presets & Photoshop Tools Including Camera Raw Presets and Photoshop Textures
For Regular Updates by email, please subscribe to our Mailing List