How to Reduce Shadow Noise using Lightroom and Photoshop
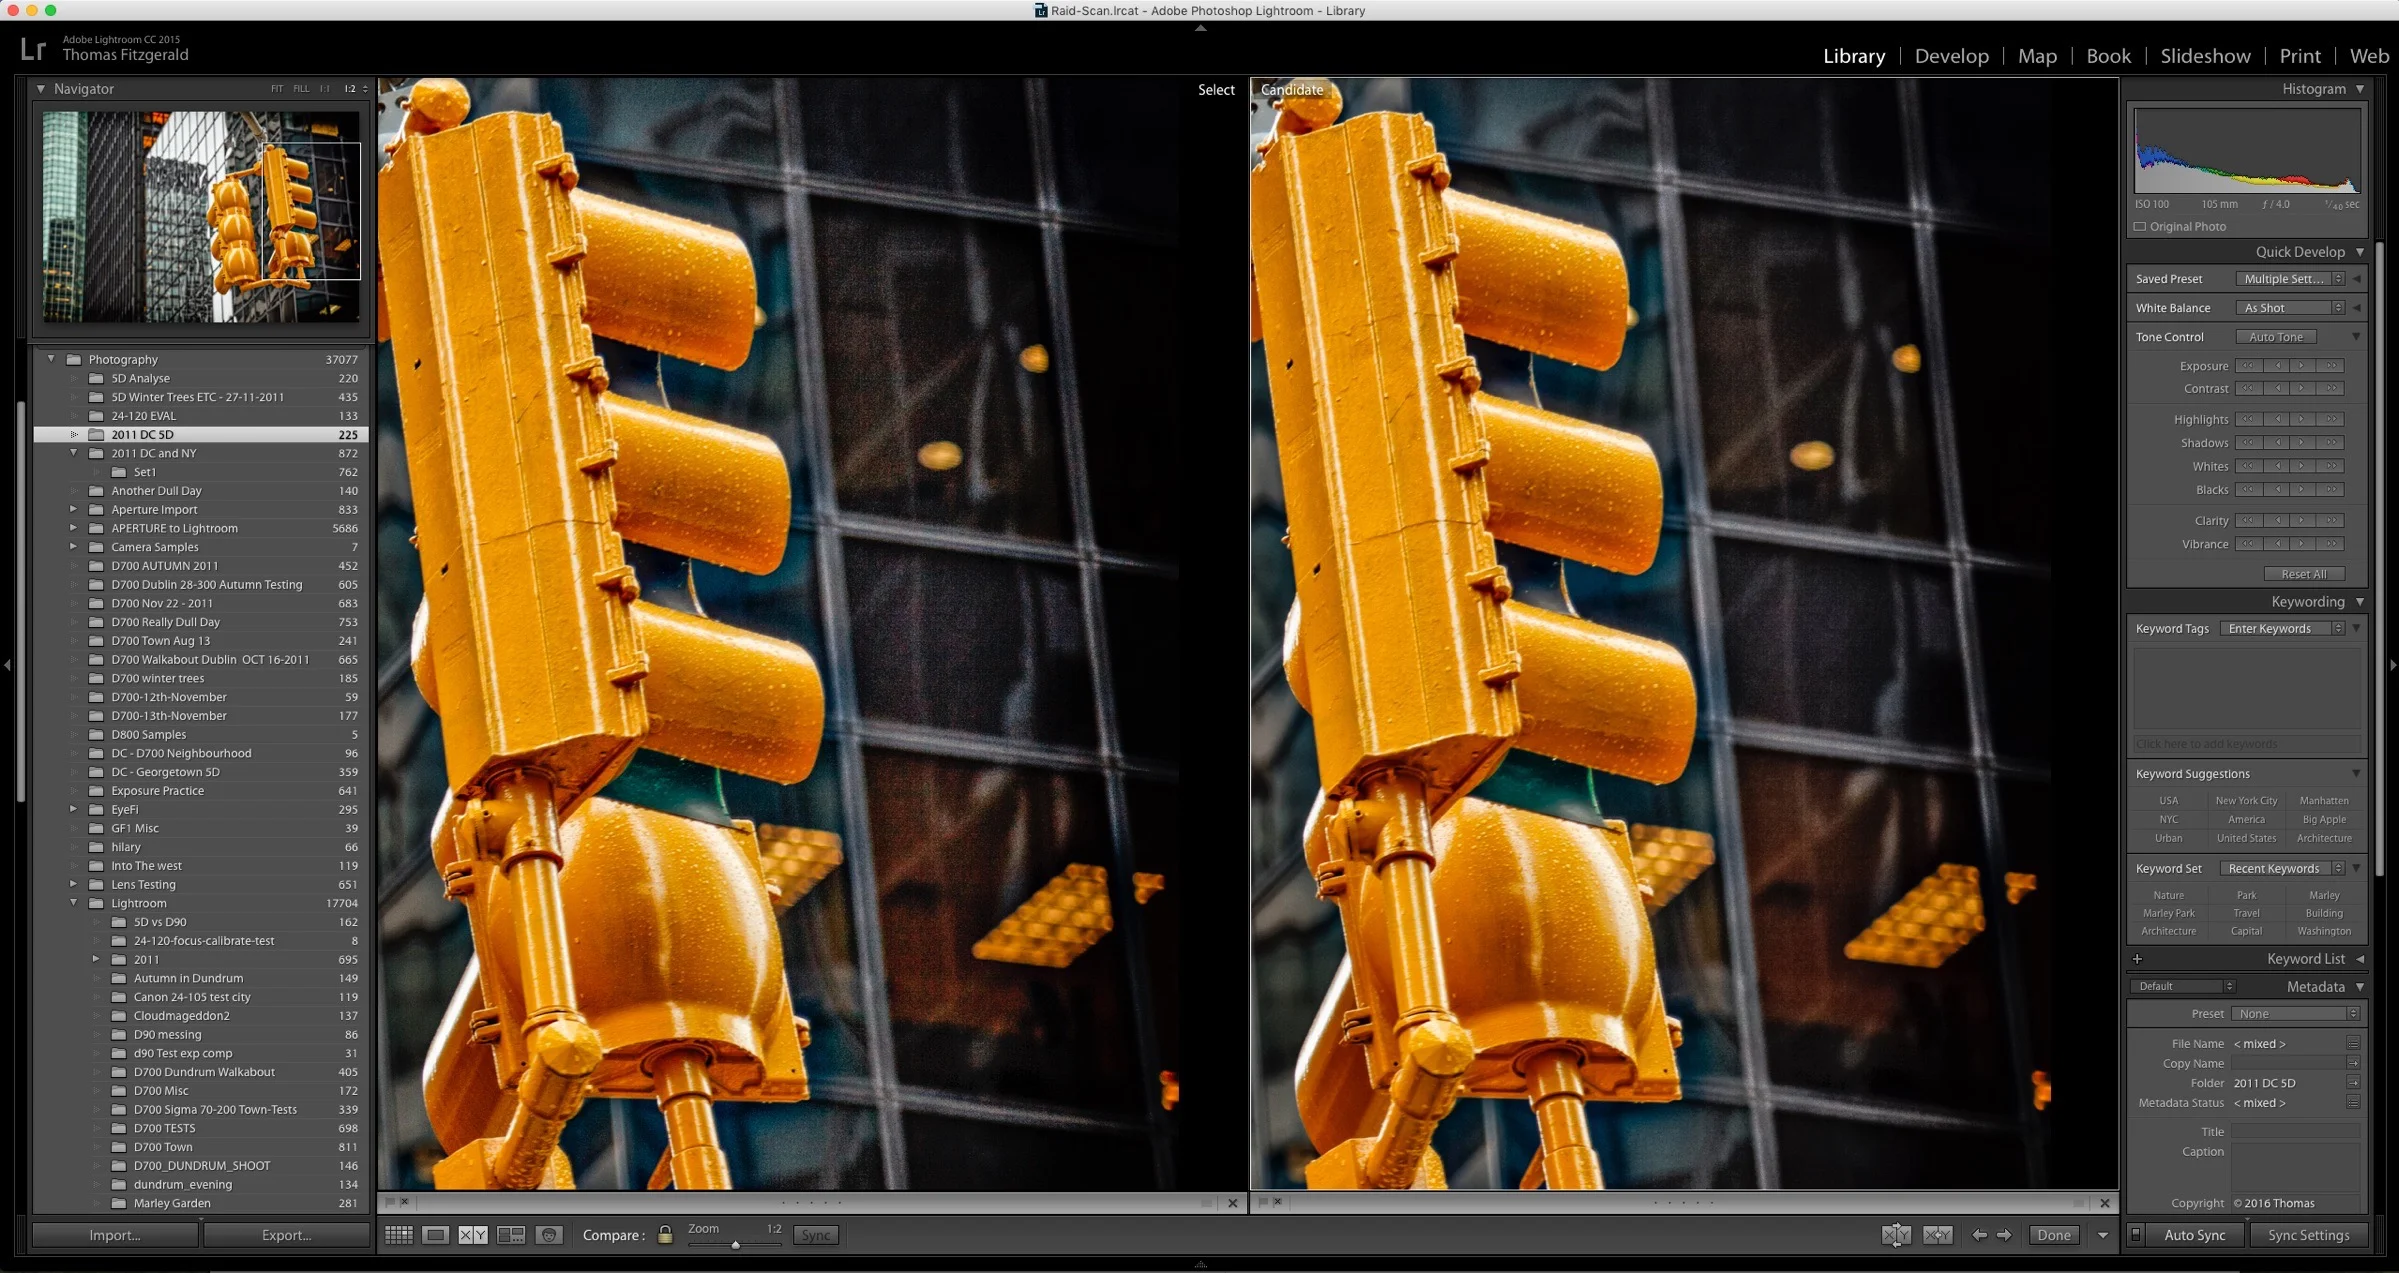
Lightroom’s noise reduction tools are pretty good, and can help reduce digital noise in an image quite effectively. However, one of the things that sometimes occurs with images taken on a digital camera is that the overall image may be ok, but there may be excessive noise in the shadows. This is because most digital cameras are noisier in the shadow part of the image than they are in the brighter parts. While this is decreasing with modern cameras, it can still be an issue, especially when pushing an image in Lightroom.
(This article is an edited excerpt from my upcoming guide for Post Processing images from the Sony A6000 in Lightroom)
With that in mind, there may be times where you don’t want to apply too much nose reduction to your whole image, in order to retain detail in the highlights for example, but you do want to reduce the noise in the shadow areas. While there is no real way to limit the noise reduction to the shadows in Lightroom alone (apart from manually painting it on) it’s actually pretty easy if you use Photoshop. Here’s what to do:
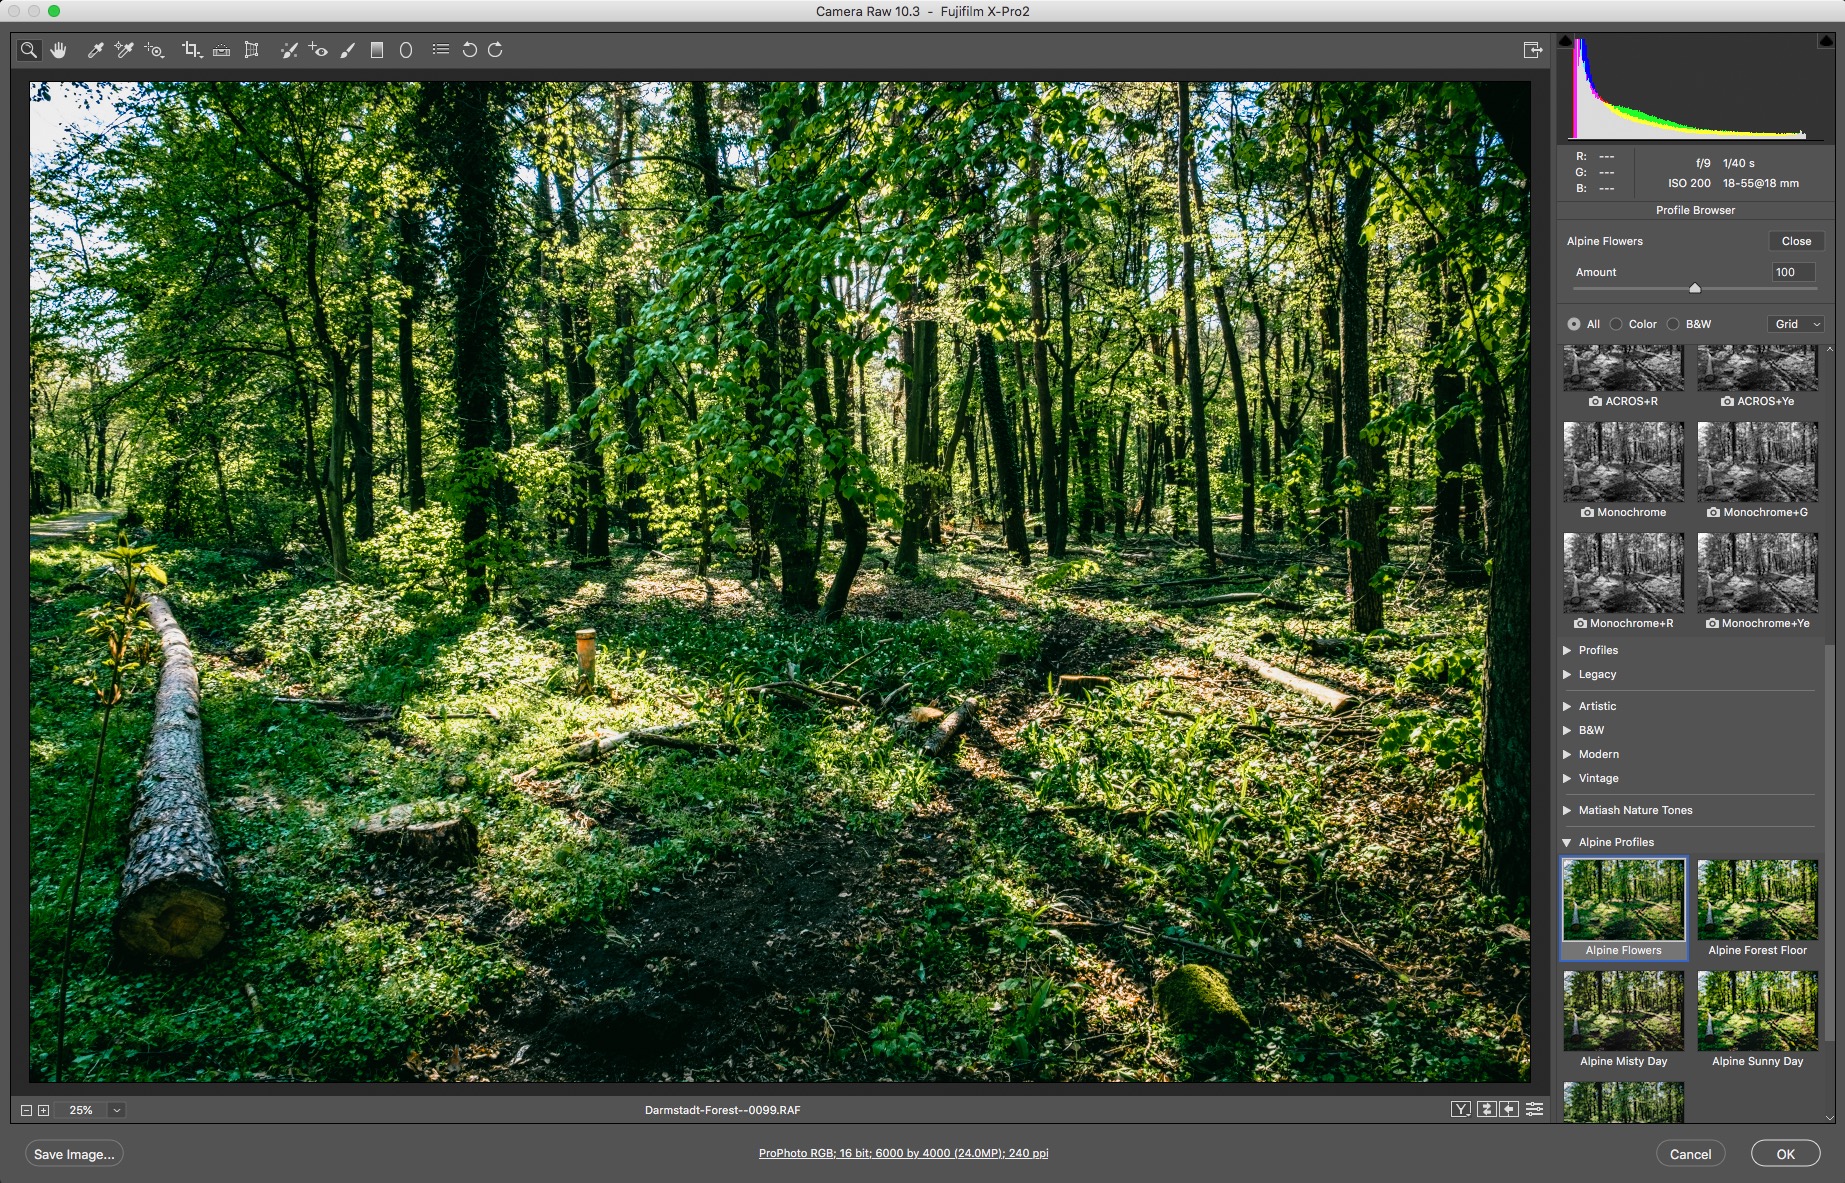
An example image with lots of noise in the shadows
Step 1
Start by processing your image to get it to the way you want it in Lightroom. This noise reduction technique should be the last thing that you do. If you want to apply some noise reduction overall, do so now, but keep it to the point where you’re happy with how it’s affecting the highlights of your image.
Step 2
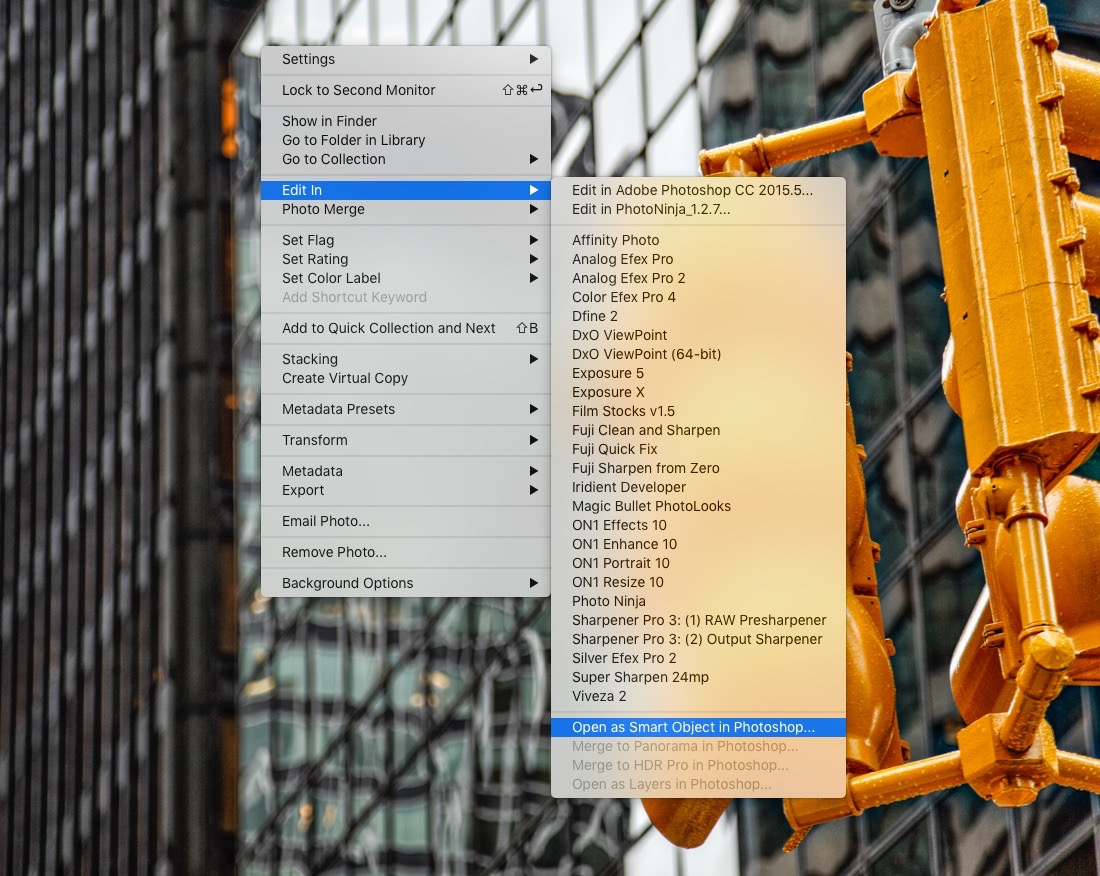
Send your mage to Photoshop as a Smart Object. To do this, right click on the image and choose Edit In > Open in Photoshop as Smart Object.
Step 3
When Photoshop opens, the image should appear with the current layer as a smart object. You need to duplicate this layer, but do not using the normal method of pressing command + j or by dragging it to the new layer icon. Instead, right click on the layer in the Layers panel and choose: New Smart Object via Copy.

What this does is effectively create a new version of the previous layer. If you just copied it the normal way, you would be cloning it and any changes you make in the next step would be applied to both layers.
Step 4
Double click on this new layer in the Layers panel. Be sure to double click on the icon part and not the text part. This will bring up the Camera Raw controls.
Step 5
Navigate to the detail tab in the Camera Raw controls. This is represented by the icon that looks like two triangles. Once here, adjust the noise reduction settings to your taste so that they are what you want for the shadow portion of your image. Don’t worry about how it’s affecting the highlights. Click OK when you’re finished.
Step 6
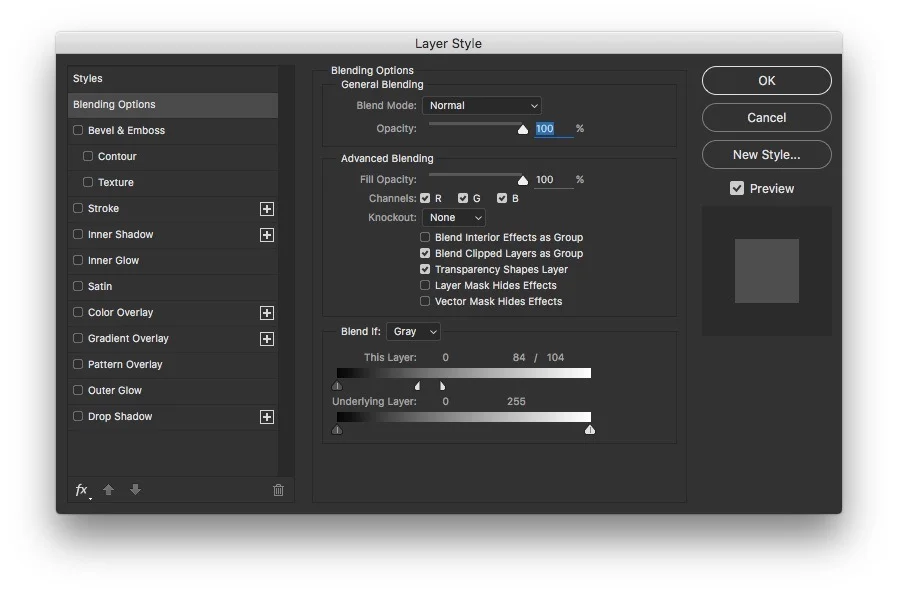
To limit this effect to the shadows all we need to do is adjust the layer blending. To bring up the Layer Style window, double click on the layer in the layers panel, but this time double click over the name part (don’t double click on the text itself). Alternatively select the Layer and in the pop-up menu at the top of the layers panel, choose “Blending Options”.
Step 7
If it isn’t already selected, go to the blending options tab by selecting it from the list of tabs in the Styles panel. In the bottom of the blending options panel you will see two gradient strips with triangular controls underneath them. These controls adjust how your image is blended with the layer underneath based on the brightness levels in the scene. We are only going to use the top one that’s titled “This layer”
Step 8
Drag the white triangle under the top gradient strip to the left. This is the threshold for whether or not the layer becomes transparent based on the brightness of the pixels in the scene. So as you drag it brighter areas will disappear. Watch your image as you drag the slider. When you see the noise reduction that you just added start to disappear you’ve gone to far, and you can drag it back slightly. (You can also turn off the layer underneath before you open the layer options panel, in order to get a better idea of how the blending is working)
Step 9
To smooth out the transition between the layers, you can split the two triangles so that there’s a fall off in the blending (and it’s not aliased or jagged). To do “this hold down the option key (alt on PC) and and drag one side of the white triangle. This will create a smooth fall off between what is visible and transparent in the layer. When you’re finished, click OK to exit the window.
Step 10
Save your image to send it back to Lightroom. You don’t need to flatten it unless you need to save space, and the image will still be editable because both layers are smart objects.
That’s pretty much all there is to it. This is probably something that you don’t need to do very often. Most of the time an overall noise reduction will do, but if you do need to reduce shadow noise, and you want to make sure you retain as much highlight detail as possible, then this is one way you can go about doing it.
Note that the image used he is just for illustration purposes. You could probably get away with just using an overall noise reduction setting on this image, but I’m just using it as an example.

Help Support the Blog
All of the work I do here, and the information on this blog is done entirely free of charge and takes up quite a bit of work. I want to spend more and more time on this blog, and offer more and more of this kind of information, tips and so on, so If you like what I'm doing here and want to show support, then you can do so by buying something from my Digital Download Store. I have Lightroom Presets, and e-books all available for download.
If you're a Fuji X-Trans shooter and Lightroom user, check out my guide to post processing X-Trans files in Lightroom. I also have a guides for processing X-Trans files in Capture One and Iridient Developer.
If you want to get regular updates, and notices of occasional special offers, and discounts from my store, then please sign up for the Newsletter.