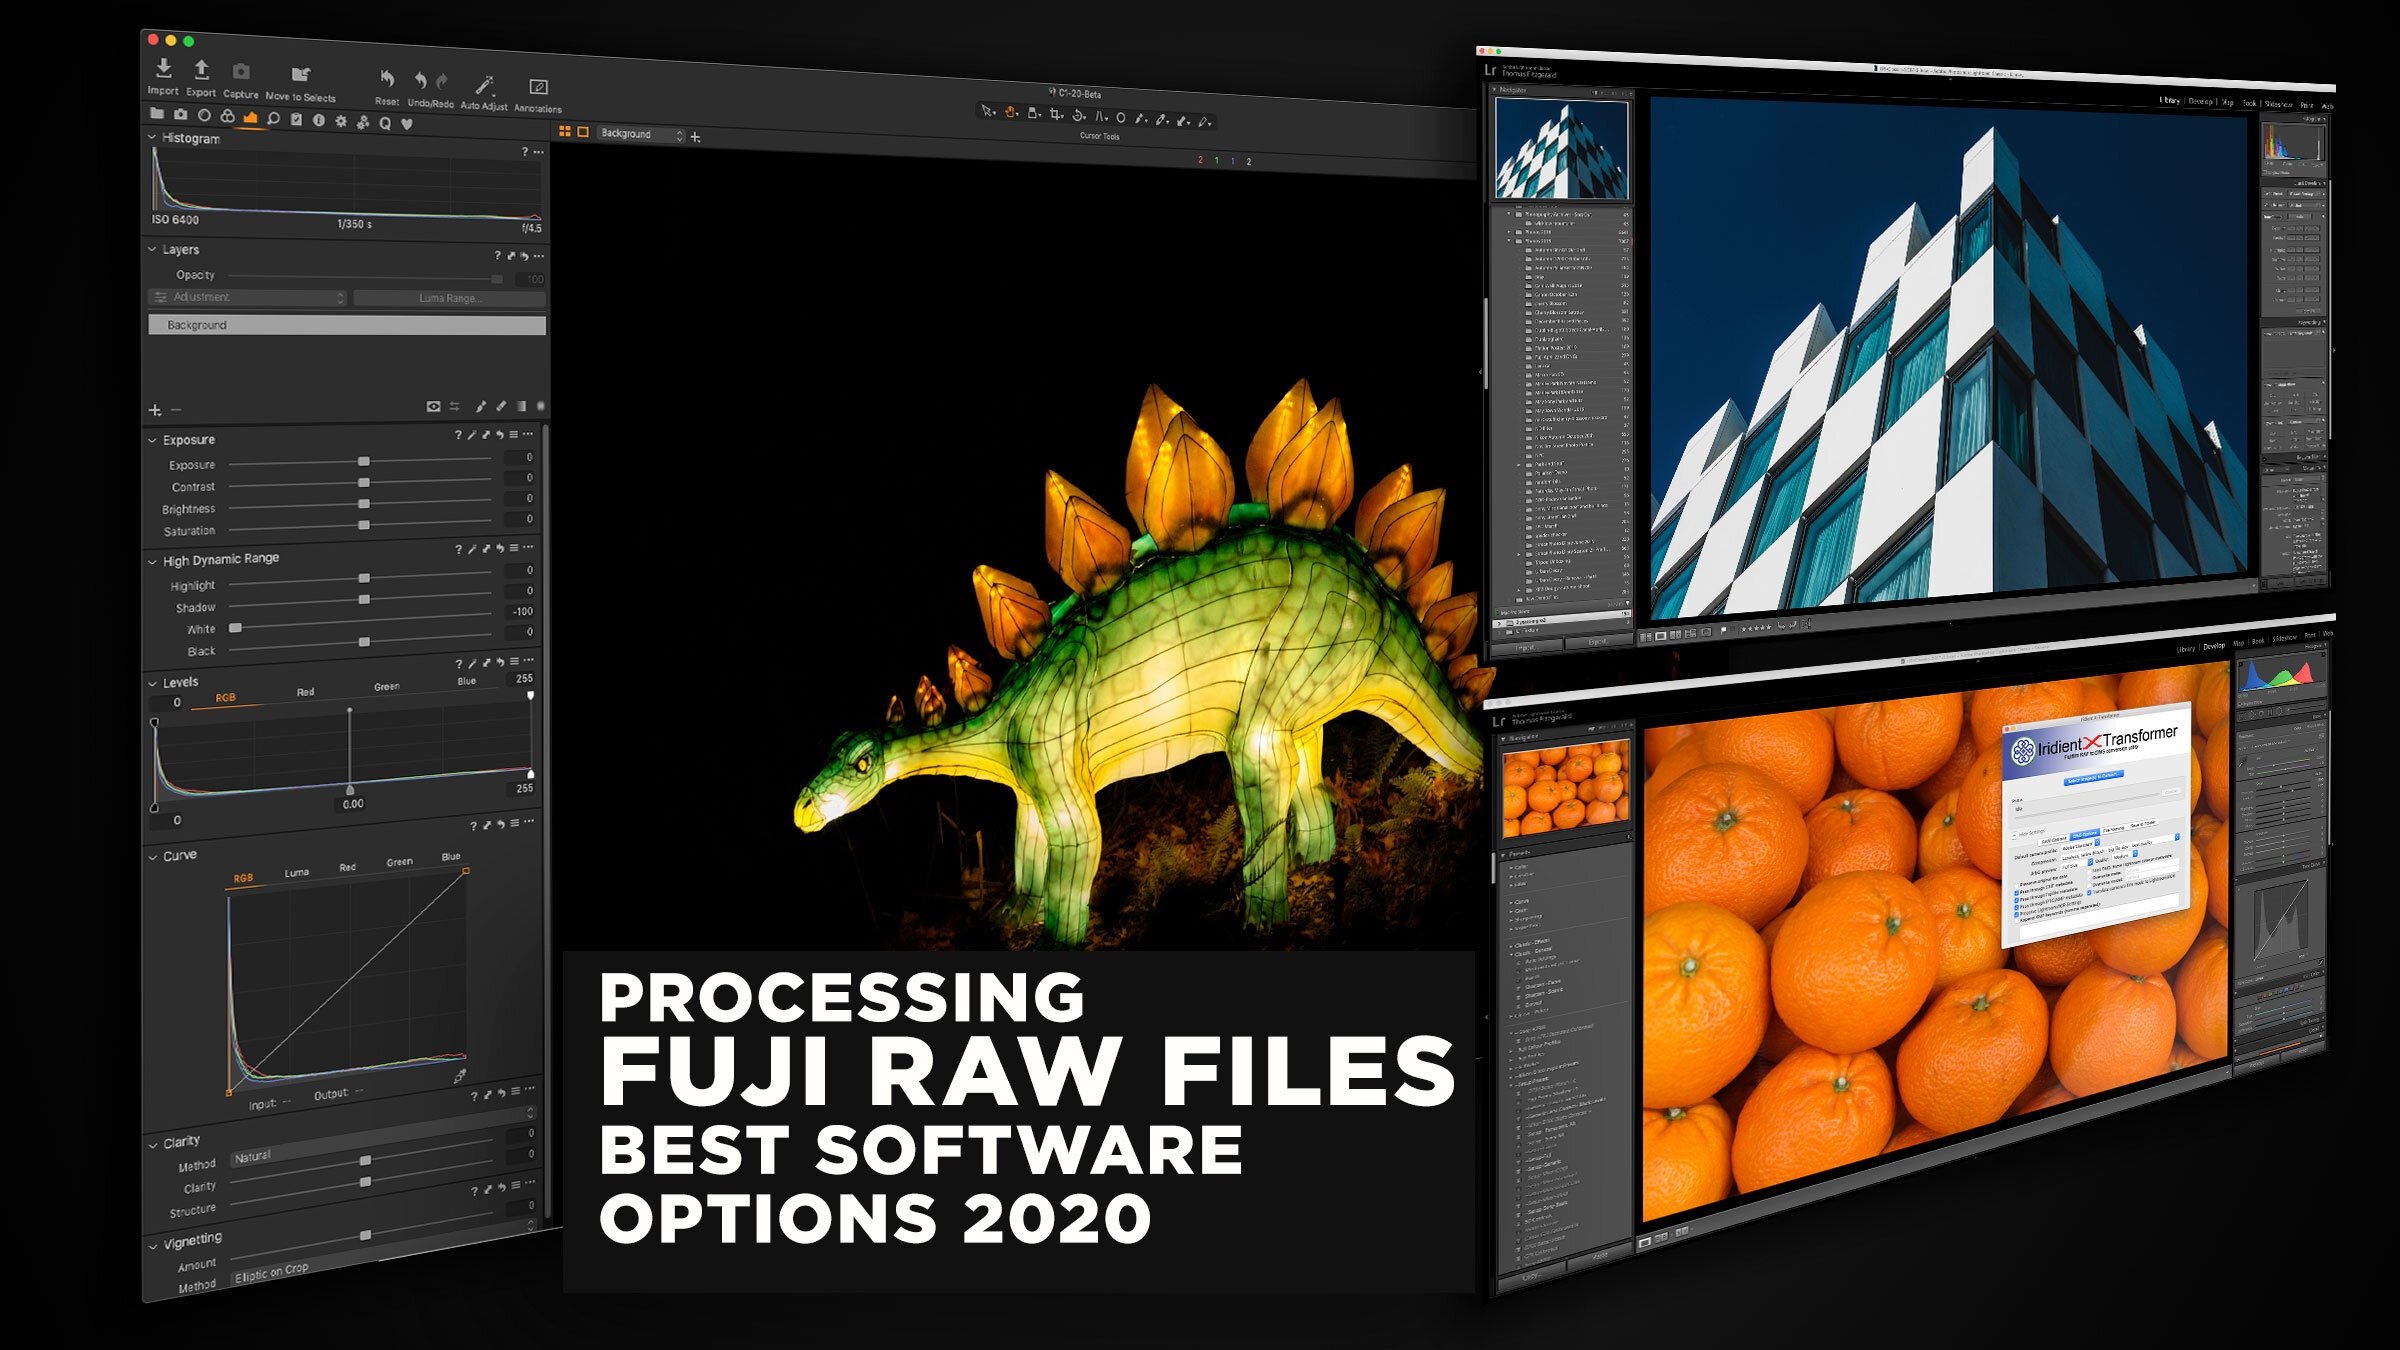
One Fuji X-Pro 2 Image - 7 Different Raw Converters
I was recently working on a photo of Dublin’s famous Ha’Penny bridge that I had taken with my X-Pro 2 and an idea came to me. I was processing the image in Lightroom, and I wanted to see what it would look like in different converters. As I’ve written so much about it, and as I had an image that I was working on for a real world project, I thought that while I was at it, I should try a whole bunch of different converters and see what kind of results I got.
Before I get into this, a couple of disclaimers. First of all, I know this can be a heated topic, and some people don’t like anything bad said about their favourite piece of software, but that’s not what this is about. I’m going to try and be objective and non judgemental here. I’m simply going to present the results, offer an opinion as to what I see, and let you decide for yourself. However, having said that, in two of the cases, the results are too poor that I feel that it needs to be pointed out that those pieces of software are not suitable for X-Trans files for now.
Secondly, I’m not doing this as a scientific comparison. This is not a controlled test. I know that there are probably lots of holes in this methodology, and that’s because there isn’t really one. I processed the image in each software as if I was using just that. I did try to reasonably match the overall levels of contrast and so on, wherever possible, but I didn’t spend hours trying to get it exact in each piece of software in order to compare to a control or some such thing, because people don’t work like that in real life. I just processed it to taste in each application.
In each case below I’ll show a scaled down comparison and a 1:1 crop or two. I’ll also have a set of full res version that you can download and pixel peep to your hearts content.
So lets get to it. The applications used are as follows:
- Lightroom
- Iridient Developer
- Capture One Pro 10
- Affinity Photo
- MacPhun Luminar
- OnOne Raw 2017
- Apple Photos
I know that there are other applications out there, and if I didn’t include your favourite piece of software, it’s not a snub, I just don’t have it installed right now. Incidentally, I didn’t use Photoshop because Camera Raw is basically the same engine as Lightroom. I also didn’t use Iridient X-Transformer because I don’t have the mac version yet, and I didn’t want to go to the hassle of using PC emulation to create a DNG just for this test, but I’ll re-visit this topic when the Mac version is released.
Overall Notes
One of the things that I was surprised about when doing this experiment was how different the cropping was between all the different converters. Each one has a slightly different crop by default, and some include more edge detail than others.
I had to double check I was actually using the same raw file at one point the results were so different. Another interesting thing is that some converters support lens corrections, and others don’t
Note, although the crops below are 1:1 they'll be shrunk slightly to fit into the web page, so click on them to see them at proper pixel for pixel.
Lightroom
Lightroom Version
I started off with Lightroom. Before I had the idea of doing this, I had been processing the image in Lightroom, and so this was my base for the comparison.
Overall, like the image. I’m happy with the tonality and the colours. The detail is actually fairly good, but it’s a little mushy in places. It’s not actually a huge deal, and I know not everyone will see this. I could give other examples where this “mushiness” is more evident, but in this case it’s not terribly intrusive. It compares well, in my opinion to the others.
Lightroom Centre Crop
Lightroom-Tree-Crop
Iridient Developer
Iridient Developer Version
Iridient developer is definitely better at the fine detail, although I had a harder time getting the overall tone the way I wanted it. Highlight recovery works a little differently in Iridient, and so I found it hard to get the same kind of contrast in the sky while still maintaining details in the shadows. In many ways, its just a matter of thinking differently about how you approach ending the image.
I think the detail is probably the sharpest out of any of the ones here, and definitely the cleanest.
Iridient Developer - Centre Crop
Iridient Developer - Tree Crop
Capture One
Capture One Pro 10 Version
Capture One is somewhere in between the two previous ones. The overall tone is to my liking. Detail is clean if a little soft. I could have pushed it a bit further, but I prefer to have it slightly soft but natural looking, rather than have it looking a little unnatural and overly effected. I had originally used stronger settings but found it was getting a little false looking.
Capture One 10 still has some issues with X-Pro2 files too. There’s some traces of chromatic aberration still on the image, and so it’s not being completely removed. I am also still struggling to find the optimal sharpening settings, as the engine seems to have changed a bit since version 9.
Capture One - Centre Crop
Capture One - Tree Crop
Affinity Photo
Affinity Photo Version
Affinity Photo is kind of the odd one out here, as it’s more of an image editor than a raw converter. That means that the editing process can be split into two parts. The first being the raw conversion and initial processing in the Develop persona, and the second being the more traditional Photoshop style image editing inside the application. For the purposes of this, I stuck to just doing the processing using the Develop persona.
Detail wise, it’s fine, but it doesn’t seem to support automatic lens corrections from the file, which is an issue. The overall result is pretty nice. Perhaps not as sharp as Iridient, but perfectly useable.
[update] someone pointed out in the comments that Affinity "does" support Automatic lens correction, but for this file, even though the option was checked, it didn't seem to do anything. It perhaps only woks if you use the Apple raw processing, but I had this set to the Serif engine. I will check this further if I do a future version of this article.
Affinity Photo - Centre Crop
Affinity Photo - Tree Crop
Luminar
Luminar Version
Luminar was an interesting one to use. I got a little carried away with the edits here, so I had to go and re-edit it.
In terms of detail, there’s unfortunately an issue with Luminar and X-Trans files. This wasn’t there in the beta but came following the first update to the release version. There is some fine zipper like artifacting in the fine detail, which is a real shame, because otherwise it does a nice job, and it’s a lot of fun to use, but I hope they fix this soon. When I first tested the pre-release version of Luminar, it didn't have these raw issues, so some bug was added during the release cycle. (I let them know about it - they’re looking into it). Funnily enough, it’s the exact same issue that’s apparent in OnOne Raw, so I wonder if they’re using the same engine or algorithm.
Luminar Crop. (I'm not doing the Tree crop for this one because it's too bad)
On One Raw
OnOne Raw Version
Using OnOne Raw was basically a pointless exercise. While you can get a nice overall tone without too much effort, the X-Trans support is too bad at the moment to be useable. The detail is full of zipper like artifacts, rendering it effectively unusable. On One have announced that a fix is coming in the next version due out soon, so I’ll take another look at this when they release the update. You can see from the 1:1 of the bridge in the crop below that the artifacting on the detail of the bridge and the building behind it is pretty severe. In my opinion, this is currently not good enough to use on an image for production.
OnOne Raw Crop
Apple Photos
Apple Photos Version
I was surprised at how nice the result from Photos was. It’s clean and overall the tonality is nice and even. Detail is clean and generally artifact free, although fine edges are a bit noisy, and there’s a hint of fringing around things. You can see this in the trees in particular.
Photos - Centre Crop
Photos - Tree Crop
Conclusion
As you can see there is quite a range of results from using the different converters. Between Lightroom, Iridient and Capture One, the results are similar, with the differences being in the fine detail. Affinity is giving good results too, but the lack of lens correction is an issue. OnOne raw is not good enough at the moment, in my opinion, and Luminar was ok until they updated it and screwed up X-Trans support, but now is not great.
I’m often reluctant to say one is better than the other, because in many cases, it’s a matter of how you see things and your own personal opinion. Different people will look at these and see different results, and so, that’s why I’m just presenting my findings. Having said that, of the seven tested here, two are clearly not good enough yet, and I think that goes beyond personal opinion. It’s clearly visible, although the last time I said that someone still argued the opposite, but anyway.
Looking at crops on a web page is no way to judge either, so I’ve put a folder of the full res images as Jpegs below for you to download and look at properly. They’re watermarked though, and I must ask that you don’t post them or share them online.
Help Support the Blog
All of the work I do here, and the information on this blog is done entirely free of charge and takes up quite a bit of work. I want to spend more and more time on this blog, and offer more and more of this kind of information, tips and so on, so If you like what I'm doing here and want to show support, then you can do so by buying something from my Digital Download Store. I have Lightroom Presets, and e-books all available for download.
If you're a Fuji X-Trans shooter and Lightroom user, check out my guide to post processing X-Trans files in Lightroom. I also have a guides for processing X-Trans files in Capture One and Iridient Developer.
For Sony Alpha shooters I have a new guide with tips on how to get the best from processing your A6000 Images in Lightroom.
If you want to get regular updates, and notices of occasional special offers, and discounts from my store, then please sign up for the Newsletter.