

A First Look at Picktorial 3.0 for Fuji Shooters
It seems like only a short time ago that your choices for RAW conversion software, especially for Fuji shooters was somewhat limited. Now there seems to be a new release every month, and it’s great that there is a wealth of choice out there now. The latest piece of software to come across my desk is a new version of Picktorial. This new major update to version 3.0 brings full support for Fuji files, and it’s not using the Apple engine, but the company’s own. I’ve been using a beta for a little while and I’m intrigued, especially with the Fuji conversion.
First of all, this isn’t a full review, it’s just a quick first look. I’m not going to get int all the features or how it compares to other software. I will try and do a full review of it soon. In the mean time, I just wanted to give you a heads up about it. For Fuji users, this is really interesting, because it uses its own engine. I have to say, that based on my initial testing, it seems pretty good in terms of quality. I can’t see any kind of artifacts or edge issues that are apparent in other software. There is no direct support for Fuji film simulations, but it does support DCP colour profiles, so you could technically create them for this.
Here’s what the official press release says about Fuji support:
The latest version also offers unique full support for the latest Fujifilm x-trans cameras RAW (including compressed/uncompressed RAF) and auto lens correction based on embedded metadata, an exciting development for Fuji photographers in particular.
One of the things to note, is that while it does support lens corrections for fuji files, the chromatic aberration correction isn’t great, at least based on my testing. Apparently improvements to this are coming tough.
One other thing that I noticed immediately upon using it. It’s very fast. Editing is lightening fast. They’re clearly making good use of the GPU because I am really impressed with the speed. Another interesting feature is it allows the importing of Aperture libraries. I didn’t try this but it’s a useful thing for former Aperture users to have. Here are some of the other features as listed in the press release:
- Versatile and responsive patch tool: up to 30x faster than Lightroom’s equivalent Spot-Removal tool (tested on a modern 15” MacBook Pro).
- Unique color and luminosity masks making fine-art results easier.
- Adaptable single-space workflow, from camera-to-edit within a single window without slow switching between library and develop modules.
- Advanced selective tonal adjustments including HSL, Curves, Split Toning, and more, operating on specific parts of the image defined with advanced masking tools.
- Skin smoothing brush utilizing Frequency Separation in a single brush with the ability to control the separation radius.
- Edge-aware brush to enable more precise selections.
- Smart extension for macOS Photos, the first of its kind to offer non-destructive pro-level editing while recalling positions of sliders and masks, even after closing Photos.
- Catalog-free Image handling that automatically monitors the content of referenced folders, enabling instant editing with no slow import process needed.
- Native browsing of Aperture libraries with no conversion needed.
- Assistant viewer similar to Lightroom’s new “reference view,” but fully functional with edits and tabs.
There are a few limitations of the software, and it is missing some features that I personally would consider important. While it supports built in lens corrections from Fuji files, it doesn’t seem to have the ability to manually correct aberrations. Nor does it support manual lens corrections on other cameras that don’t have built in metadata. I’ve been told that these features are planned for a future update though.
There is a lot of emphasis on selective editing in the software, and it does have a very comprehensive toolset for that. I'll get into that a bit more in the full review.
Sharpening and noise reduction is currently done through the selective editing and so to do a full image sharpen you have to fill a mask over the whole image to sharpen or reduce noise. There is actually a fill tool, so you can fill a mask quite easily, so it’s not a huge deal, but it is a bit inconvenient. They are actively developing it though, so hopefully this will be addressed in a future release. I found the sharpening controls a bit odd too, in that I found it hard to do a little fine sharpening, without it being too much. I haven’t quite figured it out yet though, so I’ll get into it more in the full review.
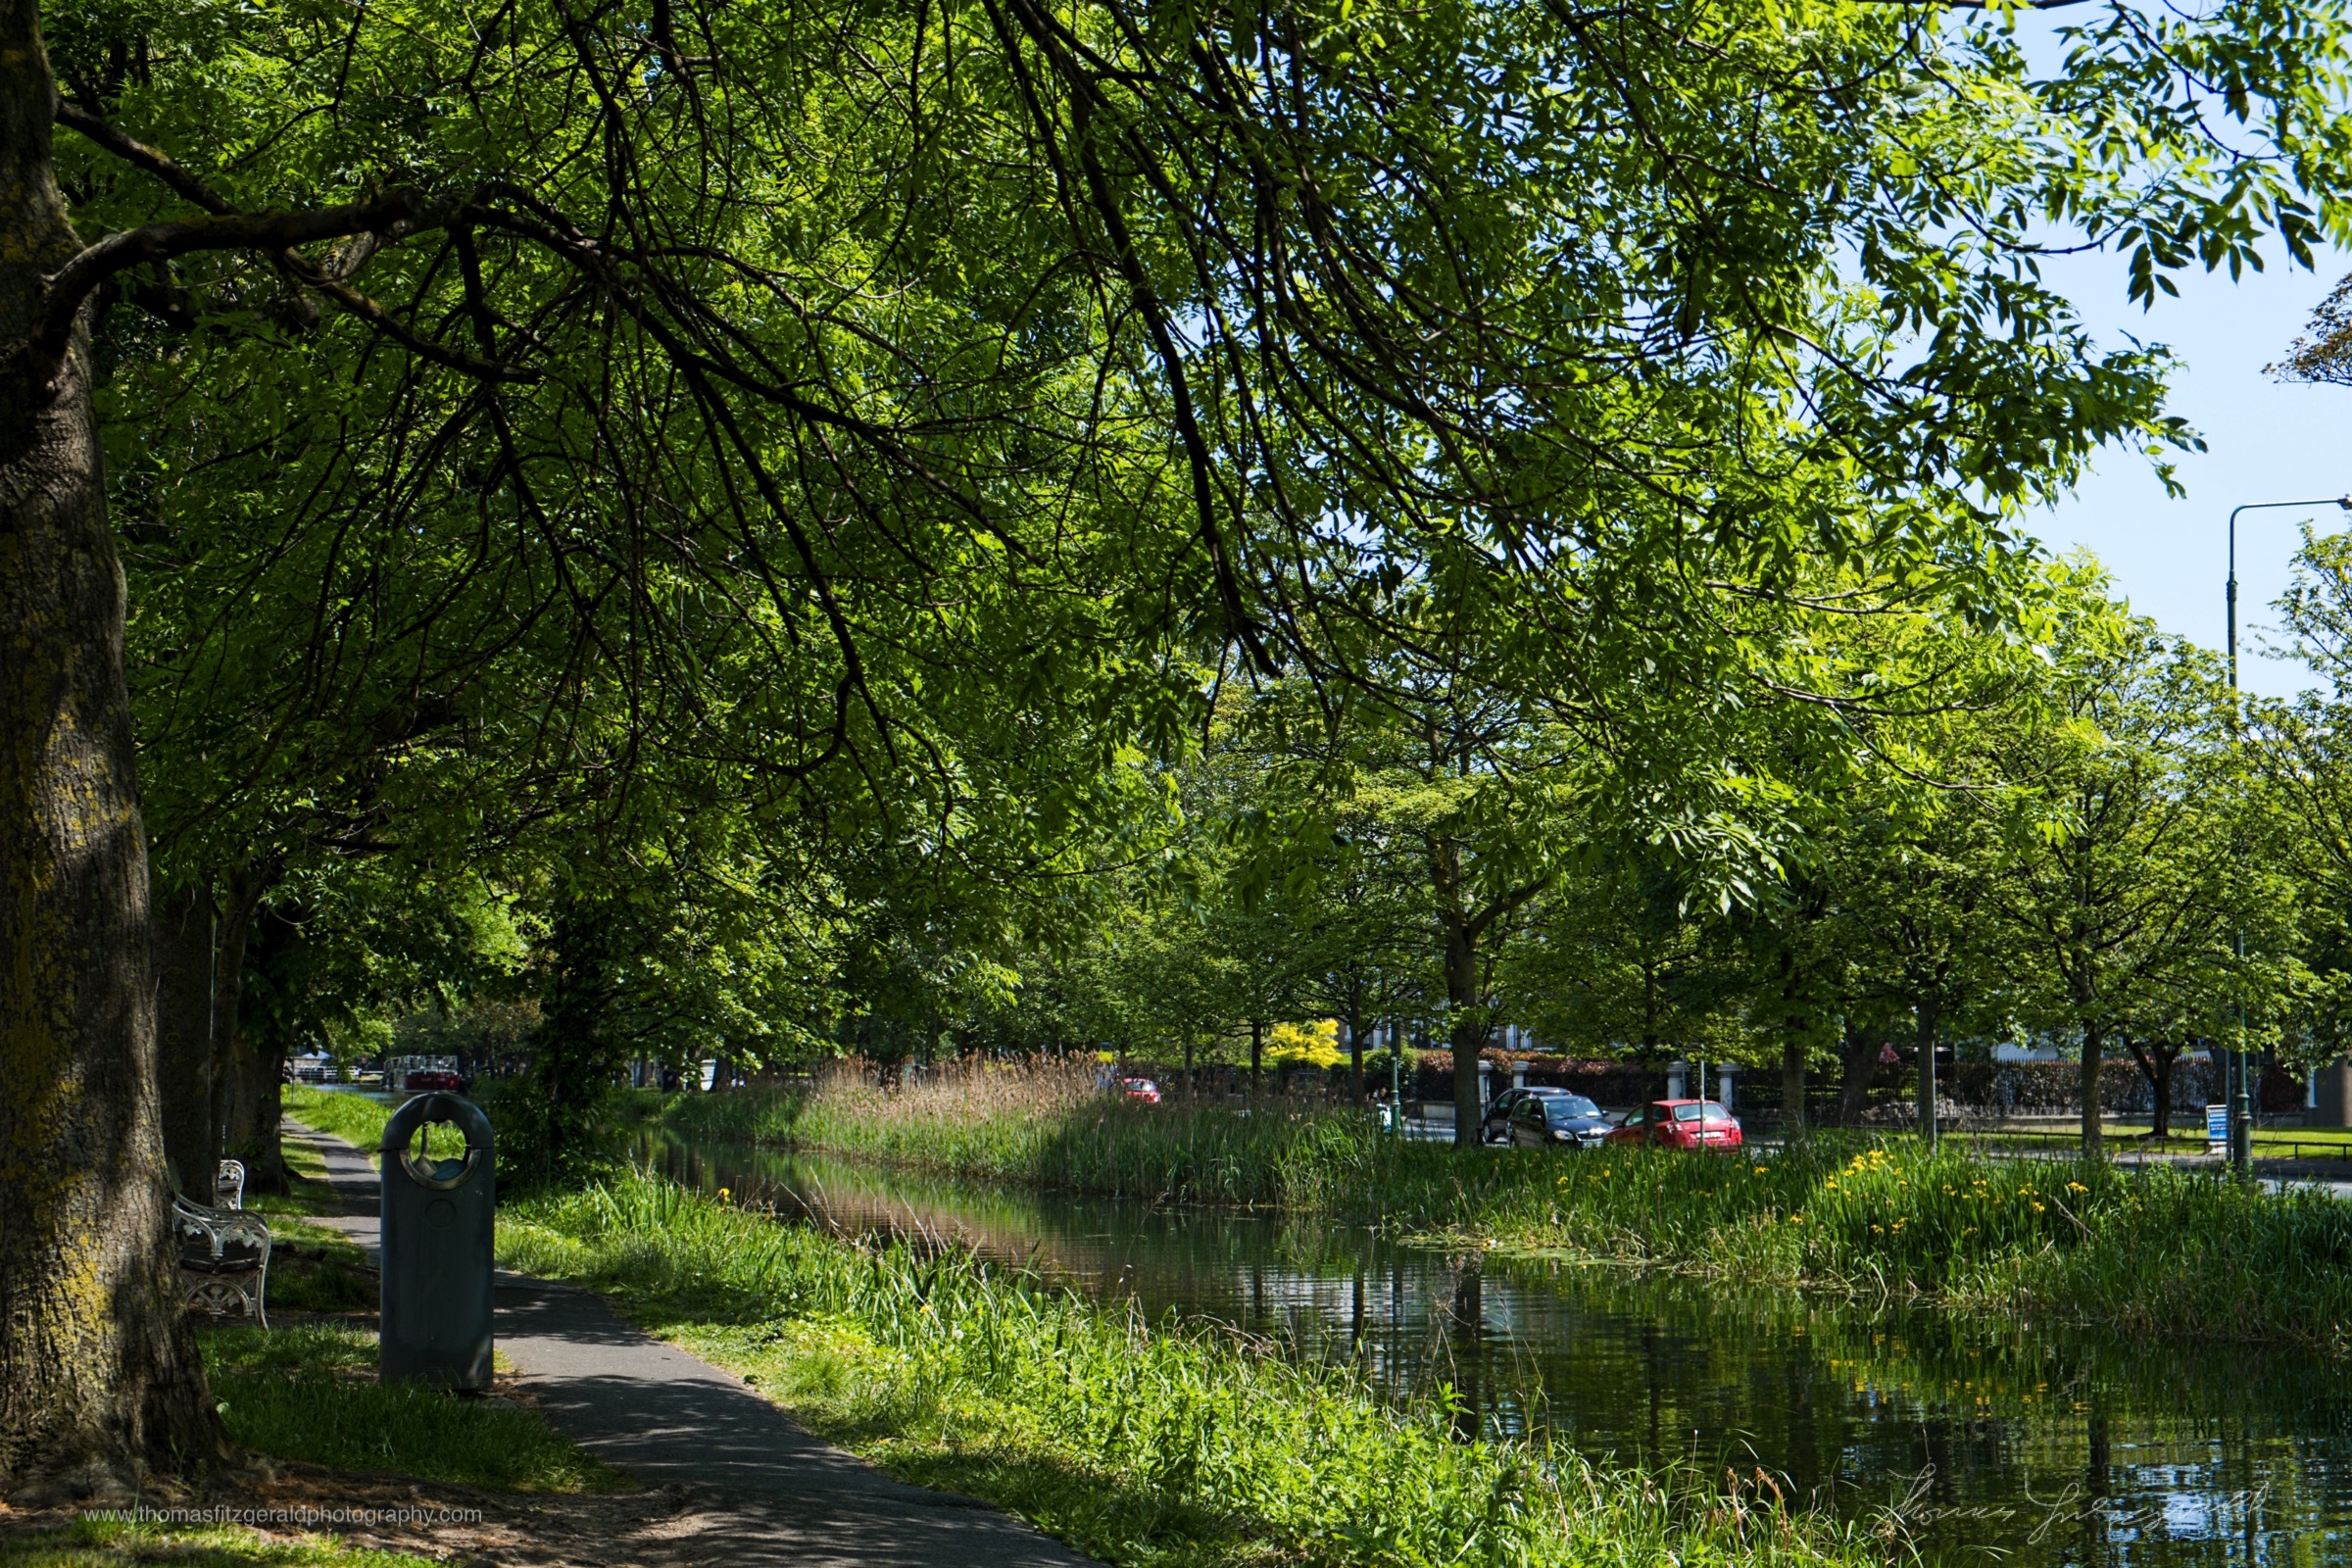
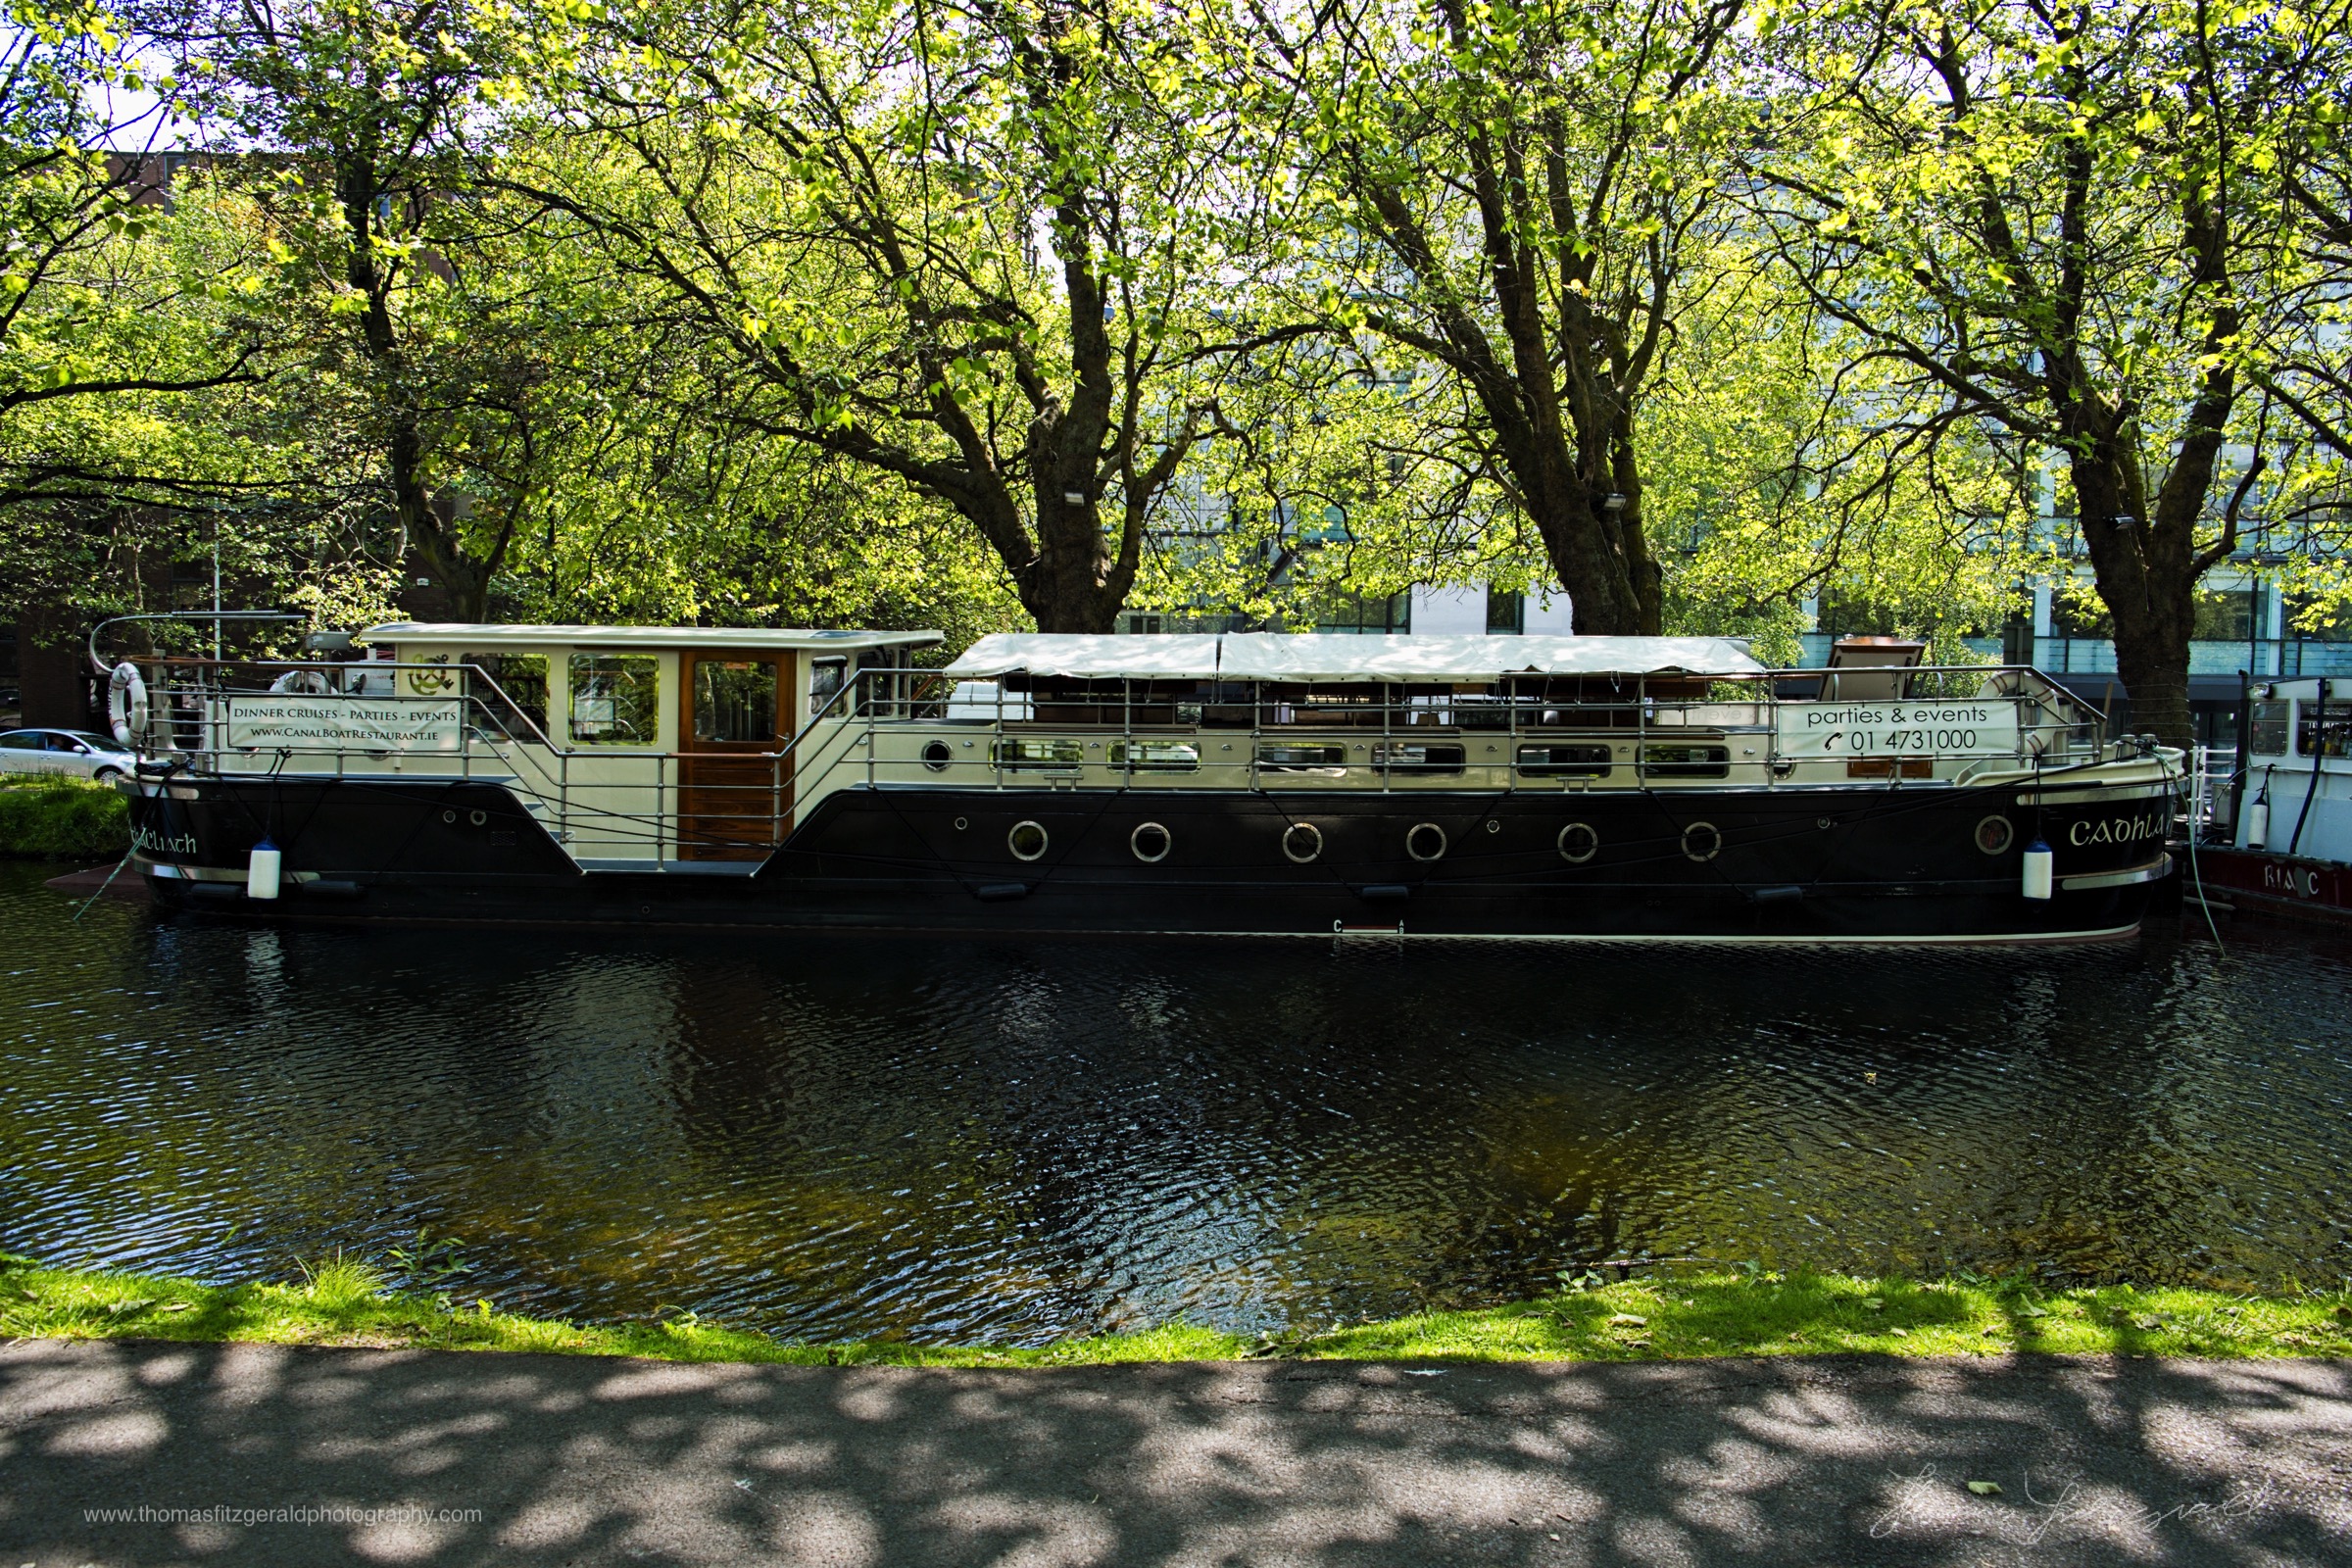
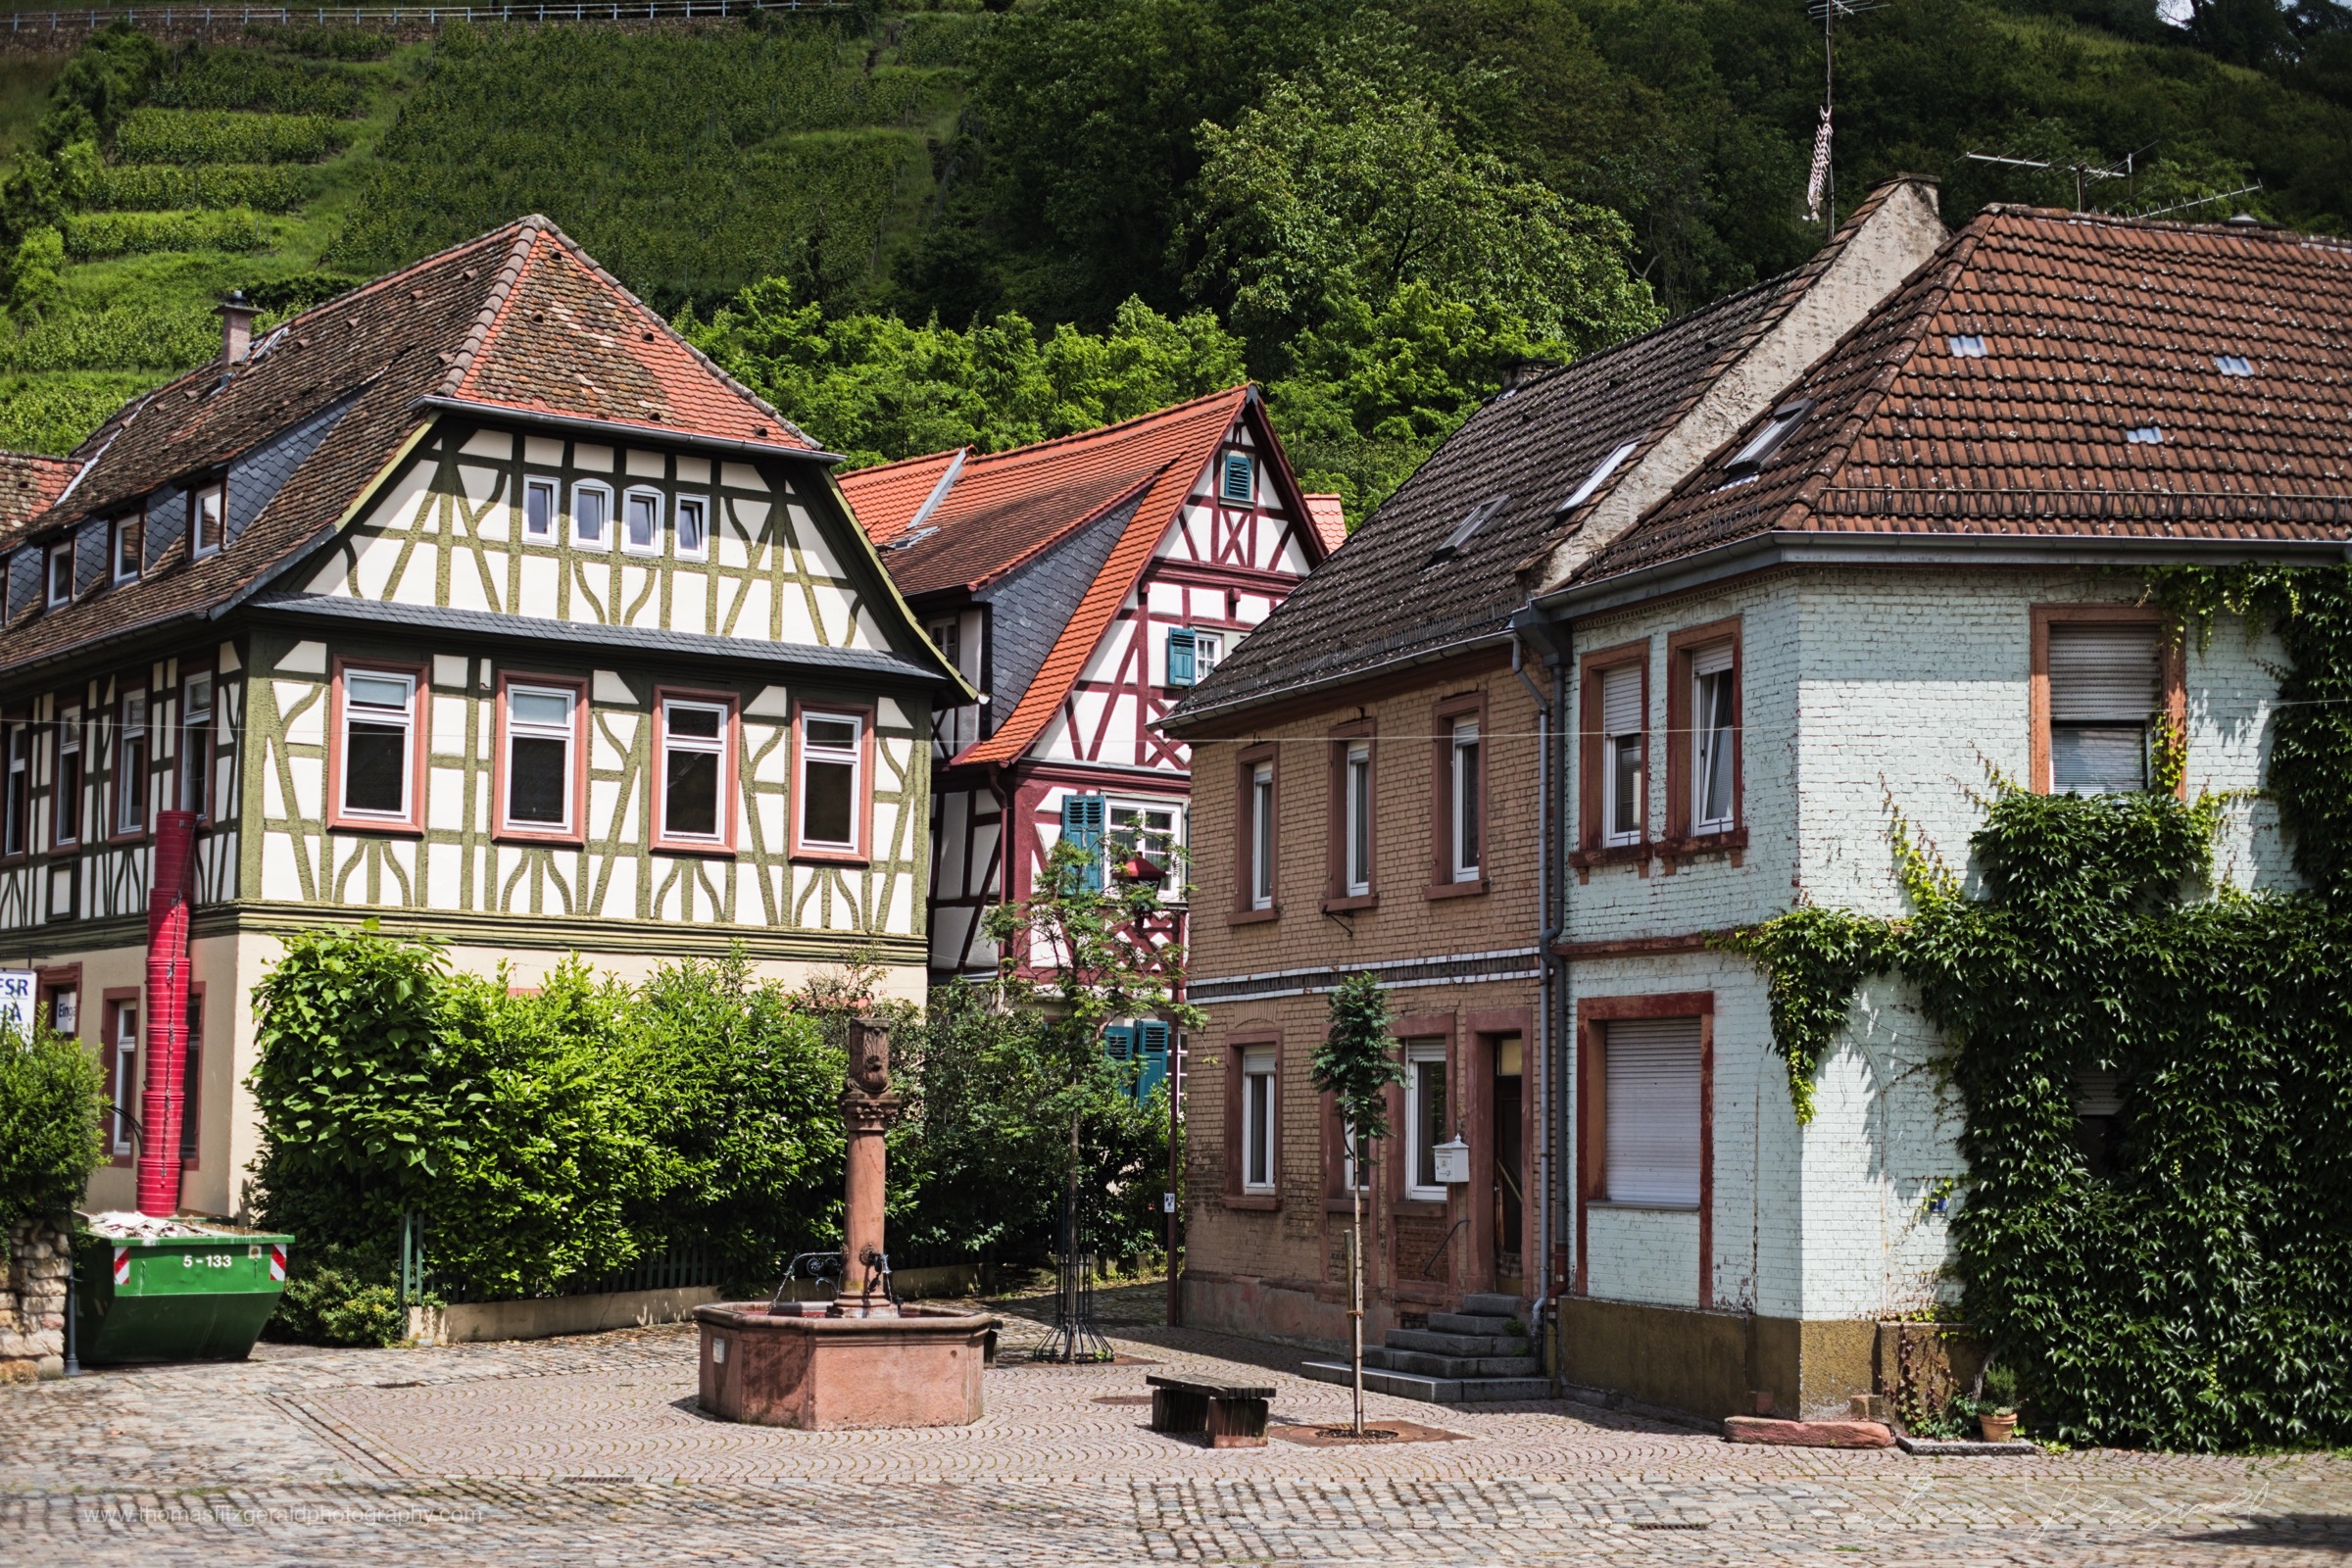
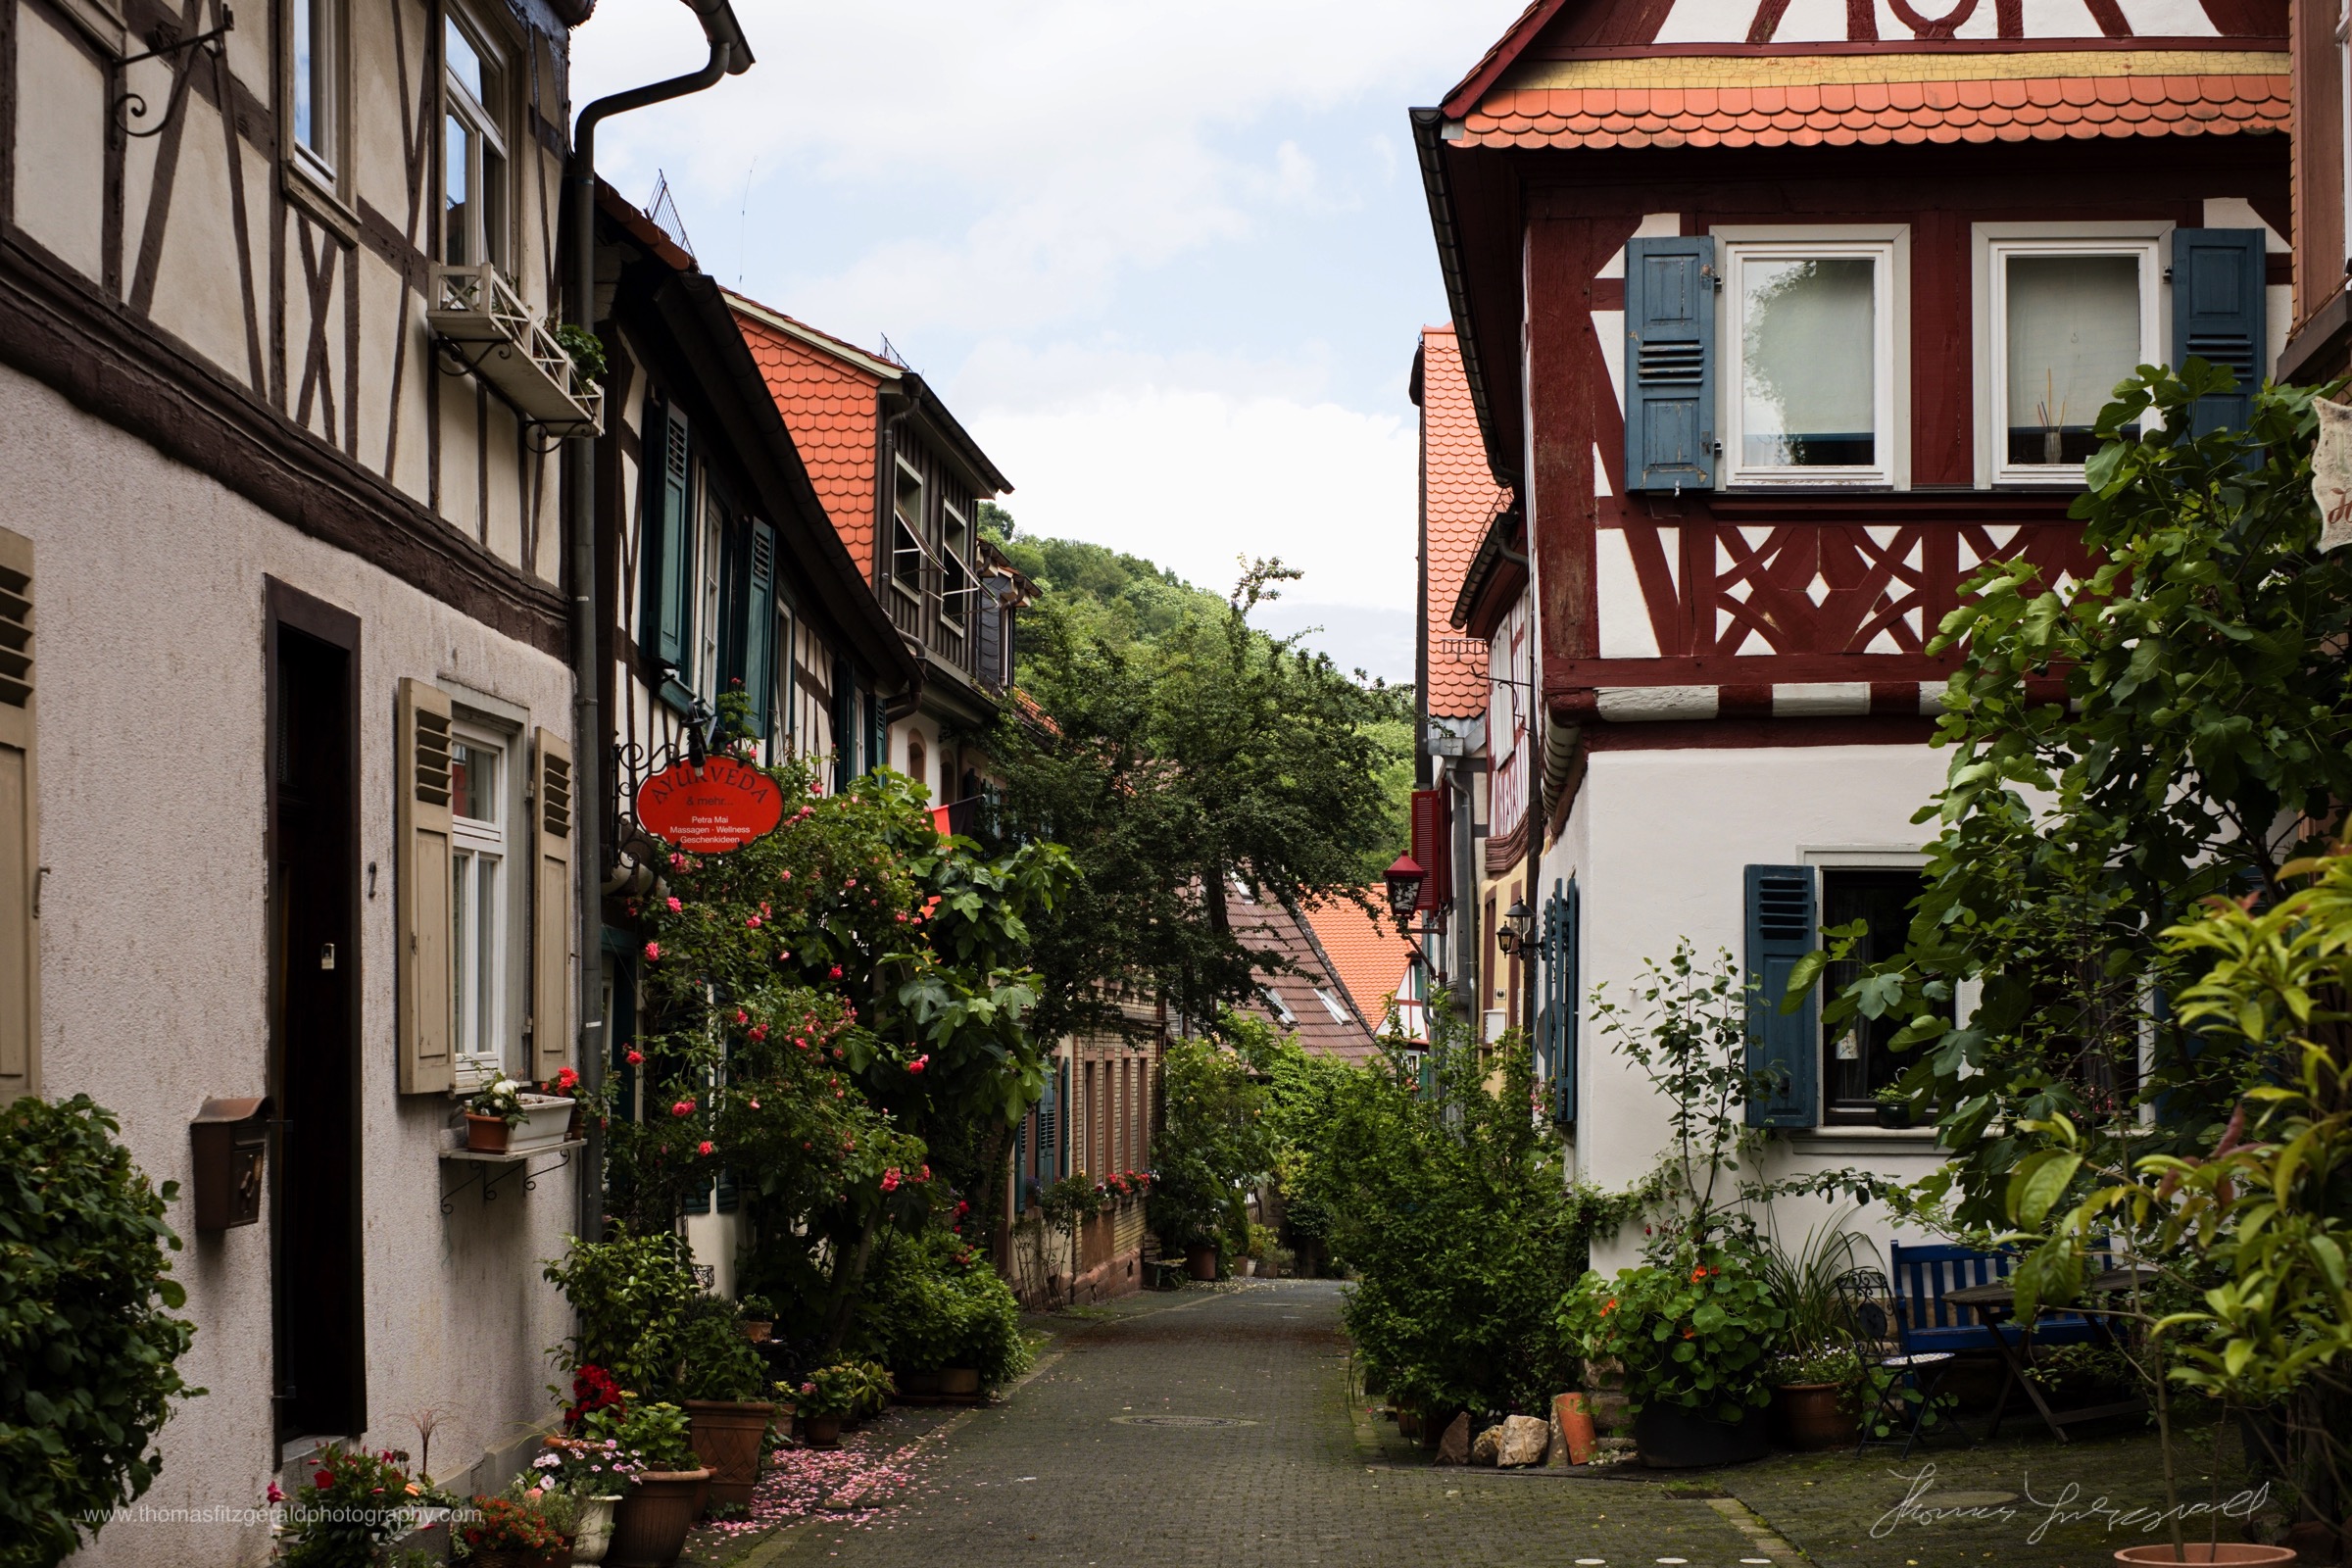
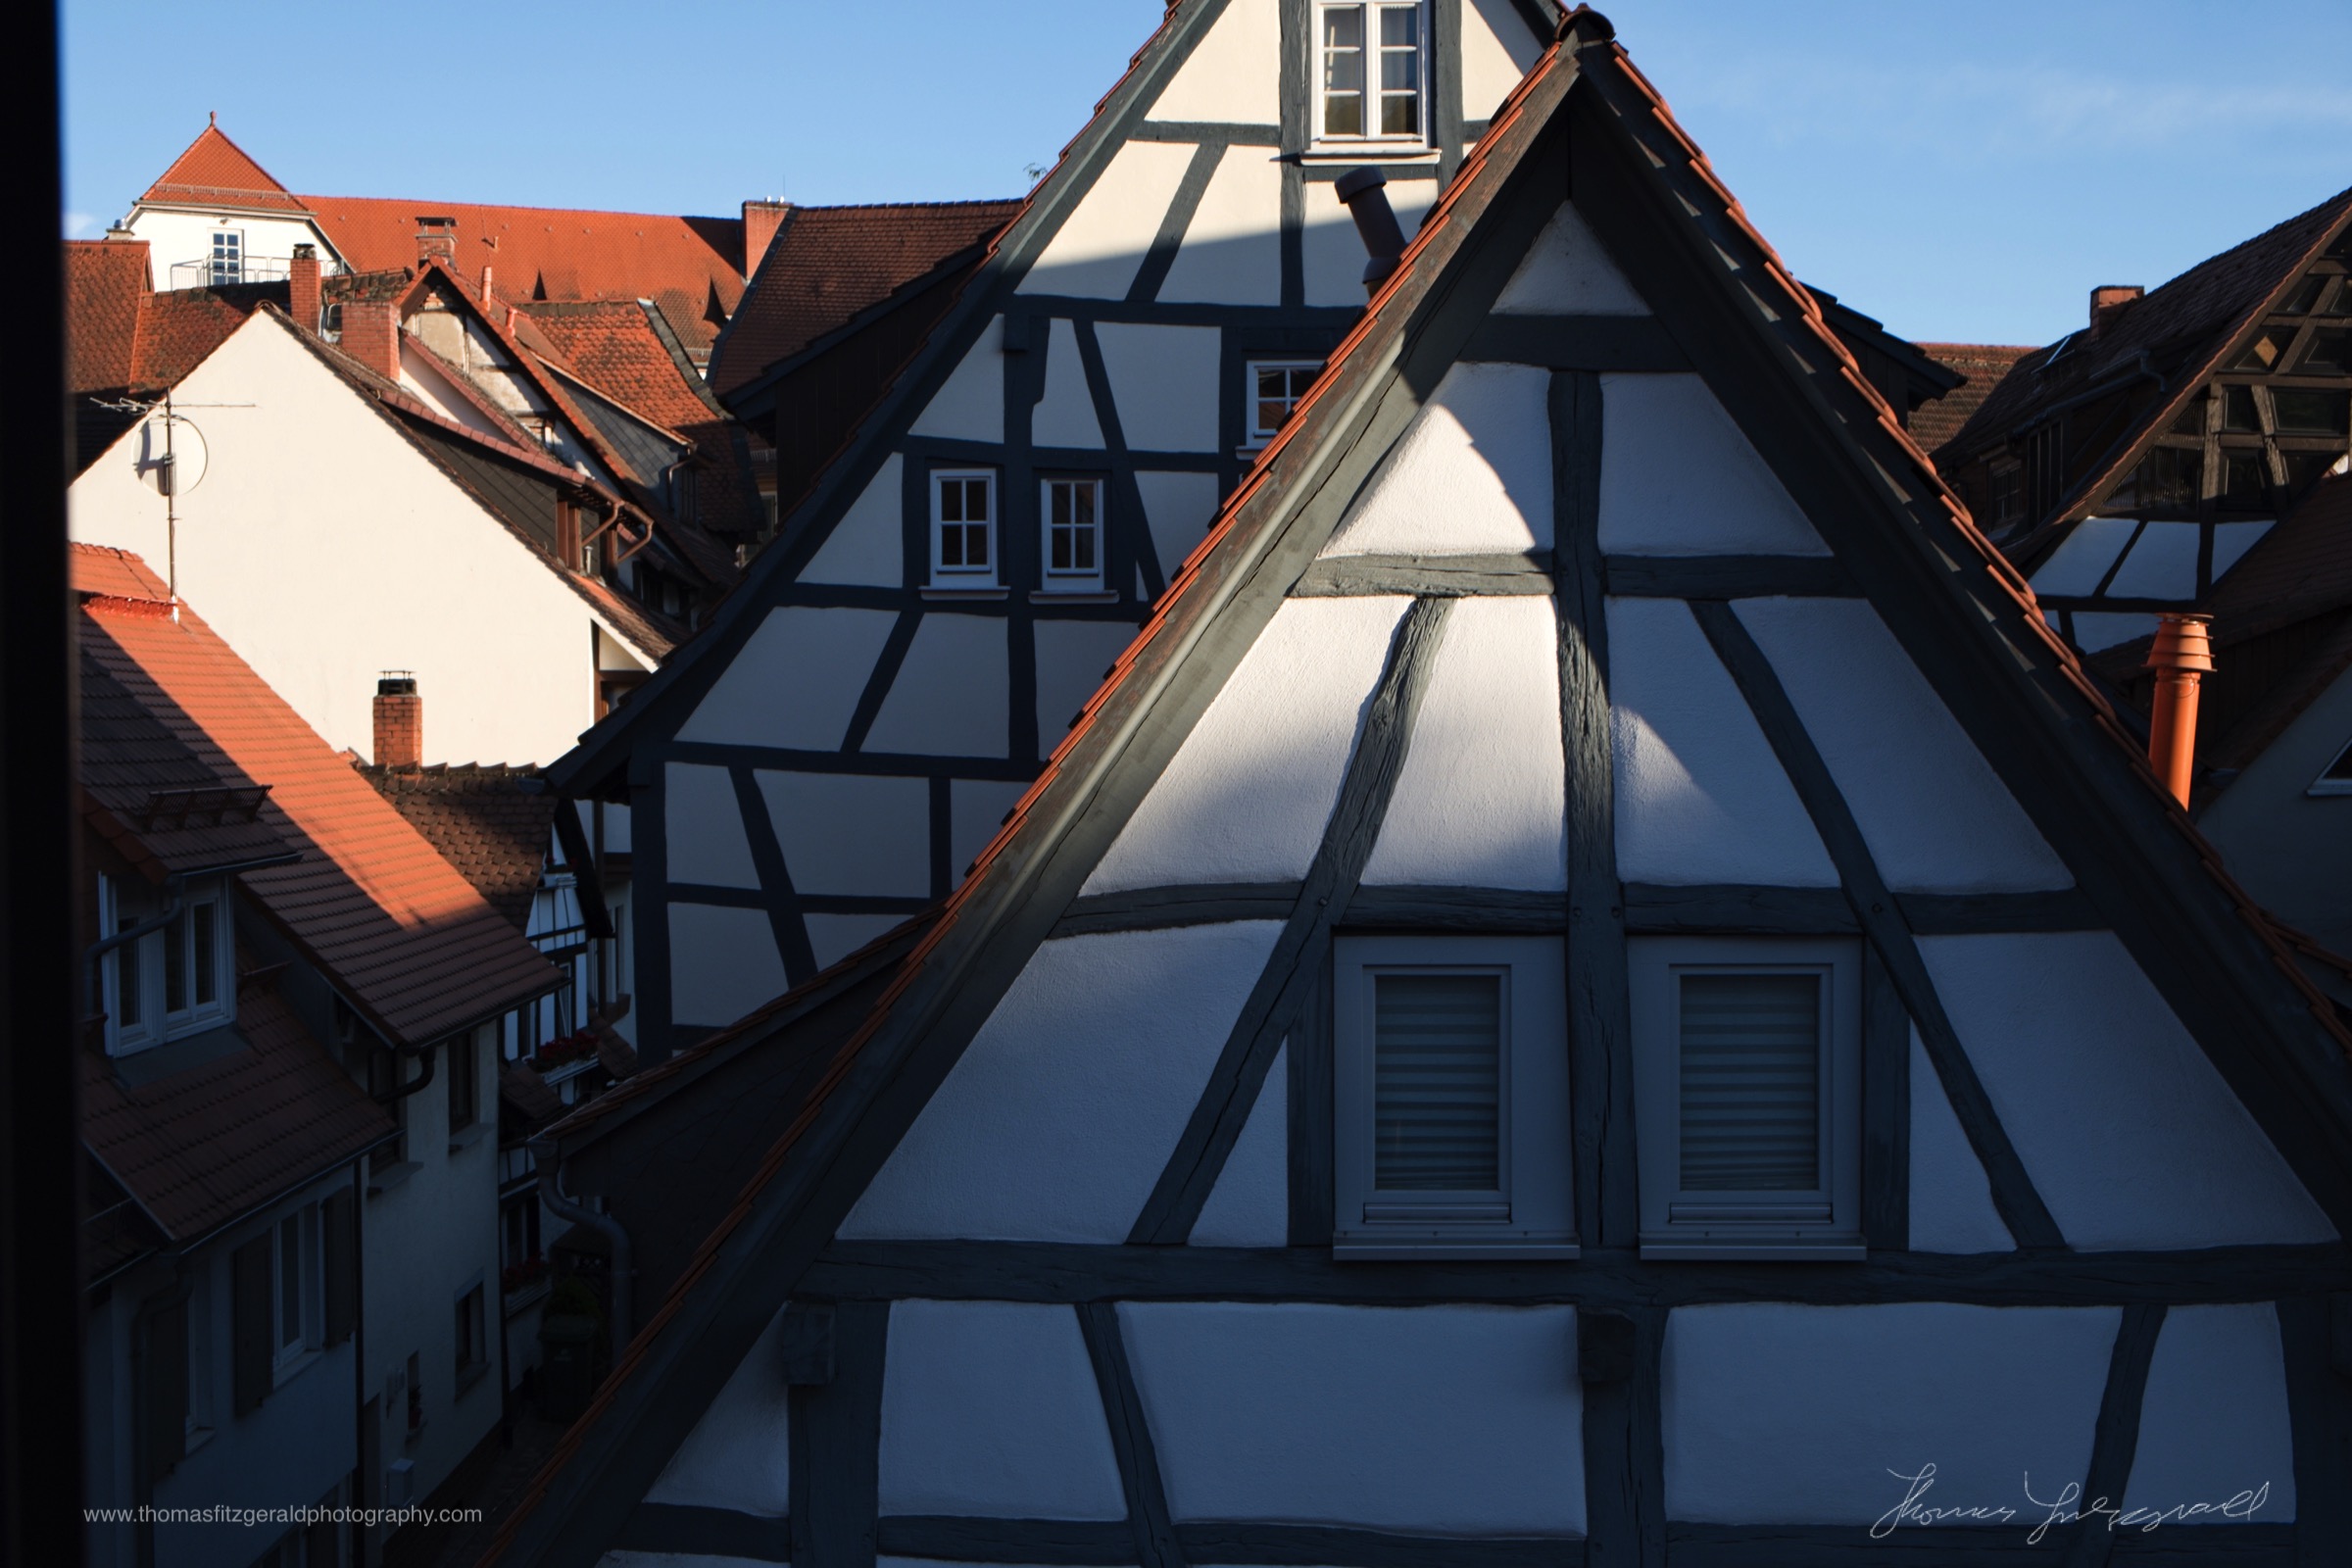
You can find out more about it on the software’s website. As I said, I’ll have a full review and more coverage soon, but in the mean time, here are some images that I’ve processed with it. Incidentally, they’re doing a special launch price for it too. It’s currently only $39.99 USD (Normally $69.99) and there’s a trial version available too.


Help Support the Blog
If you like this post then you can see more of my work on Instagram, Twitter and Facebook. I also have a YouTube channel that you might like. You should also check out my other Photography Project: The Streets of Dublin. If you want to get regular updates, and notices of occasional special offers, and discounts from my store, then please sign up for the Newsletter.
All of the work I do here, and the information on this blog is done entirely free of charge and takes quite a bit of work. I want to spend more and more time on this blog, and offer more and more of this kind of information, tips and so on. All of this is funded exclusively through my Digital Download store, so If you like what I'm doing here and want to show support, then you can do so by buying something from my Digital Download Store where I have Lightroom Presets, and e-books available for download.
If you're a Fuji X-Trans shooter and Lightroom user, check out my guide to post processing X-Trans files in Lightroom. I also have a guides for processing X-Trans files in Capture One and Iridient Developer.
For Sony Alpha shooters I have a new guide with tips on how to get the best from processing your A6000 Images in Lightroom.


