On1 Raw Updated to 2017.5
Yesterday, On1 released a major update to their On1 Raw software, that they are marketing as a Lightroom alternative. The new release adds some much needed features, and changes a few things in the software. It is a fairly major update, and I did a little testing after it was announced. Here are some initial findings.
In a nutshell, it’s better, but I still don’t like it. Firstly, the good: The new lens correction options are greater and appear to work well. They’re pretty much the same as they are in Lightroom. They have also changed the sharpening and combined them together into a new detail panel, which also contains noise reductio options. This makes more sense and makes navigating the interface a bit easier.
Now, to what I don’t like: First of all, the new sharpening controls are a bit of a blunt instrument. There’s sharpening slider and a masking slider and that’s it. There is no radius control and the masking slider seems weirdly skewed, so that a value of 1 will mask quite a bit, yet the slider goes up much higher. The noise reduction seems very aggressive too, although I have’t played with it enough.
For X-Trans users, the decoding is ok, but still has issues. It still suffers from occasional edge artifacts, and it still has a muddy quality, that, while not as bad as Lightroom, is not particularly great either. It gets worse when sharpened. It’s a matter of taste I suppose, and I guess a lot of people won’t have an issue with it, but for me, I would consider it more towards the bottom of the pile, quality wise, compared to the other converters out there. Again though, it’s a matter of choice, and some people seem quite keen on it, and have been quite vocal, so I’m sure I’m just being overly picky (or that’s what the inevitable hate mail will tell me!). It’s probably fine for most people, so maybe I am being too critical.
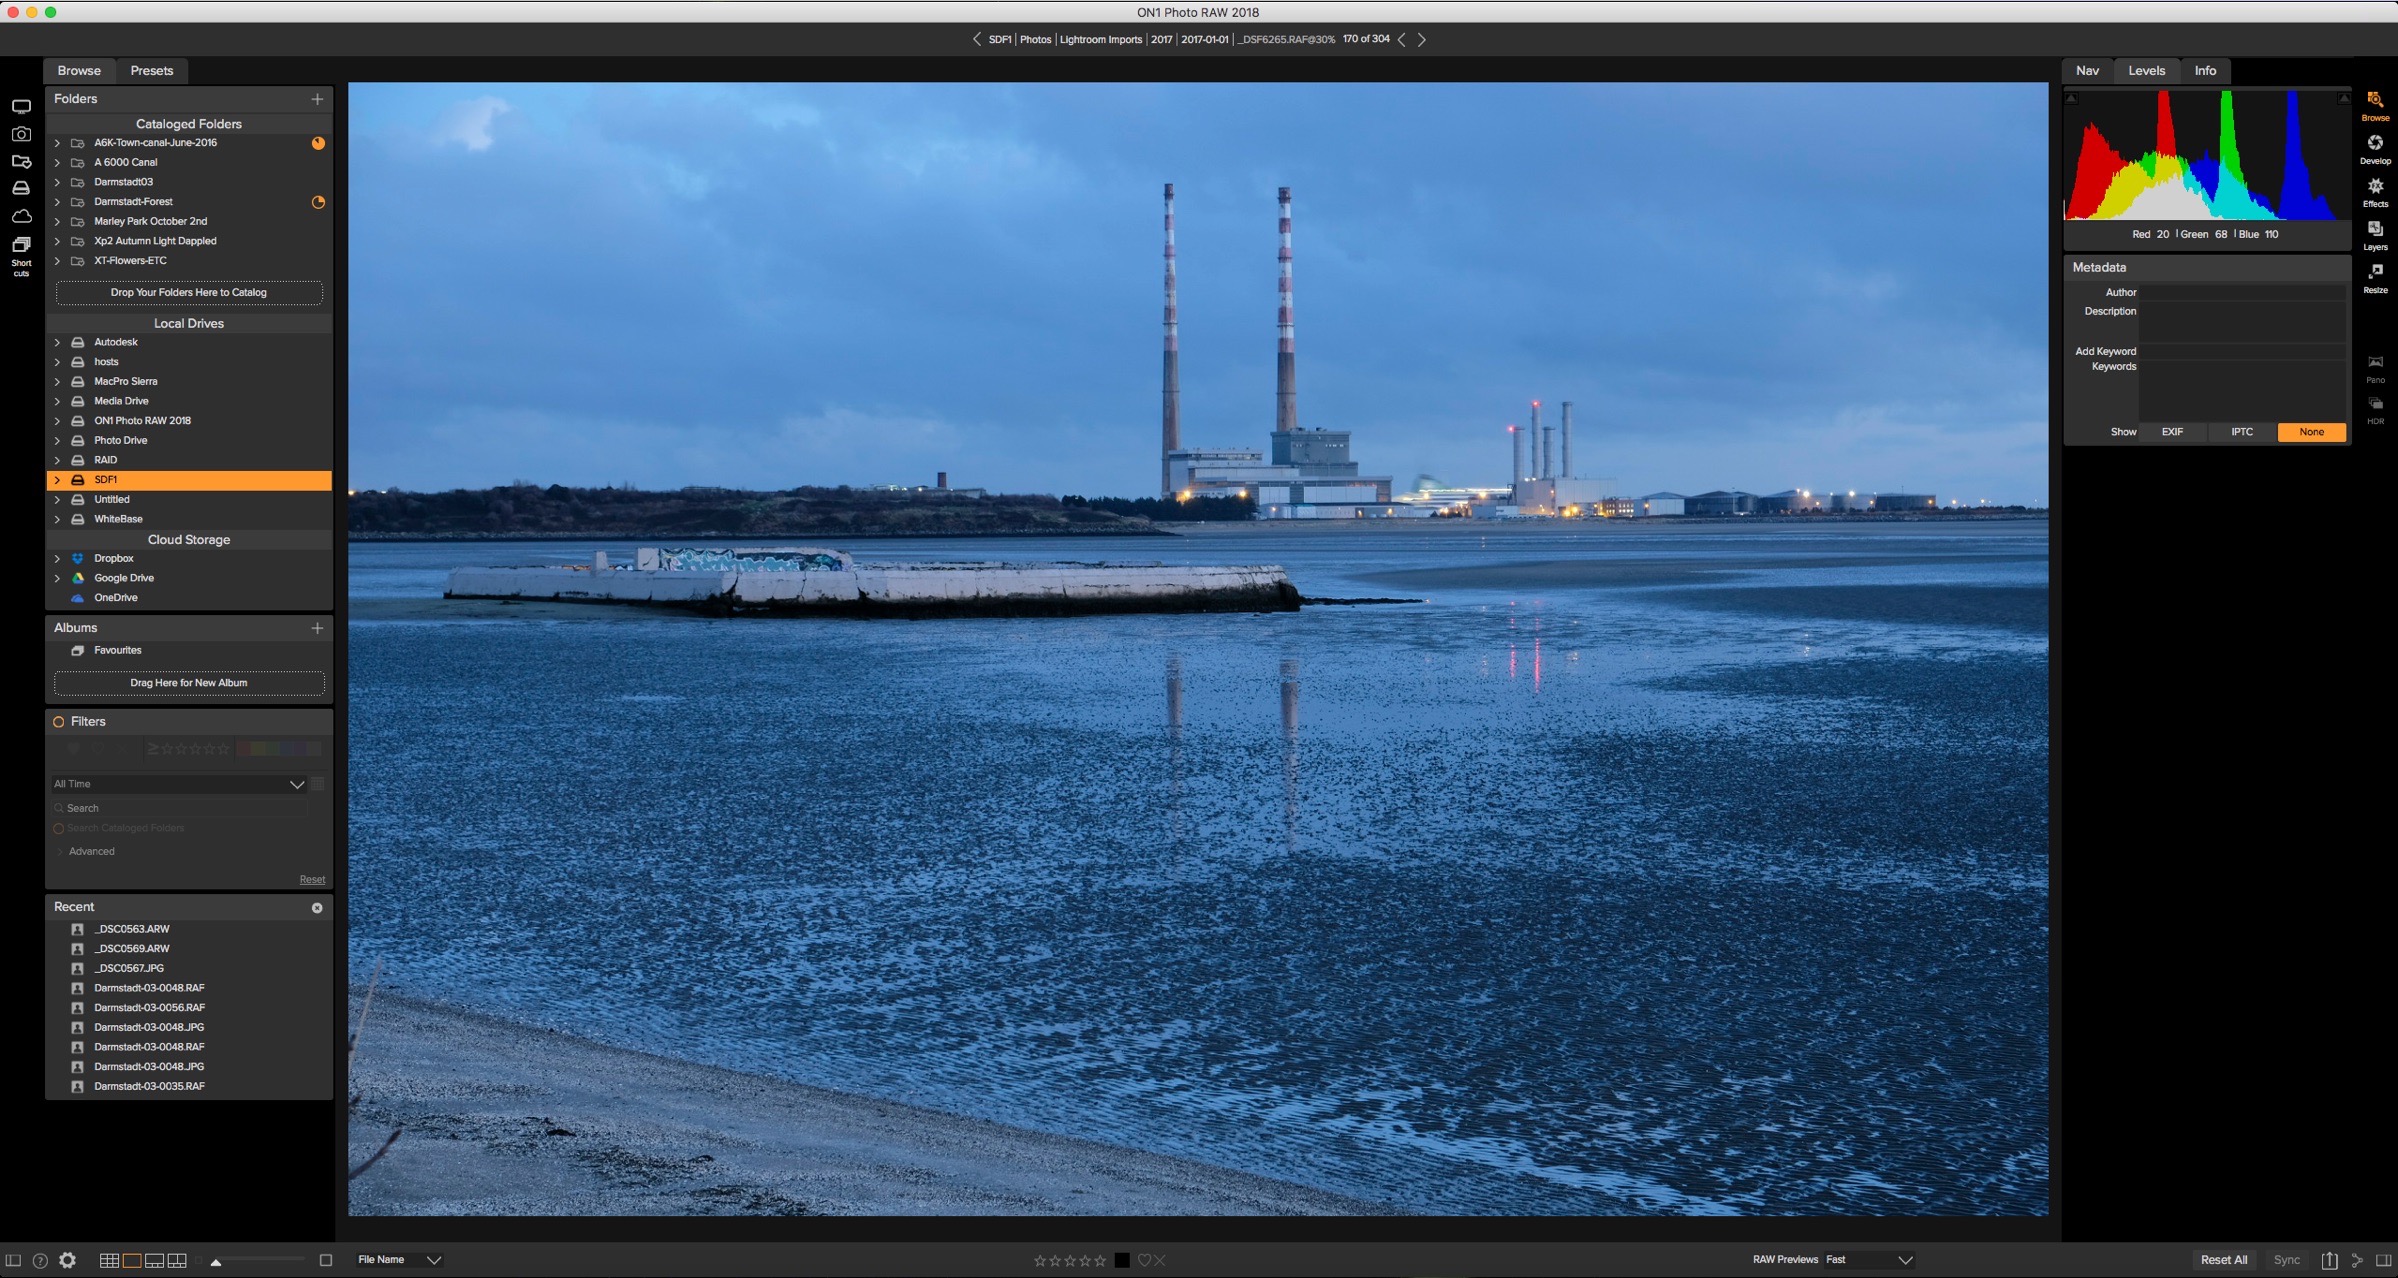
To see these artifacts properly, click on the image to view larger. The image is scaled down a bit to fit the page, and you need to view it 1:1
On other cameras, the quality is ok, but there appears to be some chroma blurring going on. I thought I was seeing things at first, because this is something that really shouldn’t be necessary in modern converters. I did a check and compared it to Lightroom, and that does indeed seem to be what’s going on. For those who don’t know it when they see it, it’s like the colour channel is blurred, and you can see colours bleeding into surrounding areas. You can achieve this result in Photoshop, by switching to LAB mode and blurring both the a and b channels. It was used in early digital cameras to get around the problem of bad moire that was an issue before low pass filters were a thing. I’m pretty surprised to see this on a modern RAW converter, especially with no apparent way to stop it.


Even though I have concerns about the quality, those concerns aren’t my biggest issue with the software. It’s the fact that it’s painfully slow and buggy, still, and the interface is too segmented. What do I mean by this? Well, loading files can sometimes take ages. I’m talking 20-30 seconds. And this isn’t consistent either. Sometimes they will load quicker, and sometimes much sower. For an application that was previously marketing itself on speed, its a bit of a let down. It is fast making adjustments though, so there’s that.
Secondly, the modal “Loading” dialog window is just stupid. Why they couldn’t have this interface element in the background is beyond me, but instead it takes you out of the application with a pop up window to tell you the file is loading. It’s not a huge deal, but it’s really bad interface design, and having worked as a designer for many years, things like this bug me. On the plus side, the reliability seems to have improved significantly in the latest version. It was crashing every 3-4 minutes when I sued it, and I was working with it this morning for a good half an hour without a crash. So, that’s a step in the right direction.
The other thing that I don’t like is the way the interface is split into Develop an Effects. I get what they’re trying to do here, but it just makes it very clunky. the fact that some adjustments are in one module and some are in another is a really odd interface and it makes you need to make a quite regimented choice when processing images. With this release they seem to have moved some things from develop to effects. For example the old sharpening methods are now in effects. It’s not like it’s just a different interface tab either, it takes a couple of seconds to switch from one mode to the other. There’s also duplication, with some options being in both, such as black and white.
I know this all sounds quite harsh and maybe a bit picky, and I want to reiterate here, that some of this is just my opinion. I don’t like being too negative when writing reviews or posts like this, but I have to say what I see, so I’m sorry if that offends some people. Different things are important to different people, and obviously some people are quite happy with the way this software works. I just don’t like it. I don’t think it’s very good, and I don’t think it offers anything other software doesn’t do better. That’s my opinion. But, I’ll keep looking at it with each new upgrade.
Help Support the Blog
If you like this post then you can see more of my work on Instagram, Twitter and Facebook. I also have a YouTube channel that you might like. You should also check out my other Photography Project: The Streets of Dublin. If you want to get regular updates, and notices of occasional special offers, and discounts from my store, then please sign up for the Newsletter.
All of the work I do here, and the information on this blog is done entirely free of charge and takes quite a bit of work. I want to spend more and more time on this blog, and offer more and more of this kind of information, tips and so on. All of this is funded exclusively through my Digital Download store, so If you like what I'm doing here and want to show support, then you can do so by buying something from my Digital Download Store where I have Lightroom Presets, and e-books available for download.
If you're a Fuji X-Trans shooter and Lightroom user, check out my guide to post processing X-Trans files in Lightroom. I also have a guides for processing X-Trans files in Capture One and Iridient Developer.
For Sony Alpha shooters I have a new guide with tips on how to get the best from processing your A6000 Images in Lightroom.