

Two Free Presets for Luminar
I’ve been playing around with Luminar a lot lately, and in particular, I’ve been using it as an extension to Apple’s photos to quickly process Jpeg Images from my Fuji X-Pro 2. I’ll have more details on this in a future post, but for now, I wanted to share some of the looks I was getting.
In particular I wanted to create the bright, film look that you get from nicely shot and scanned negative film. I had started with Jpeg images rather than raw, as they have the tine curve baked into them, but this should work reasonably well with raw images too (although you might need to add some more contrast first). You also don’t have to be using Photos, you can use Luminar form anything for these, either the stand alone editor or as a plug in for Lightroom, or photoshop.
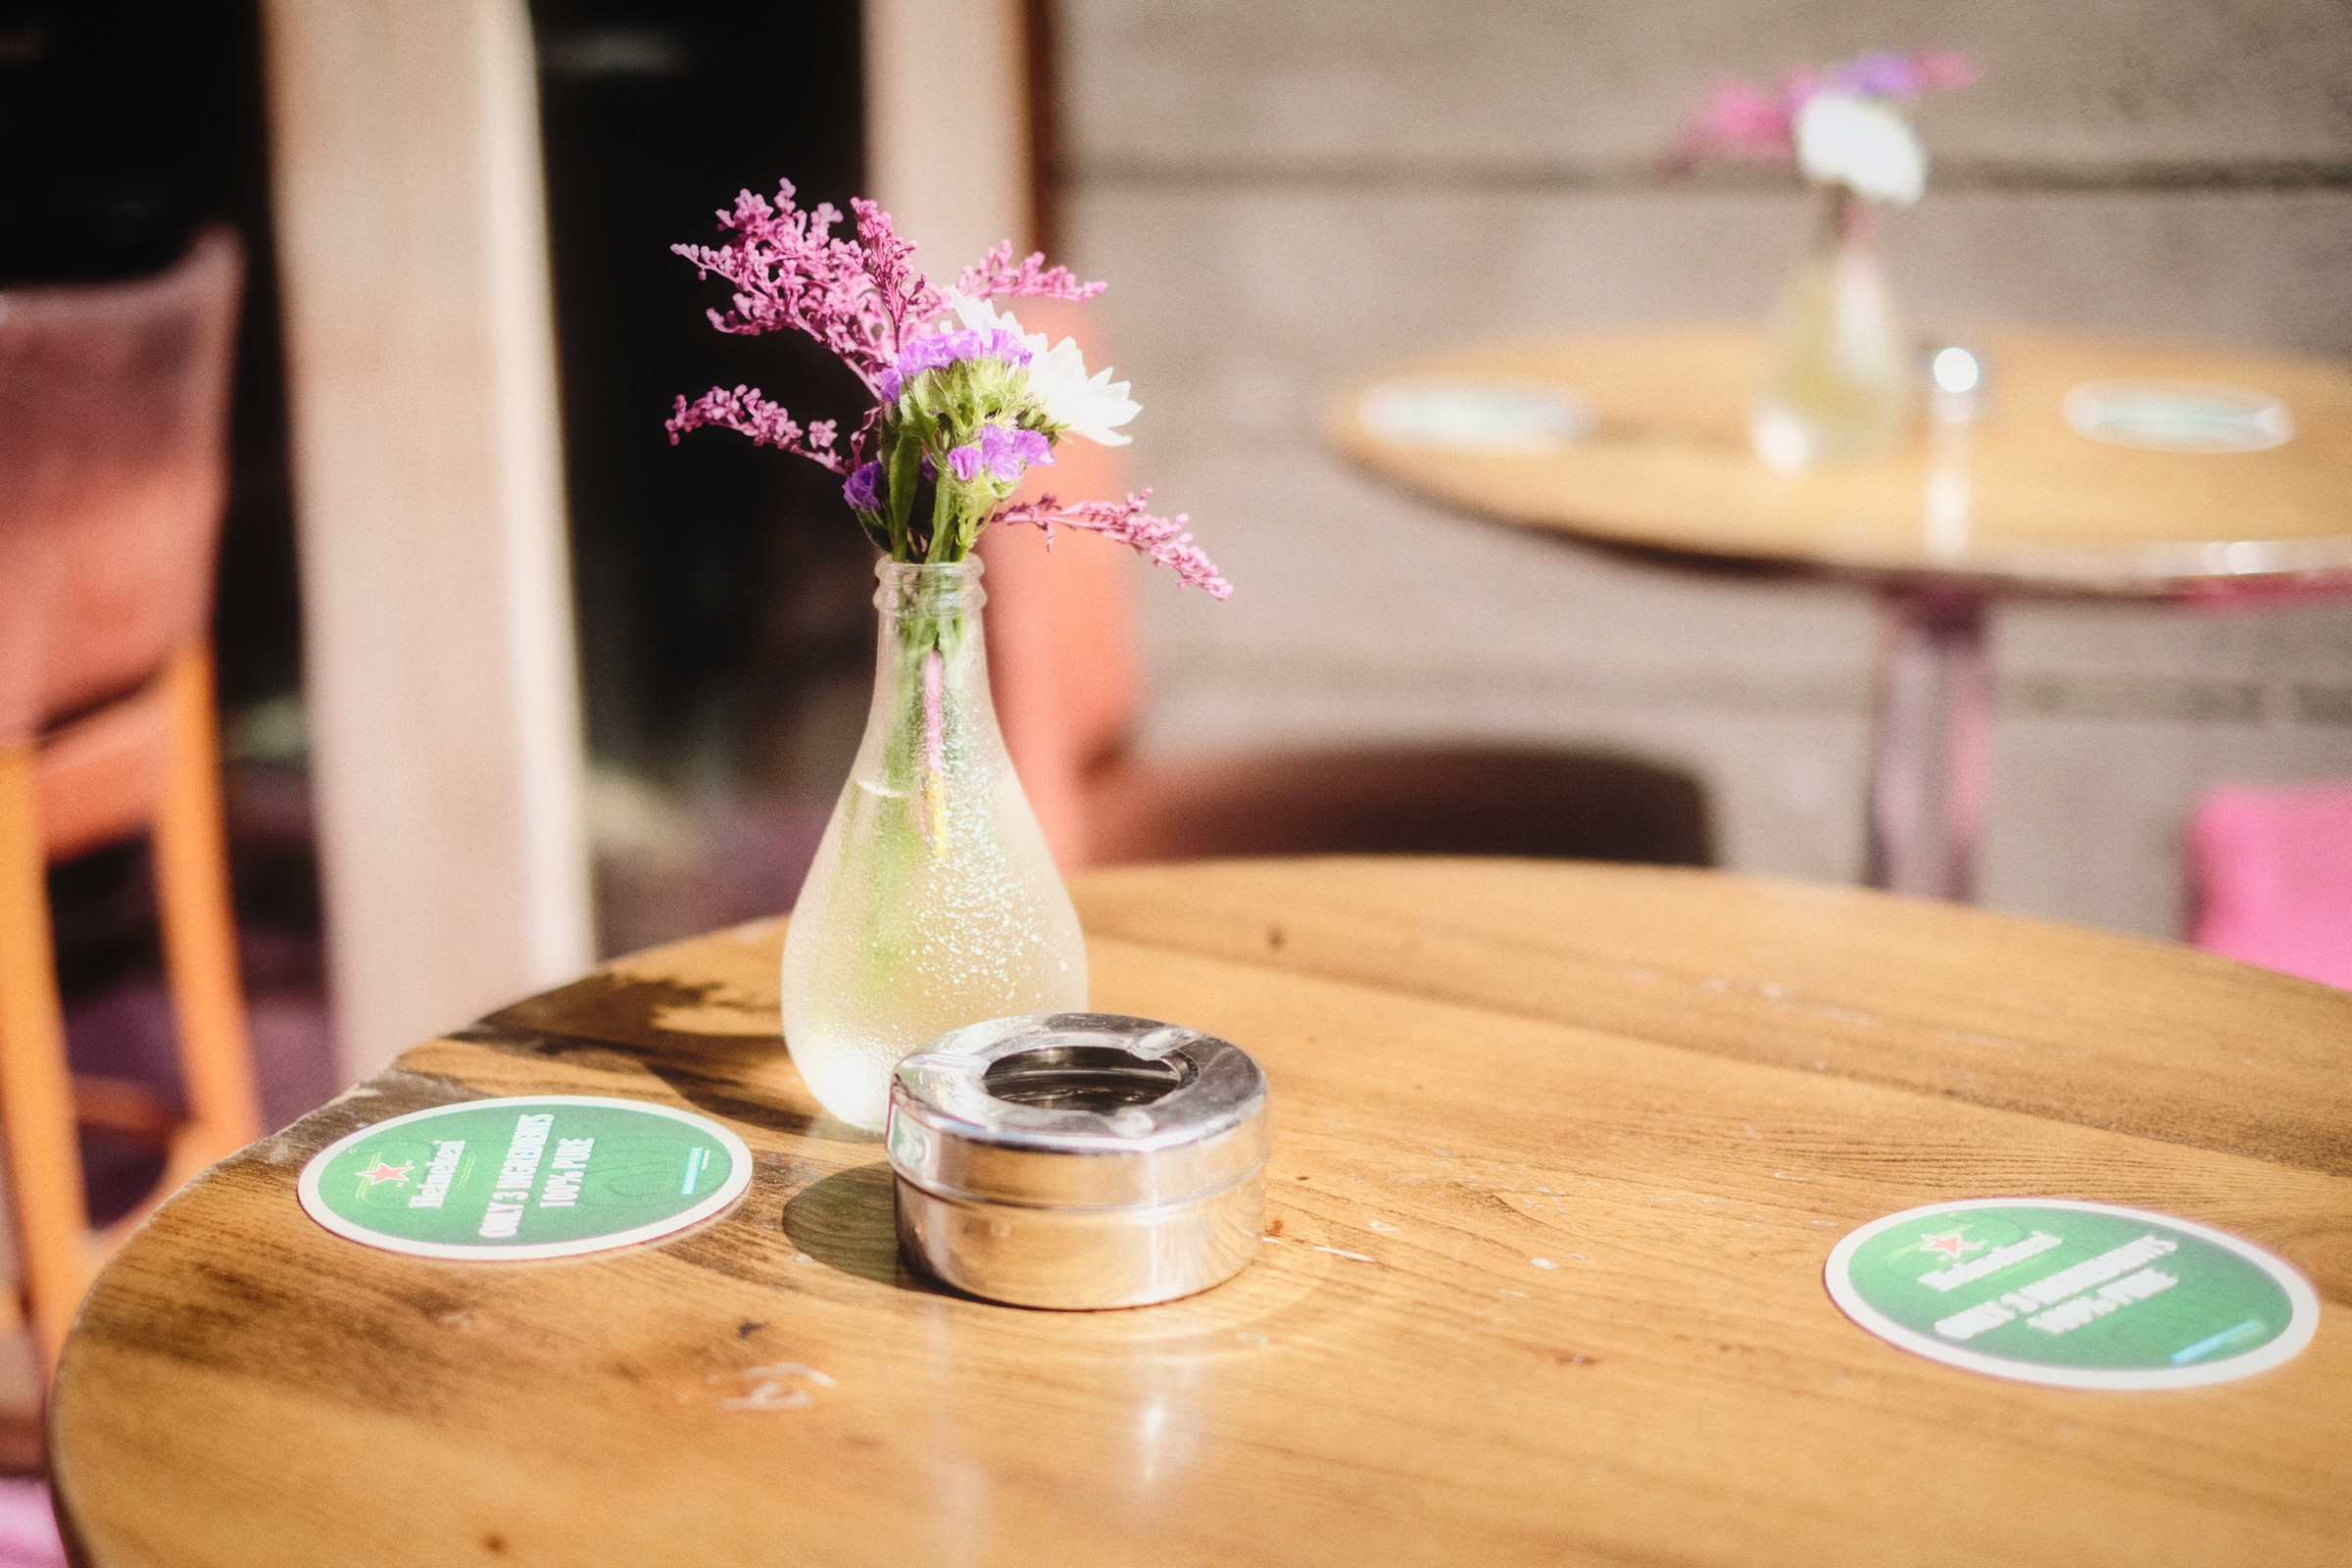
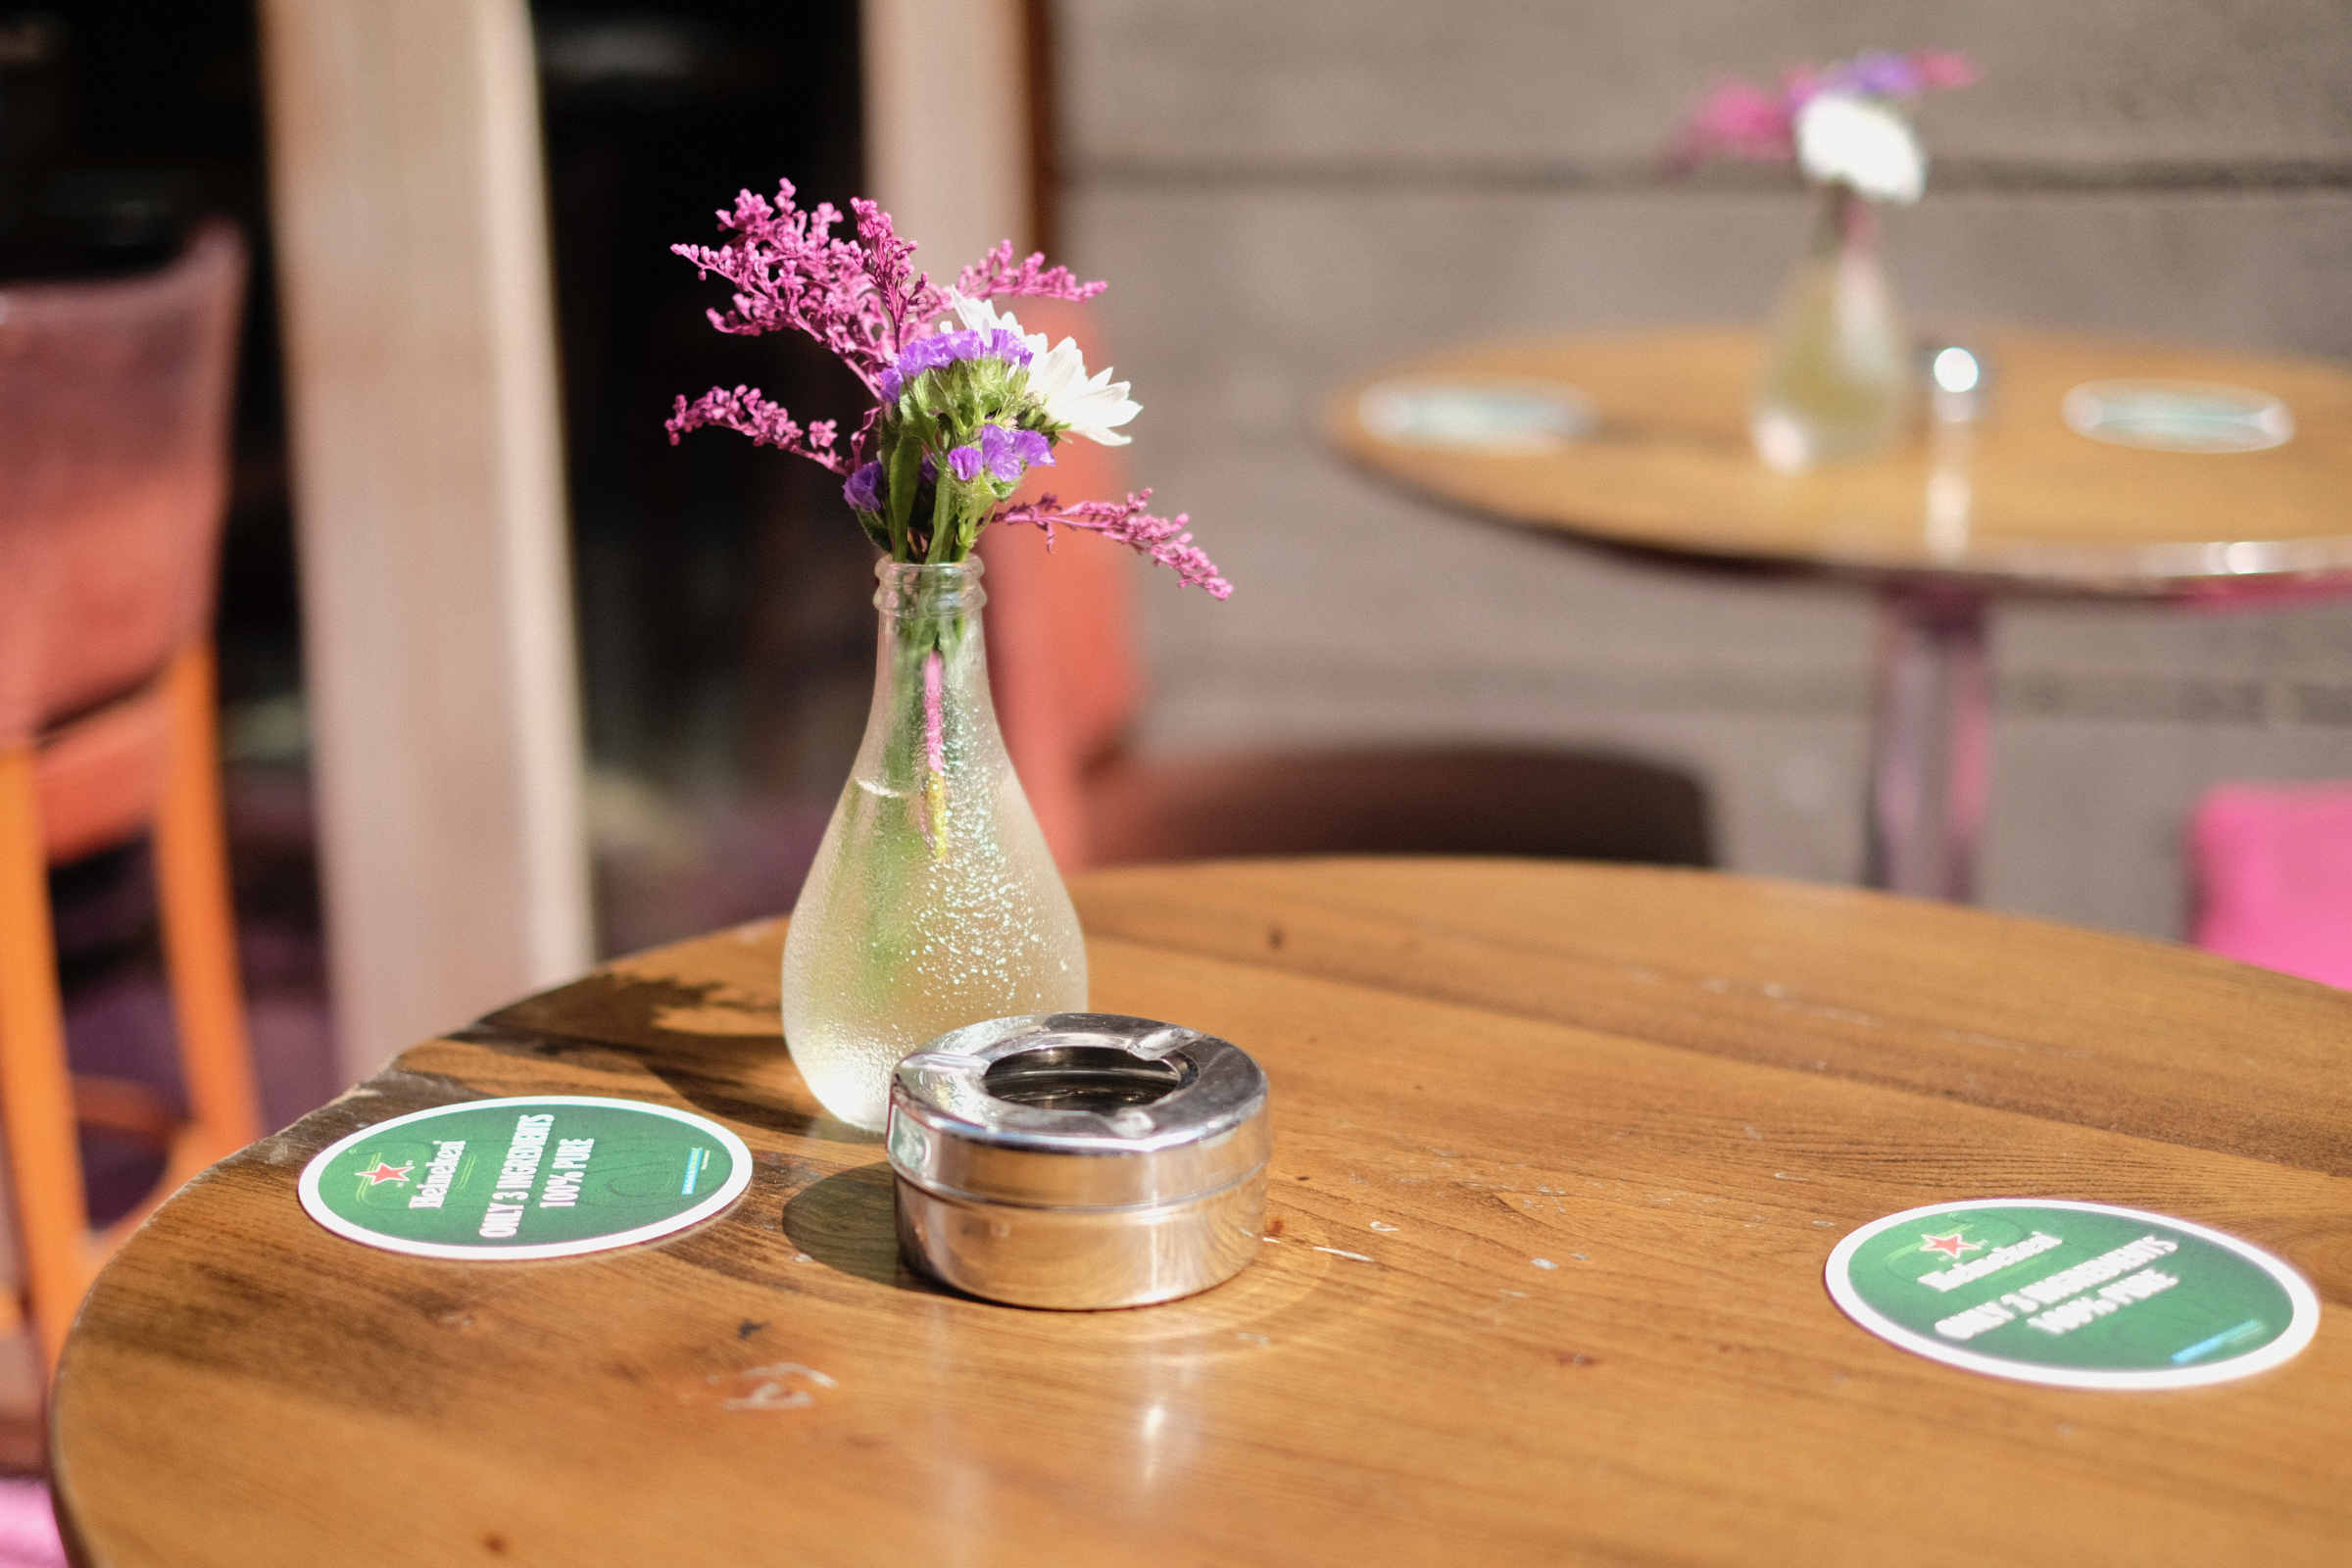
The main bulk of what I did was add some curves to raise the black levels and add a more film like curve. I also did some tinting of the shadows and highlights, and added some glow to soften off the highlights. They’re not anything spectacular, but I find that they give a nice little edge to shots where you want them to look more filmic, so if you have Luminar, feel free to download them and give them a try.
There’s no instructions with these and no support. I’m supplying them as is. They will need to be installed manually. Basically, go to the file menu, choose to show the presets folder, and copy the (unzipped) files (not the folder) into this folder and restart Luminar. Also, although they’re free, they’re still copyright, so please don’t post them elsewhere or share them online. If you want, share the link to this post, but please don’t repost the presets. Ok, disclaimer over.
If you haven’t tried Luminar before its a great editor, and you can find out more, and download a trial version from MacPhun. If you’re a PC user, they have recently announced an open beta for the software, so you can try it out for free using the beta period. Find out more here.
Help Support the Blog
I’m now on Patreon. If you like what I do here and find the information useful, then you can help by supporting me on Patreon. As well as helping keep this blog going with even more useful news, tips, tutorials and more, members also get special Patreon only perks. Stop by and check it out.
If you like this post then you can see more of my work on Instagram, Twitter and Facebook. I also have a YouTube channel that you might like. You should also check out my other Photography Project: The Streets of Dublin. If you want to get regular updates, and notices of occasional special offers, and discounts from my store, then please sign up for the Newsletter.
You can also show support by buying something from my from my Digital Download Store where I have Lightroom Presets, and e-books available for download. If you're a Fuji X-Trans shooter and Lightroom user, check out my guide to post processing X-Trans files in Lightroom. I also have a guides for processing X-Trans files in Capture One and Iridient Developer. For Sony Alpha shooters I have a new guide with tips on how to get the best from processing your A6000 Images in Lightroom.


