Processing Fuji Images "Flat" from Iridient Developer and Finishing in Lightroom

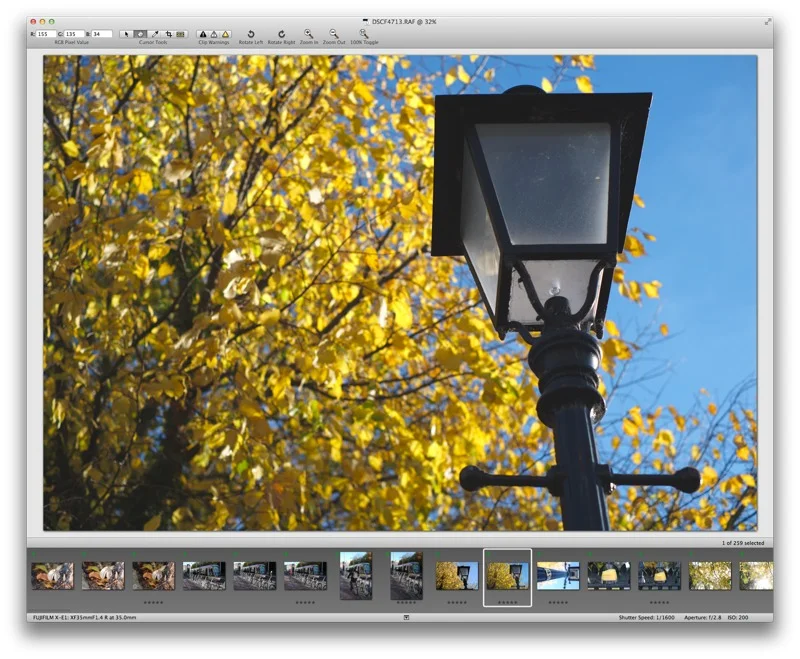
I’ve written before about some of the advantages of processing Fuji RAW files in a third party piece of software such as Iridient Developer or Photo Ninja. Personally, Iridient Developer is my preferred tool for this task (although Photo Ninja does a great job too). The only problem with this workflow is the length of time it takes. Because you need to sort first, and then go through the images in Iridient Developer, then render them back out, and then finish them in Lightroom, the process can be a bit long winded and tedious. To be honest, unless it’s something that you really need the extra detail for, most of the time I just stick with Lightroom, even though I know ID’s processing will be better.
However, I’ve come up with a new workflow which speeds things up a bit. I took inspiration from a technique commonly used in cinematography. In order to maximise the dynamic range on certain cameras, a cinematographer will set it to shoot “flat”. That is, they will keep the contrast and saturation low, which in turn maximises the amount of brightness and shadow information that can be captured. The contrast and look is added back in post production (through a process called Colour Grading). So, I used this idea and created settings in Iridient Developer that would render images out in a similar “flat” setting, thereby maximising the highlight and shadow details so you’re not loosing anything when you save out as a 16 bit RGB file rather than a RAW file. Basically the idea is to make sure that there is no clipped information in the shadows or highlights which, when saved as a tiff, would be unrecoverable.
This workflow obviously won’t be for everyone, and I’m not suggesting that it is. It’s just another idea for you to try and if you don’t like it or if you think that it’s too much trouble, then by all means ignore it as it is after all just a suggestion. I’m not claiming that this is the best way or the only way, it’s just another way and you may find it helpful.
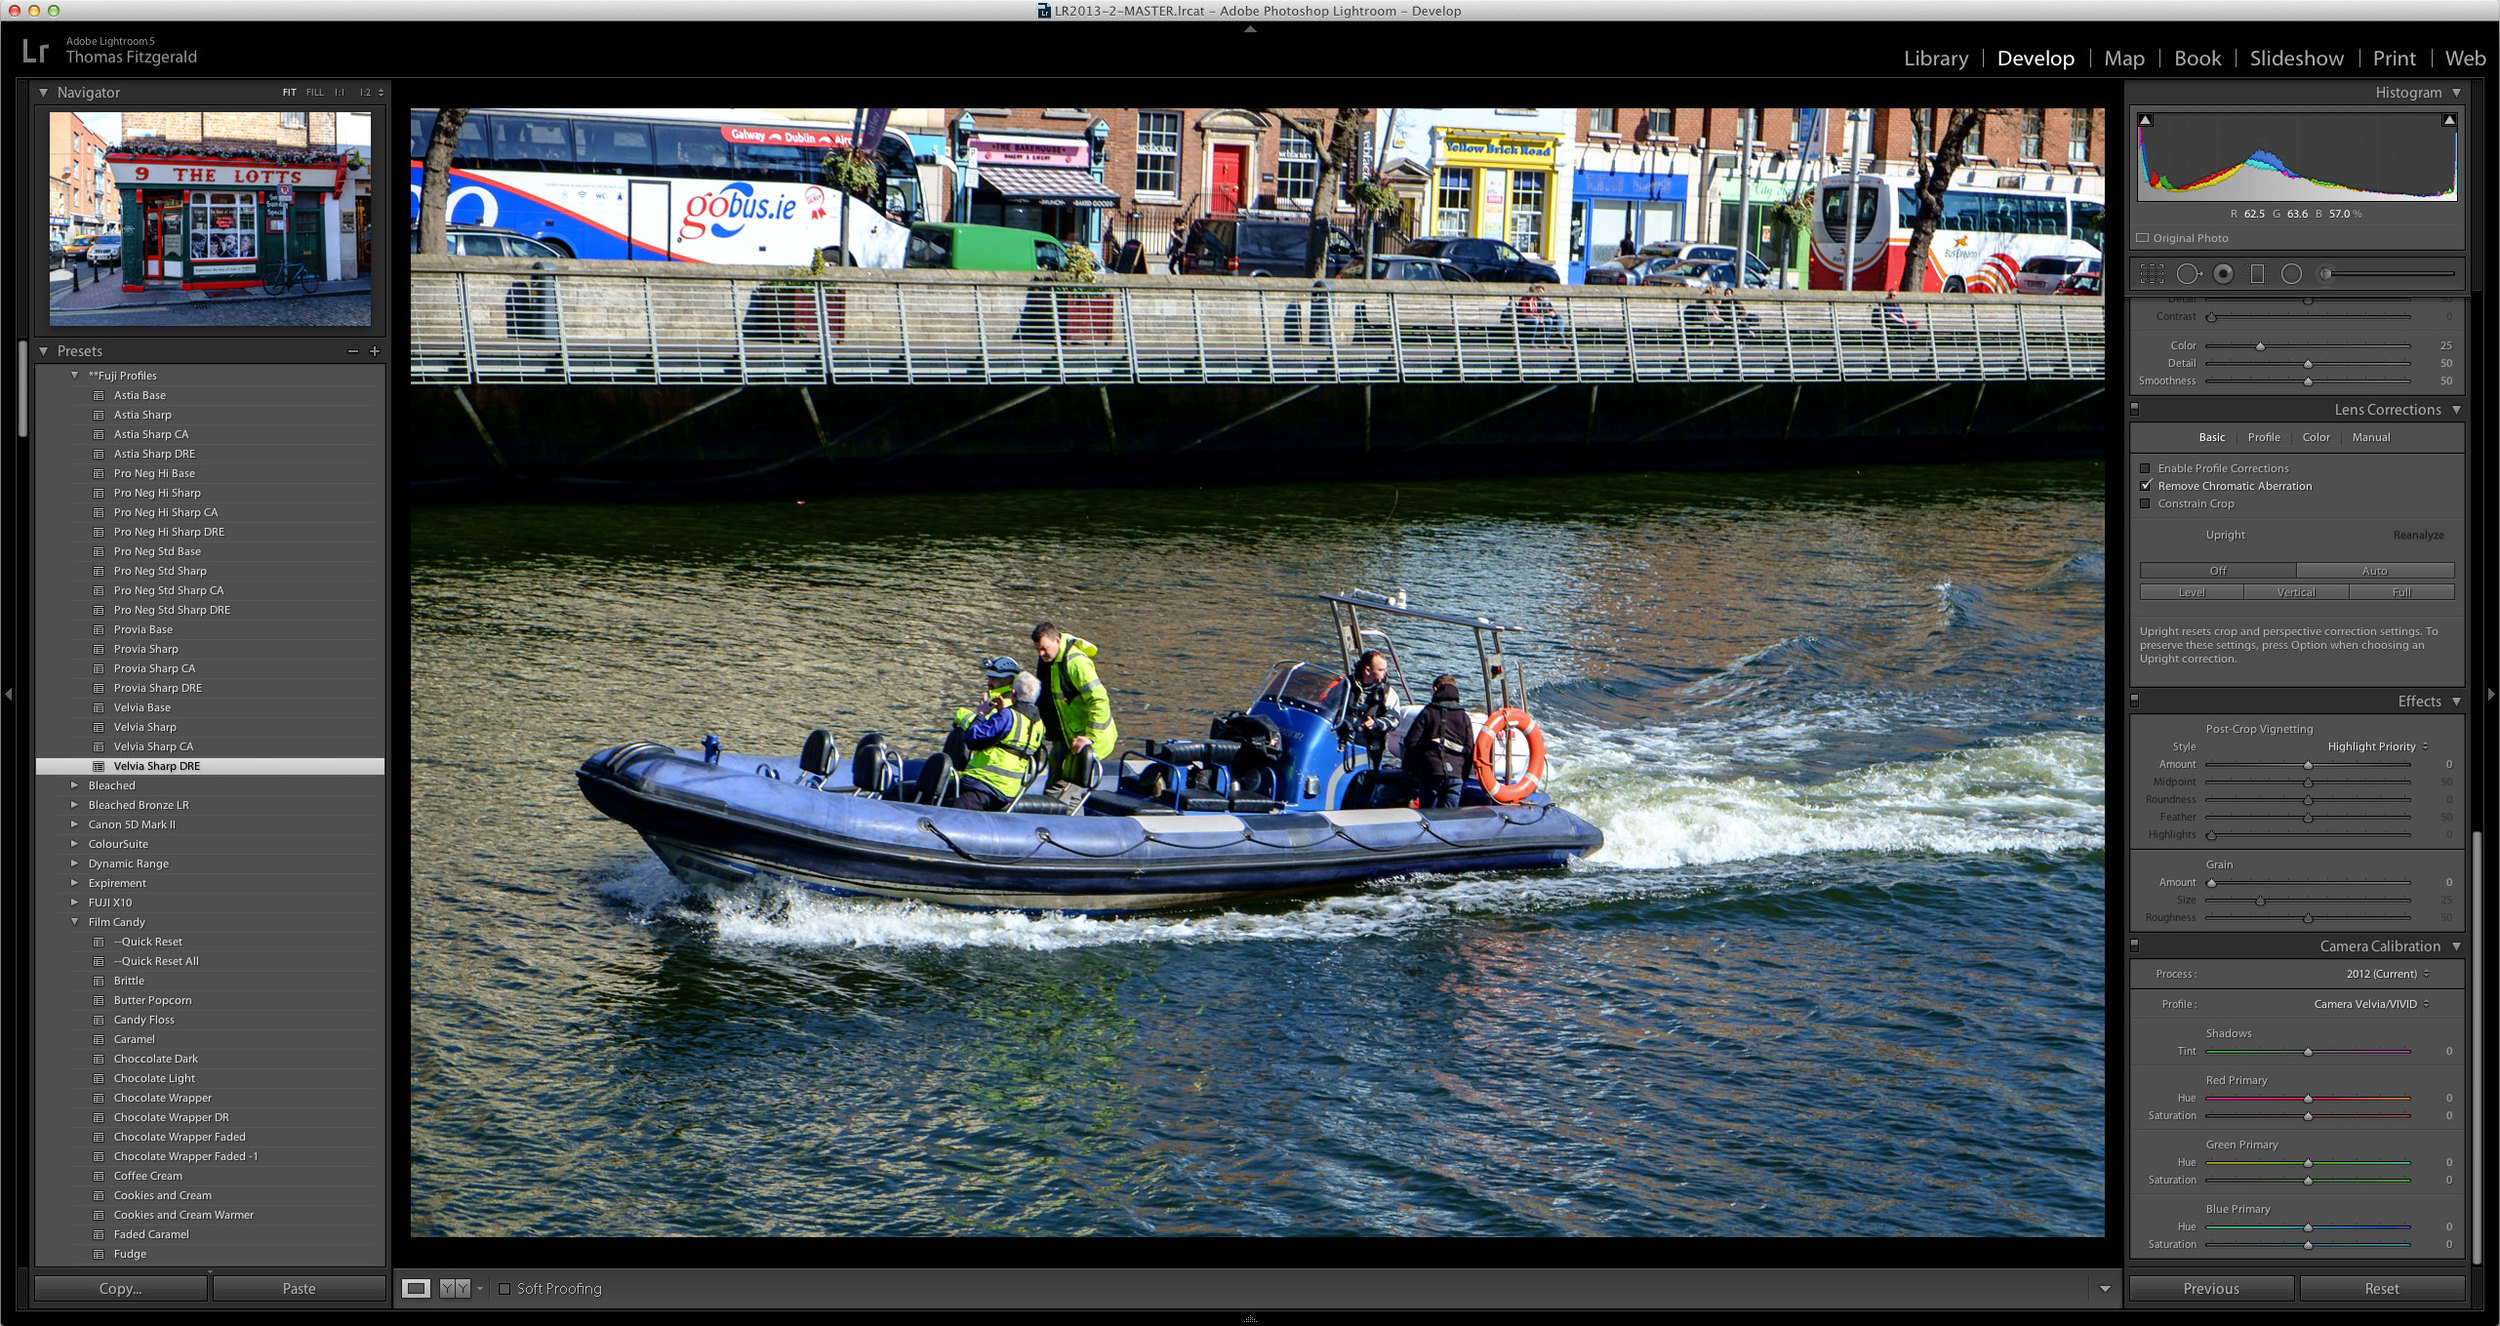
Once I came up with the suitable settings, I saved this as a preset for Iridient. Now, because this maximises the details, I don’t have to worry too much about tweaking each shot in Iridient Developer, I can just apply these settings to all the images and batch process them back out, and re-import them into Lightroom.
I’ve created a preset for Iridient Developer for doing this and you can download it here. To install this copy it to the following folder on your mac.
Home Folder: Library:Application Support: Raw Developer: Settings:
In this case the hope folder is your own home folder so it will be named whatever your home folder is named. To get to the library, because it is hidden by default, go to the “Go” menu in the finder and hold down the option key, and you should get the option of opening the Library folder. If you’re unsure or concerned about poking around your Mac’s Library folder, then you might not want to. To create the settings manually, here’s what I had set:

You will then need to restart Iridient Developer if it’s running.
Once you render images out flat and import them back to Lightroom, you will need to add some contrast back to them. This can be as simple as adding some contrast with the contrast slider or for better results, I find that using the curves can create a better look in this case. You can then tweak the images further in Lightroom.
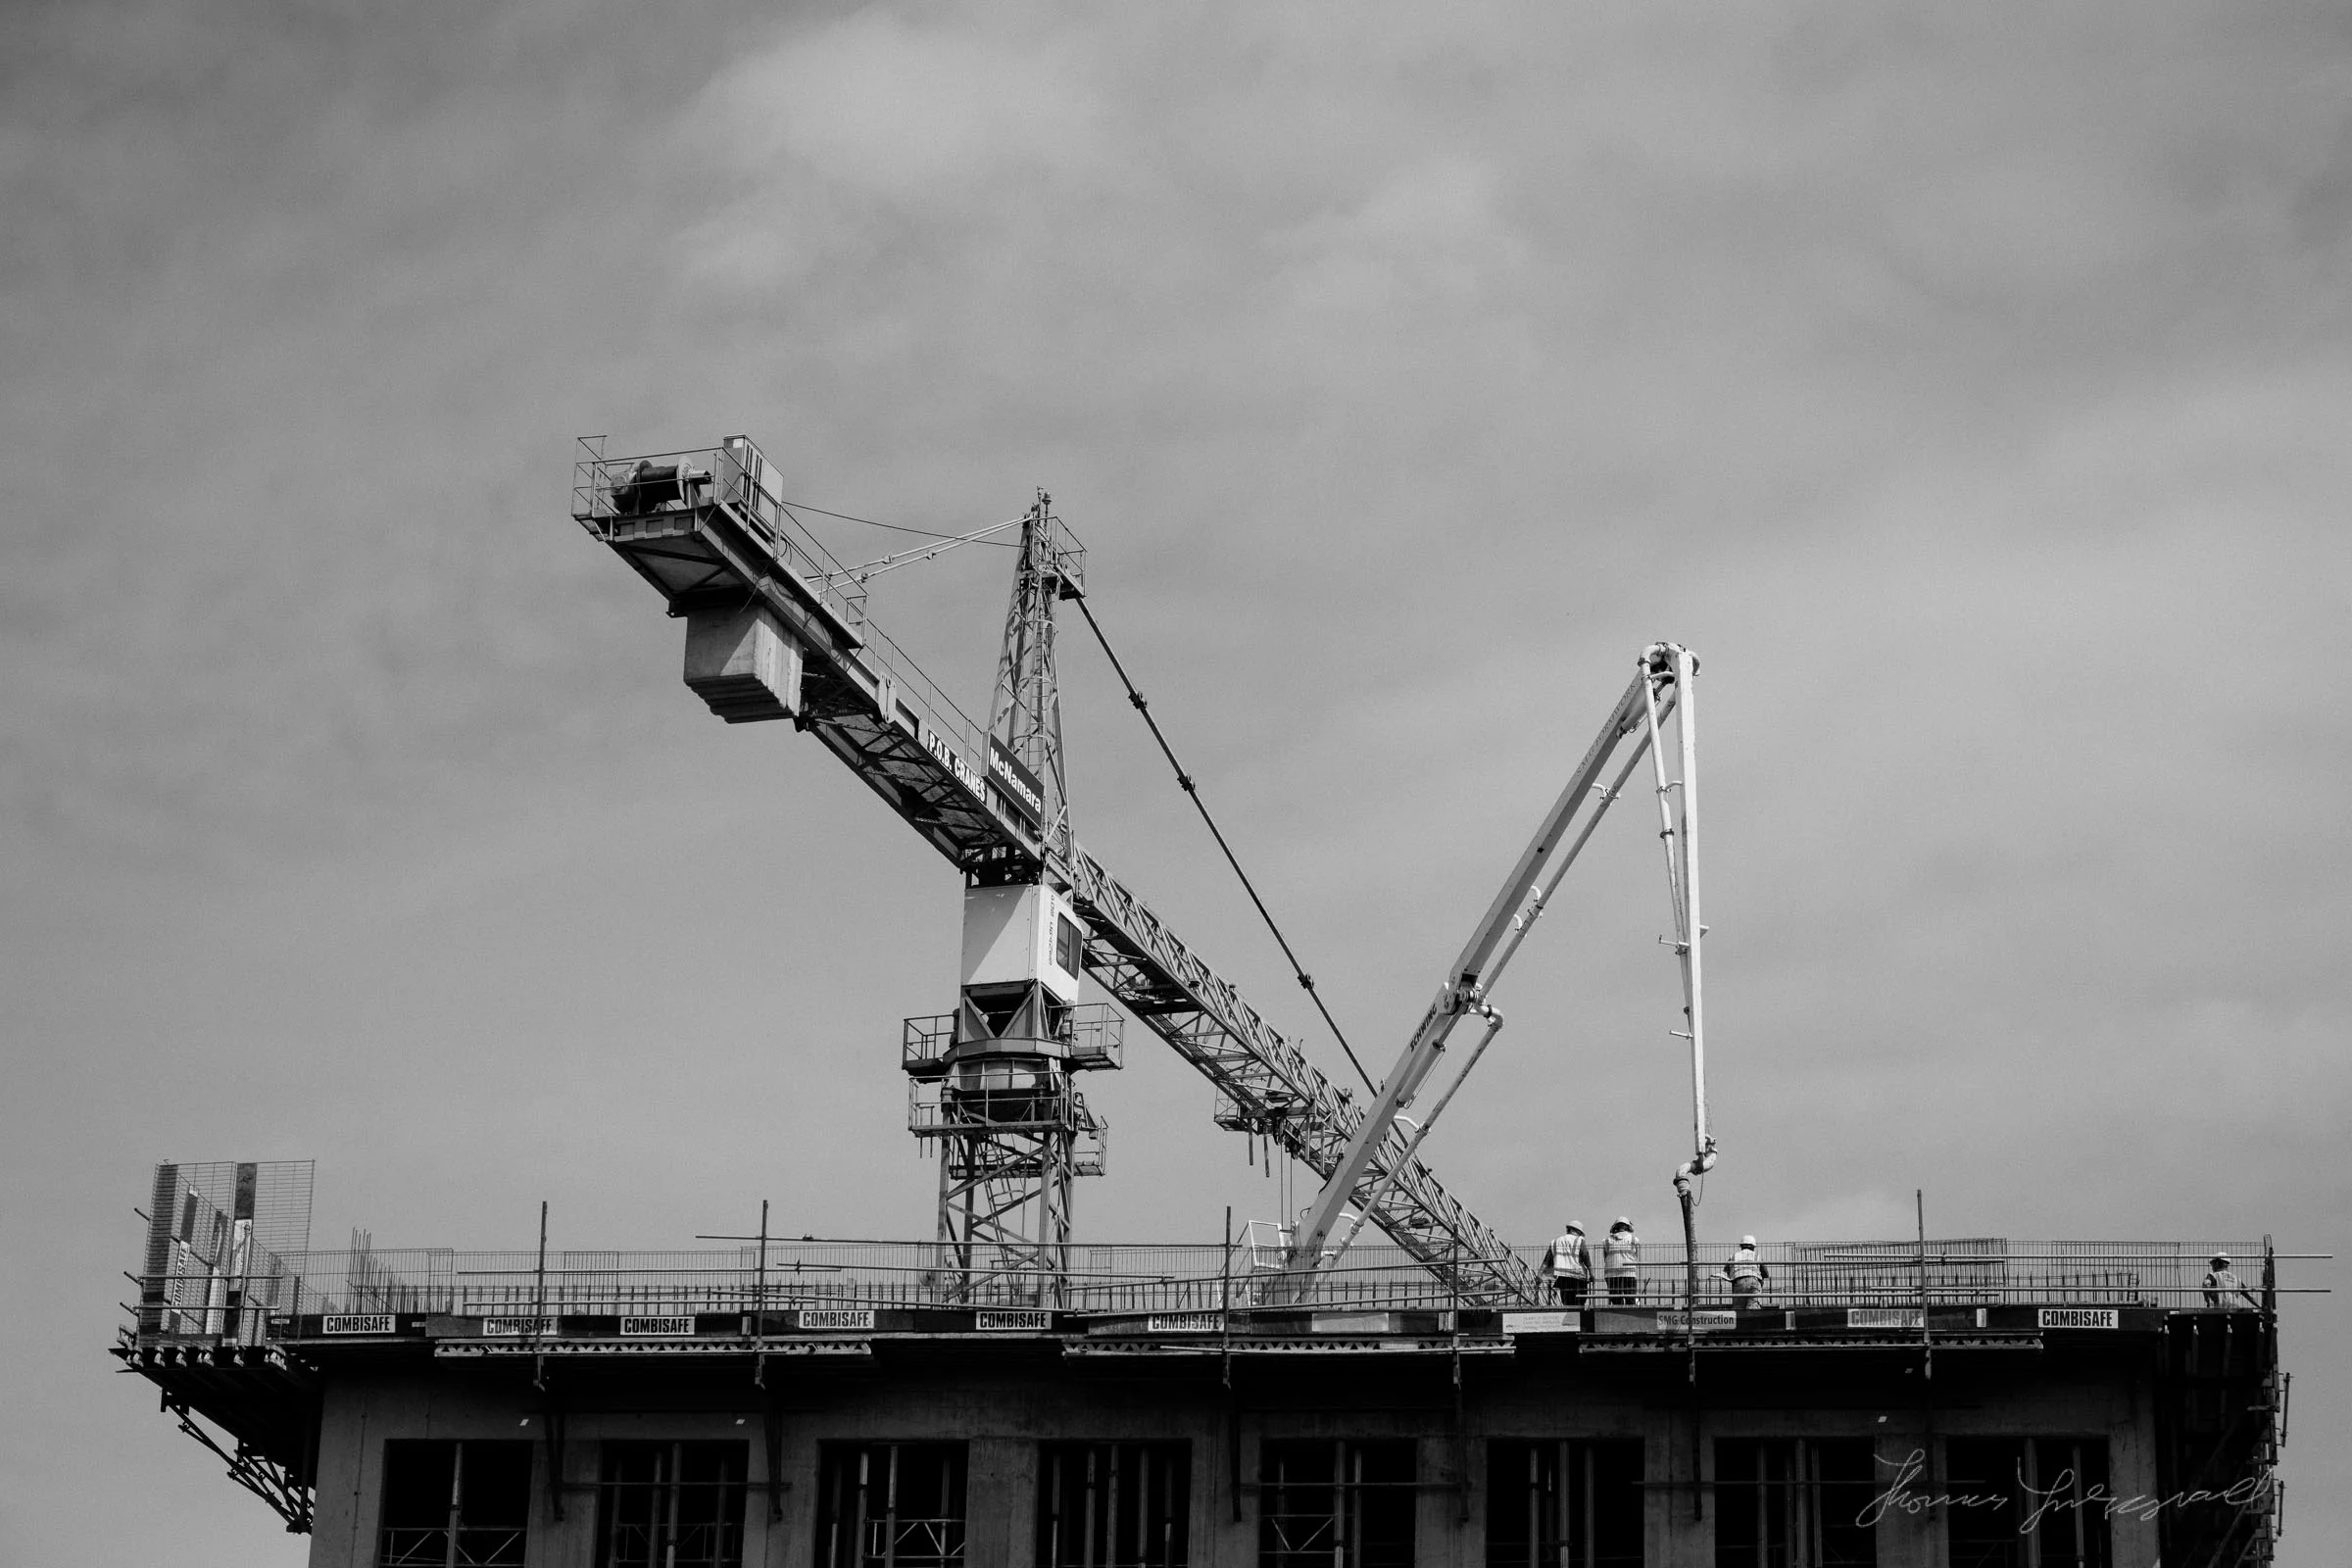
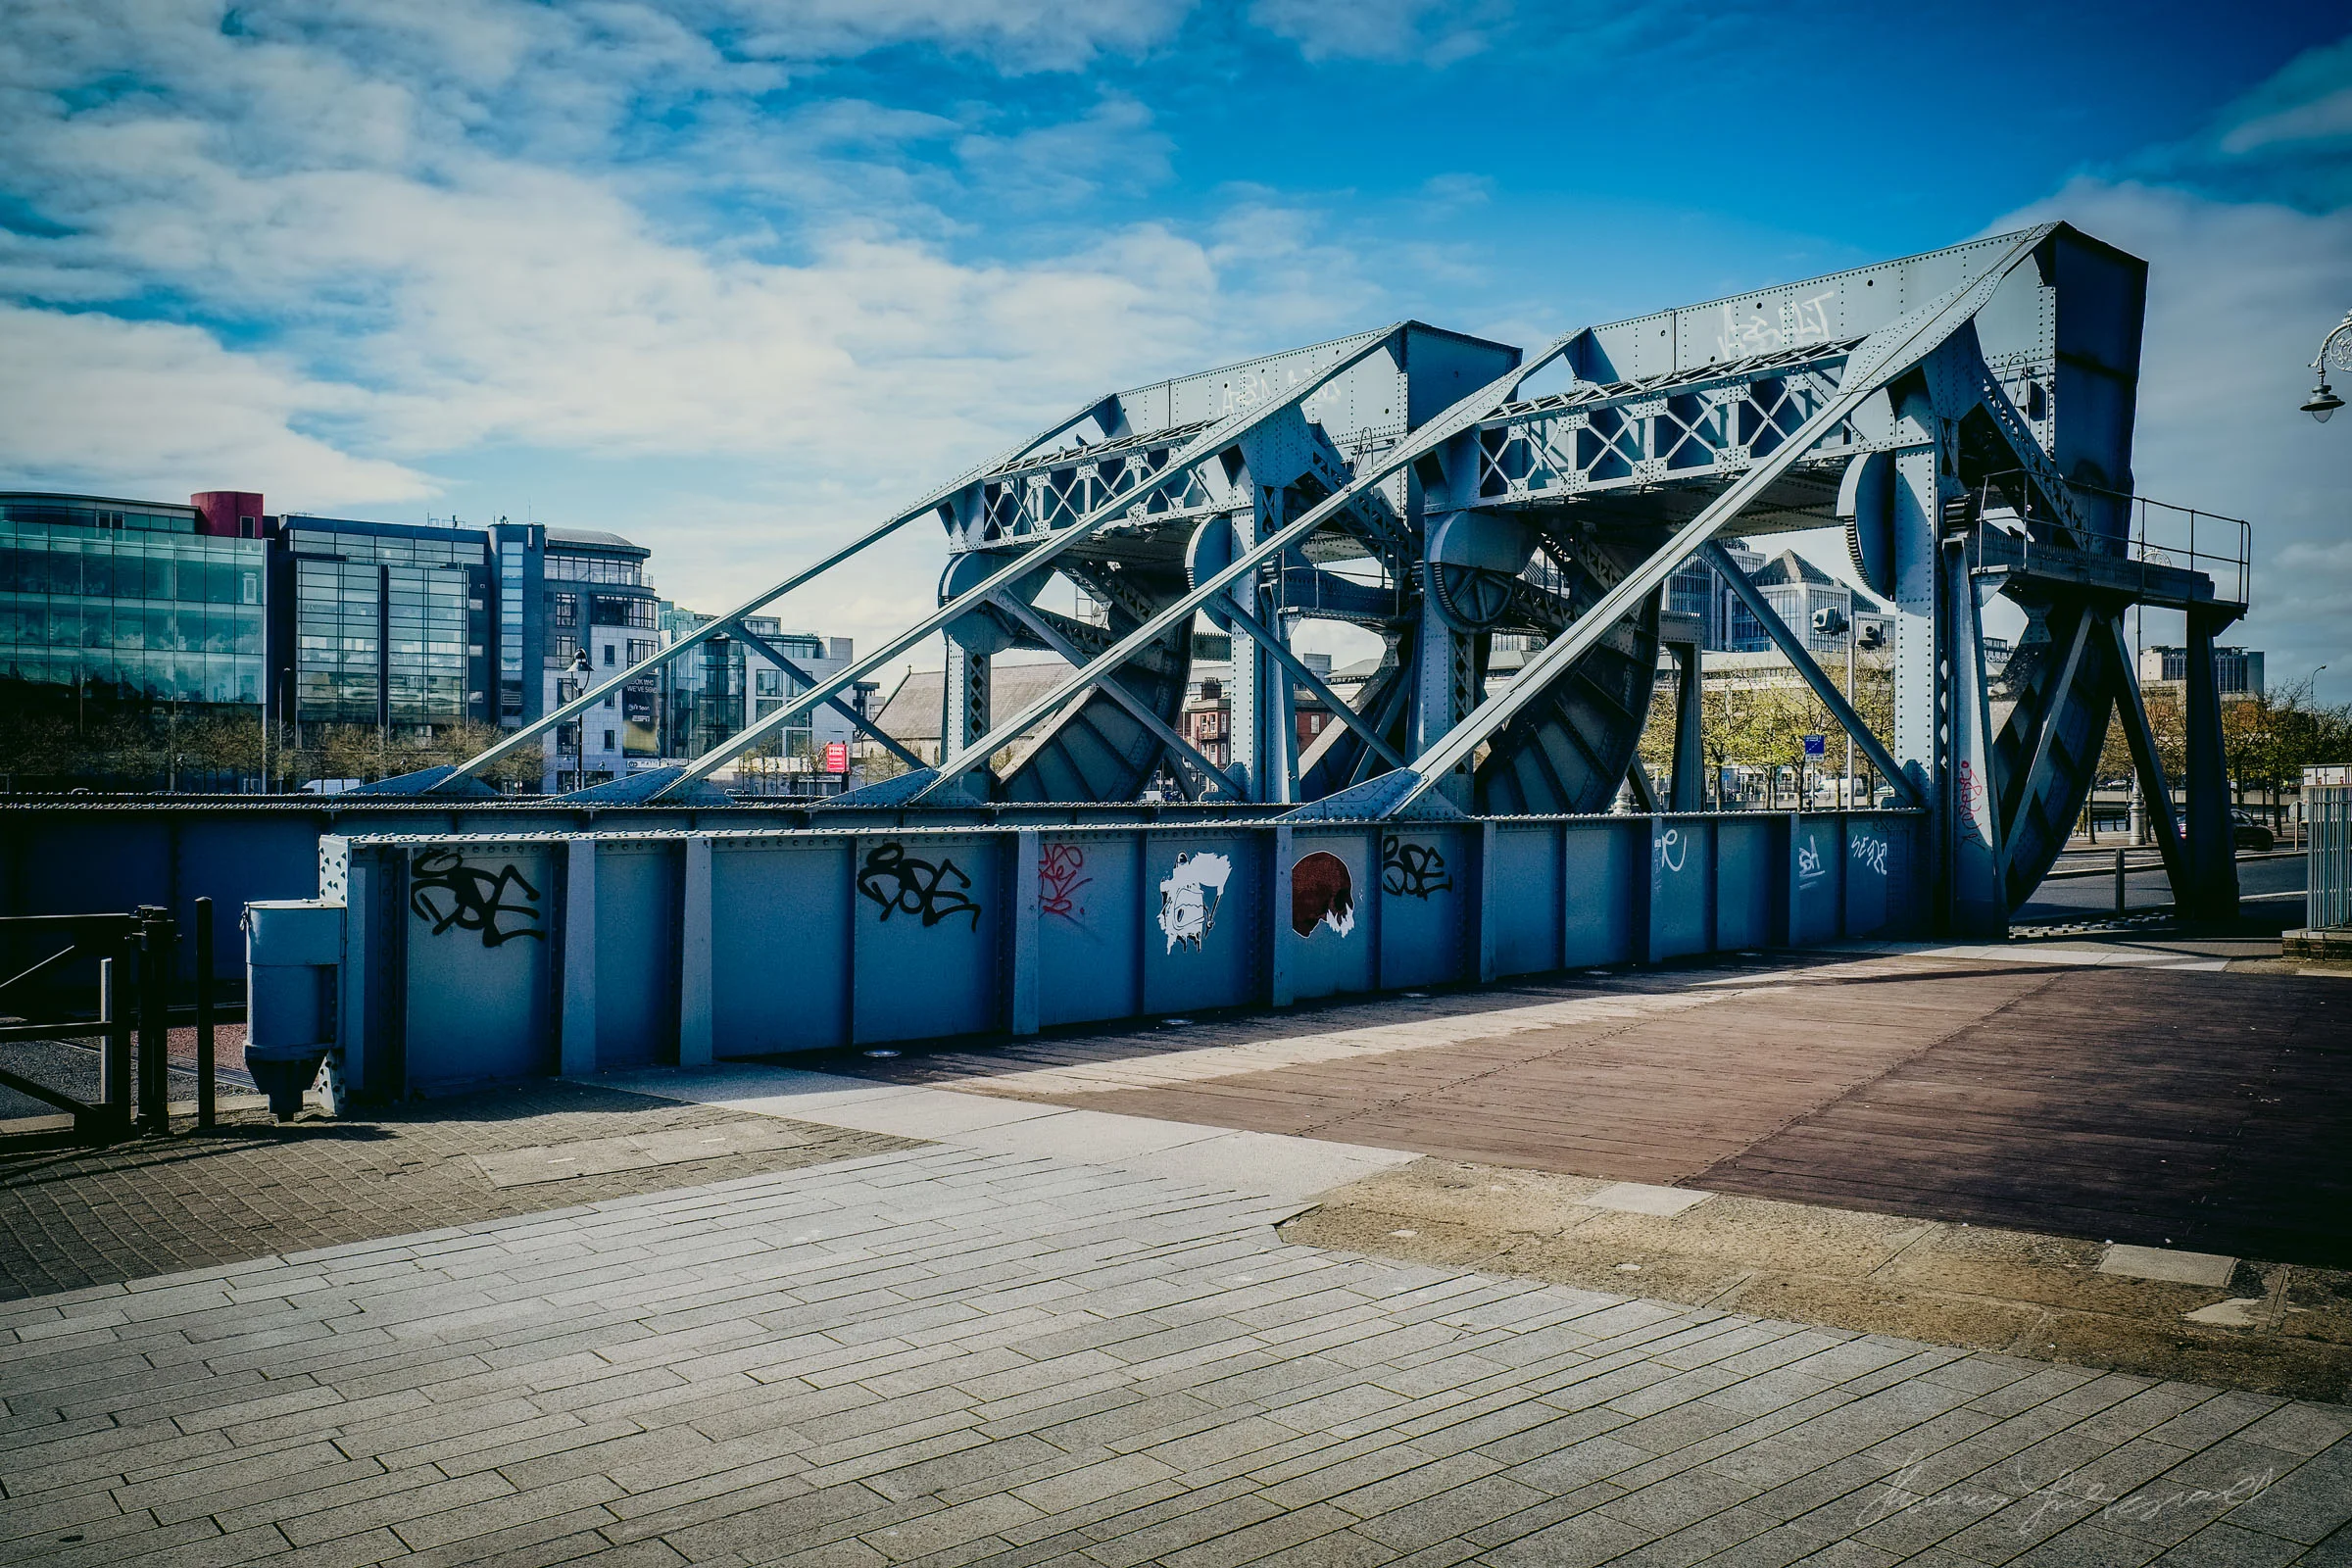
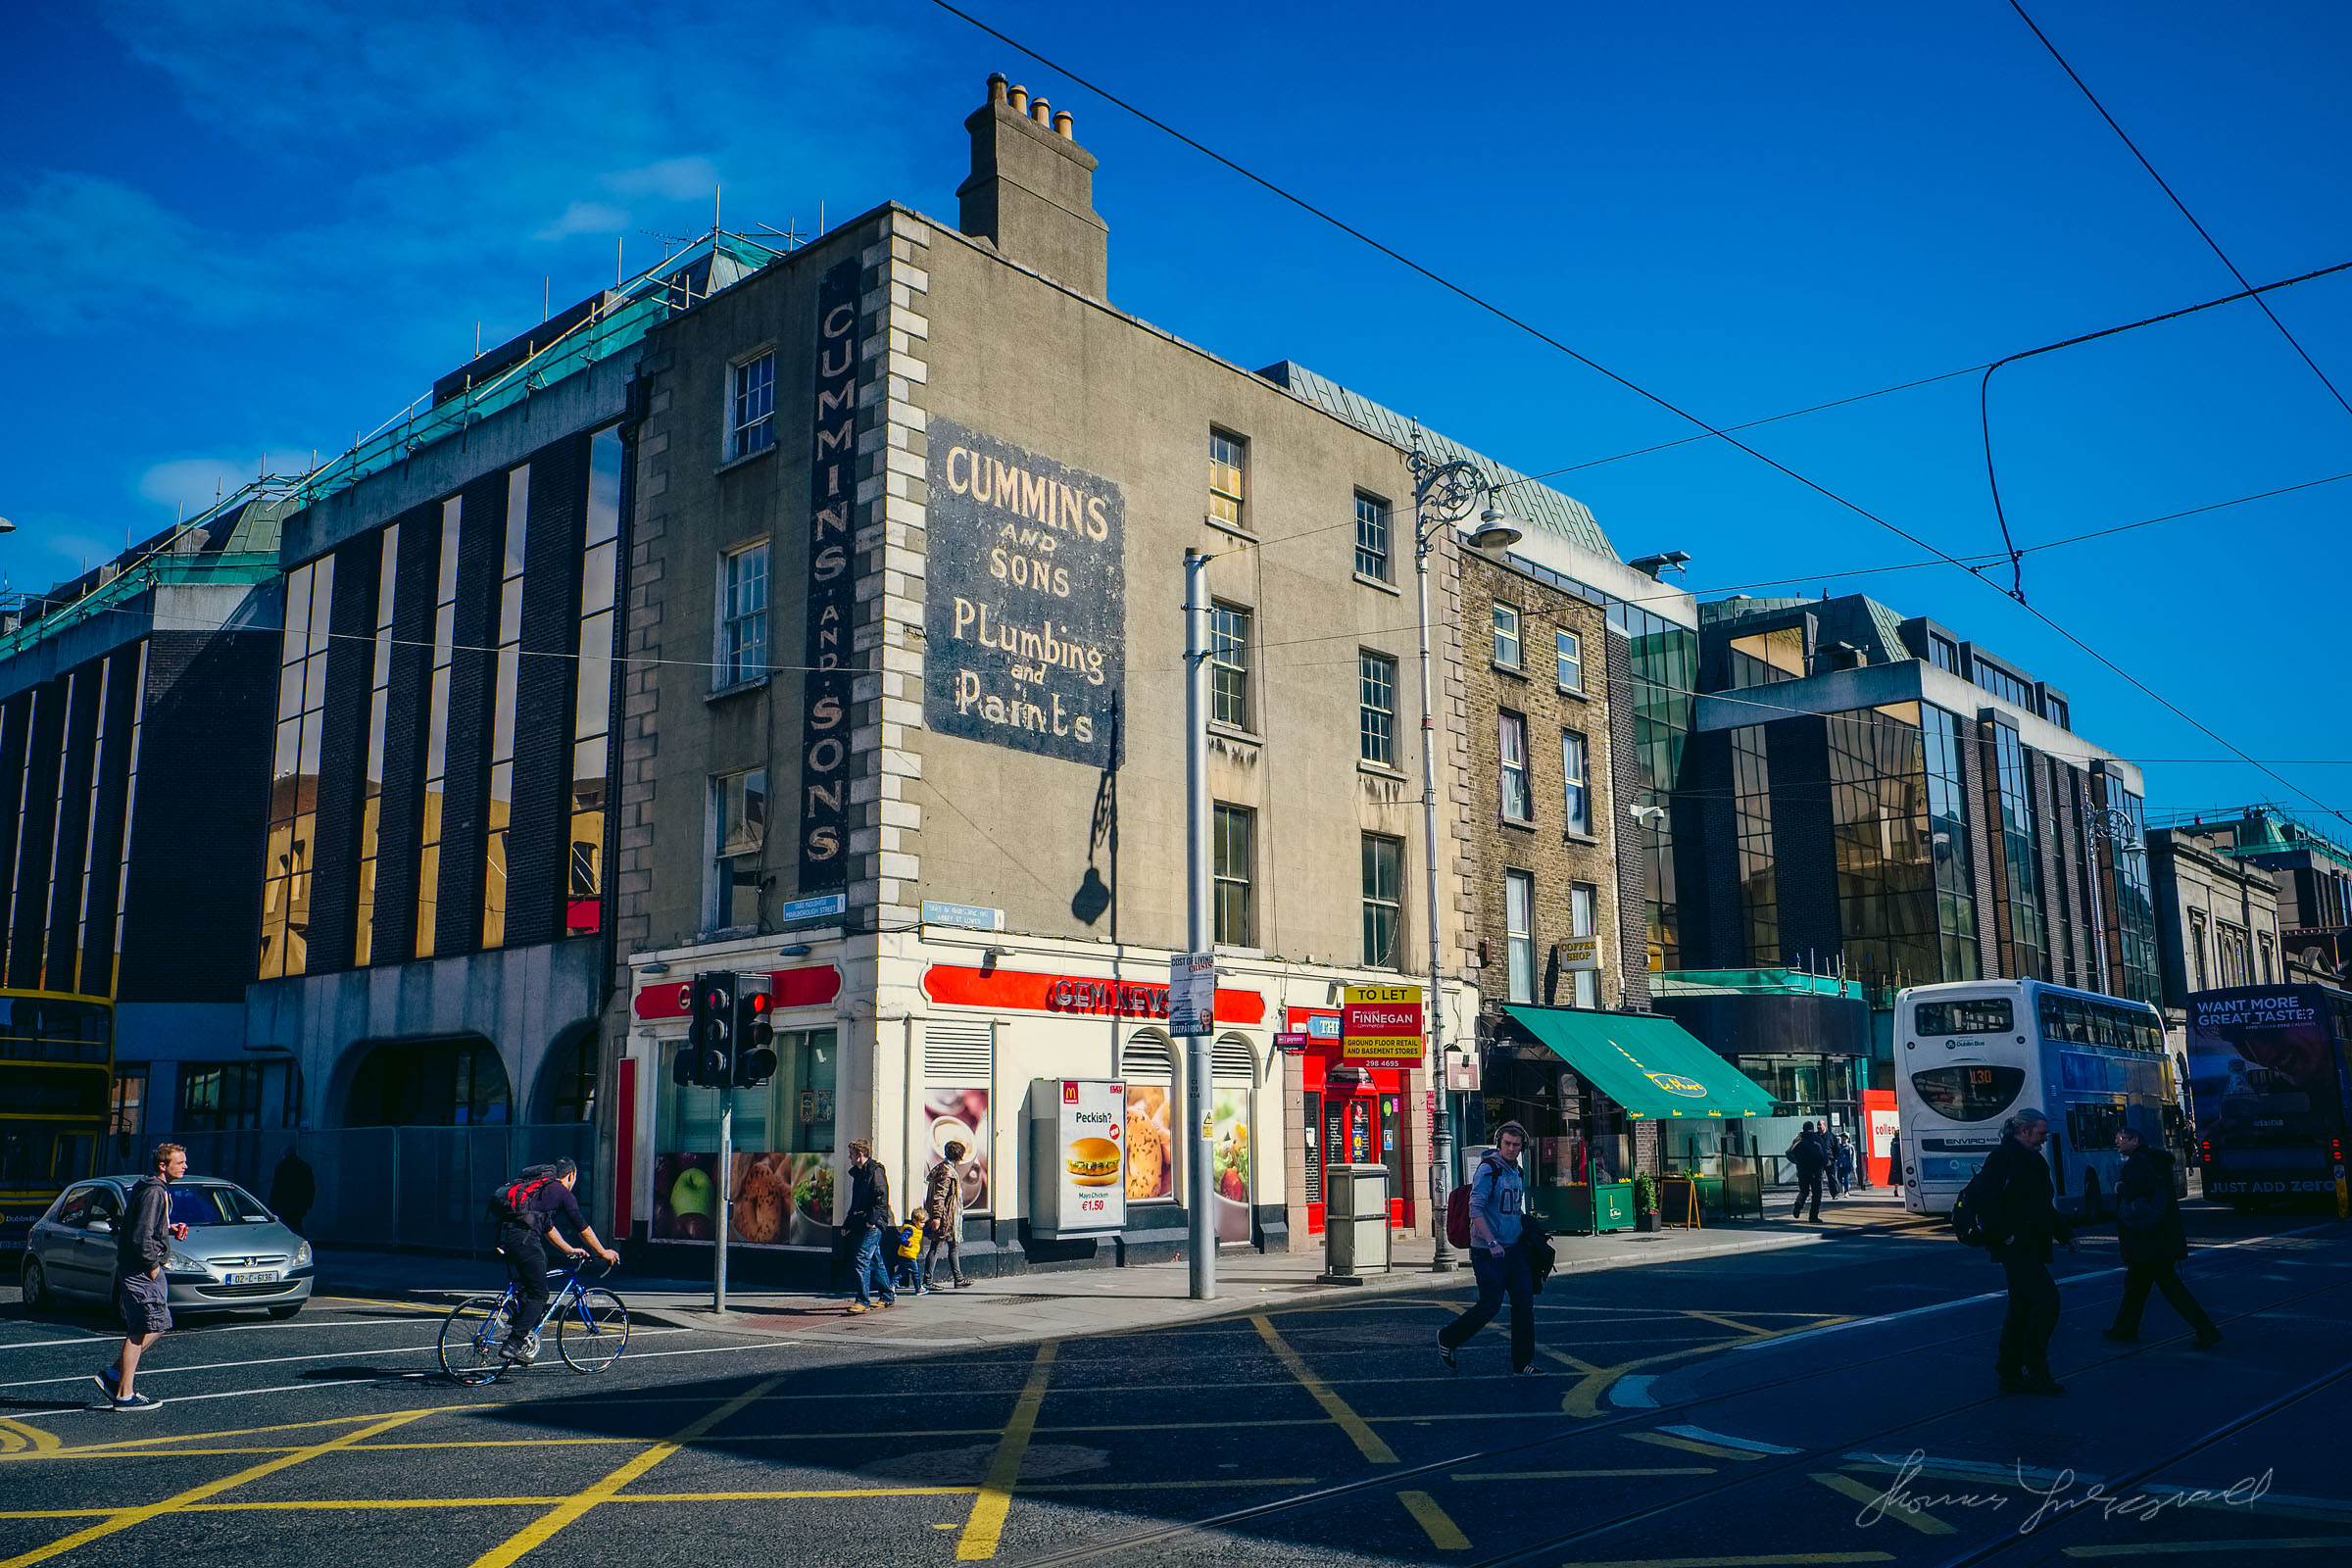
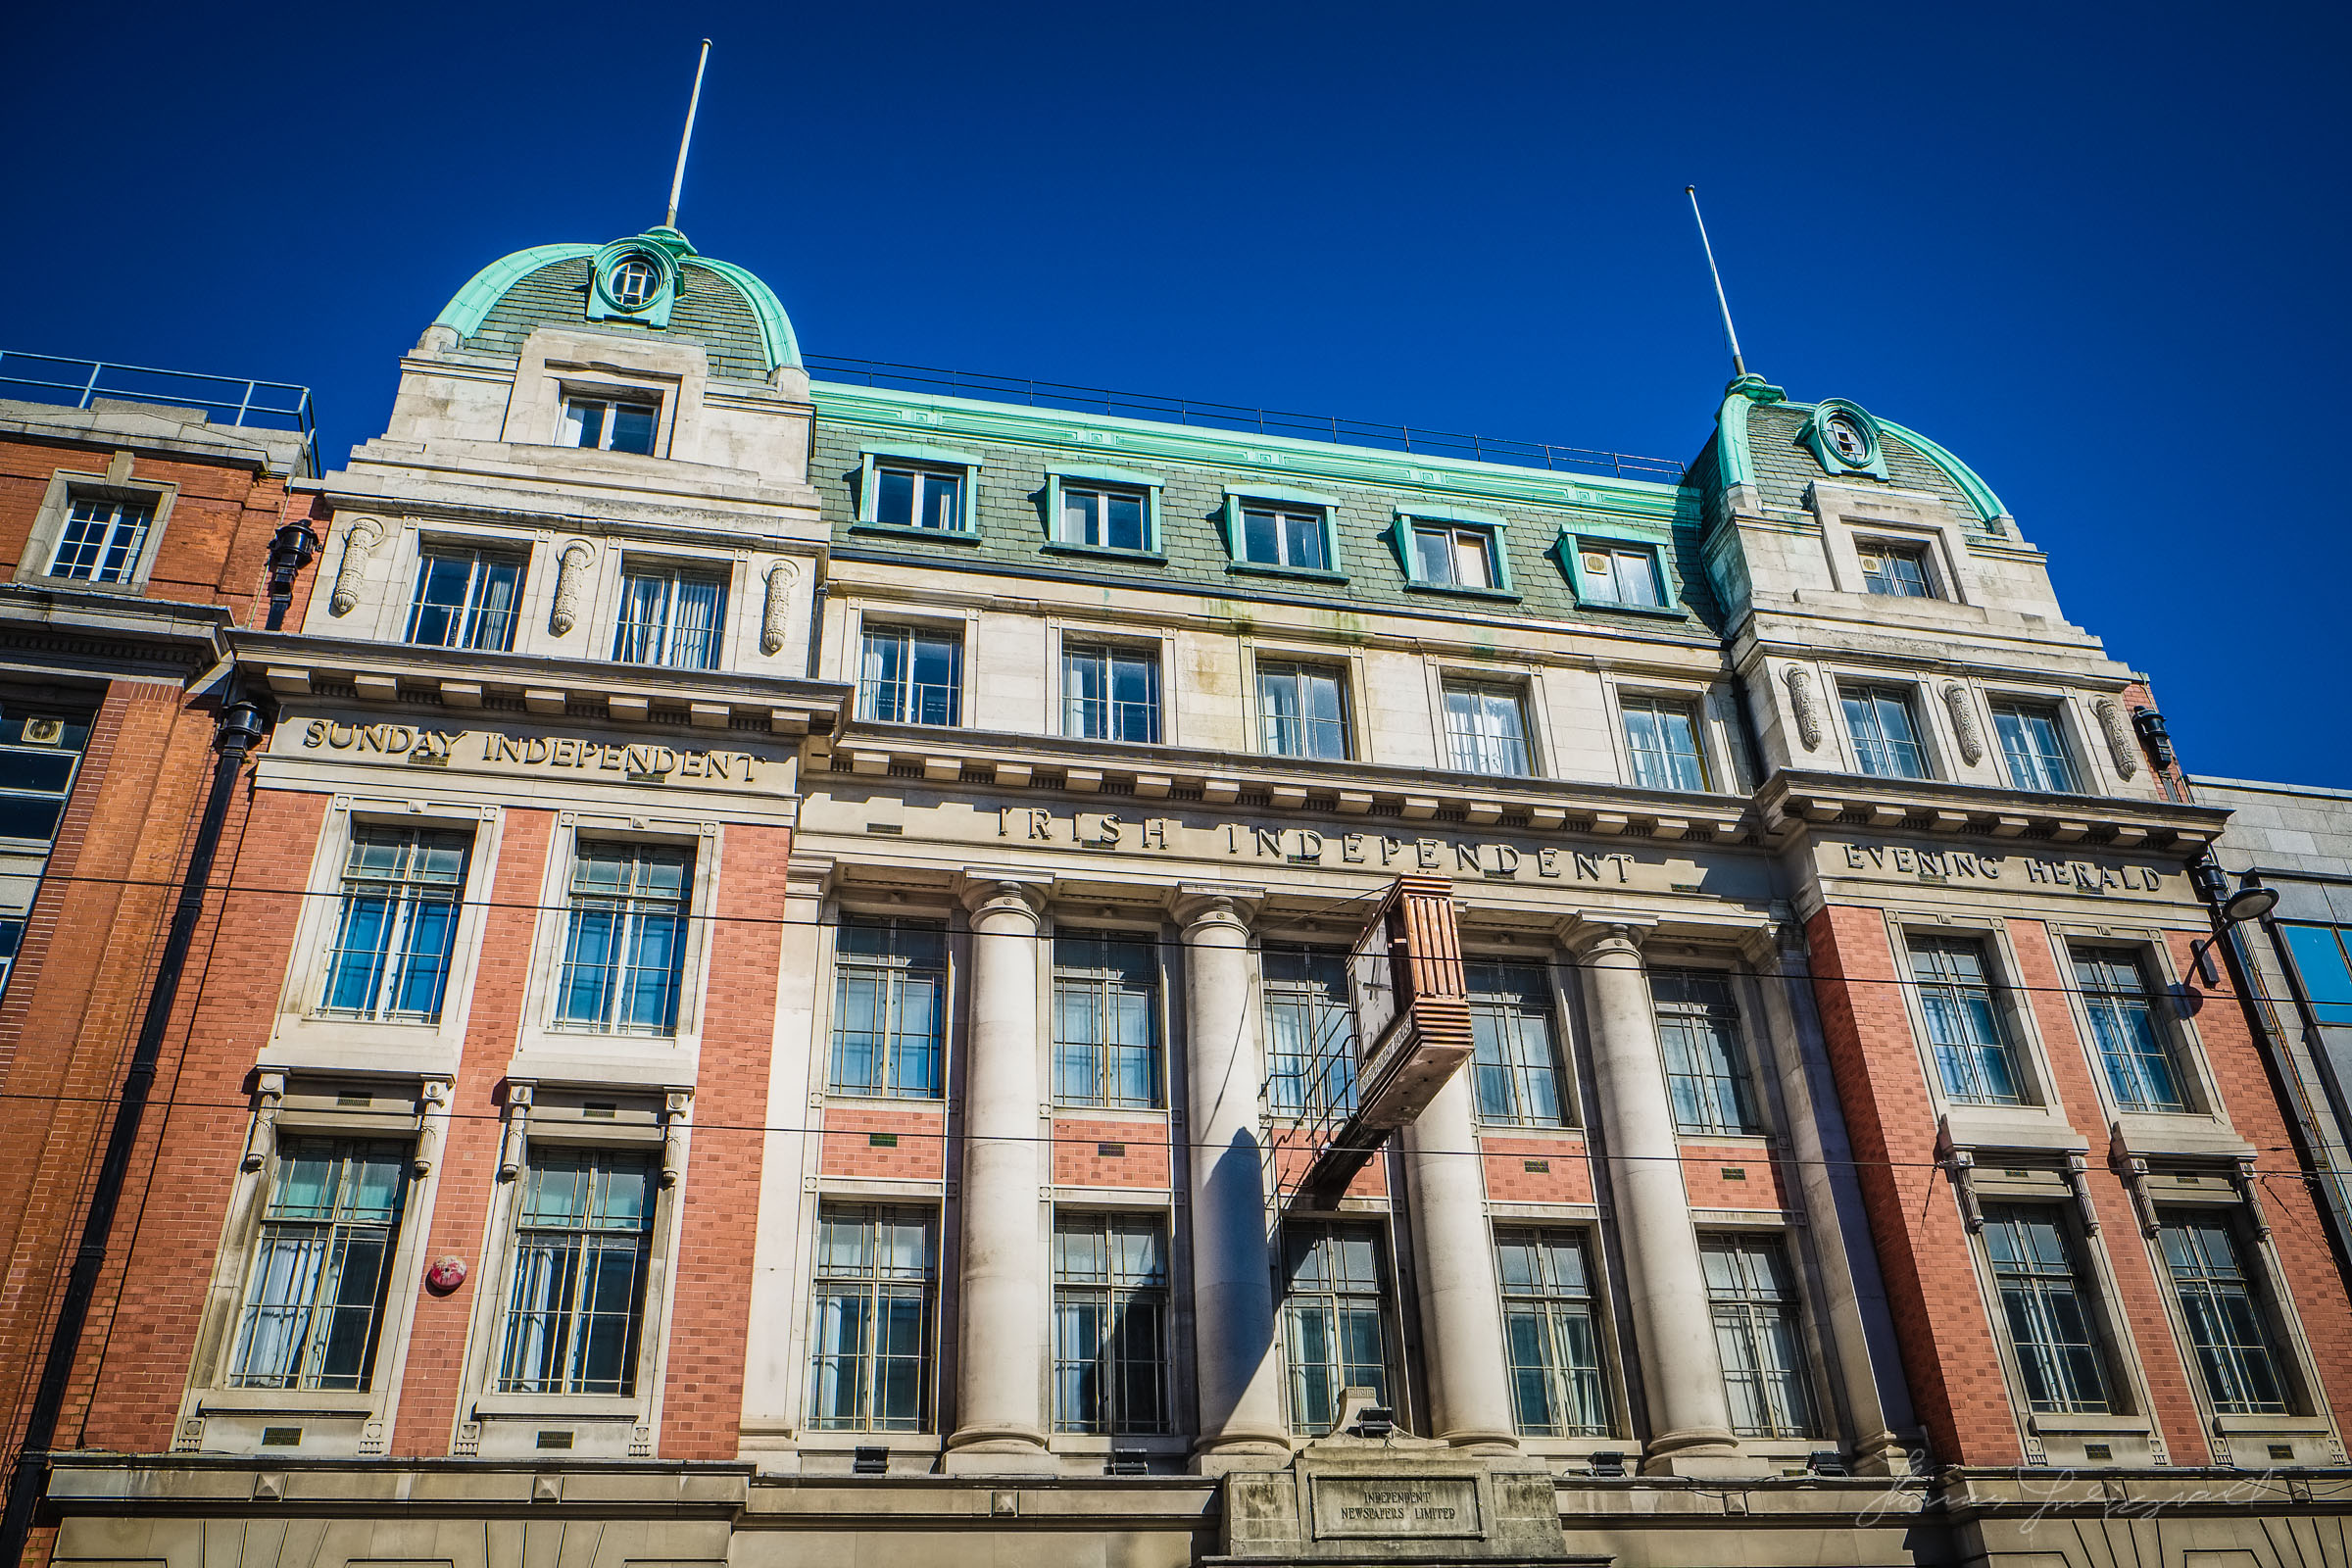
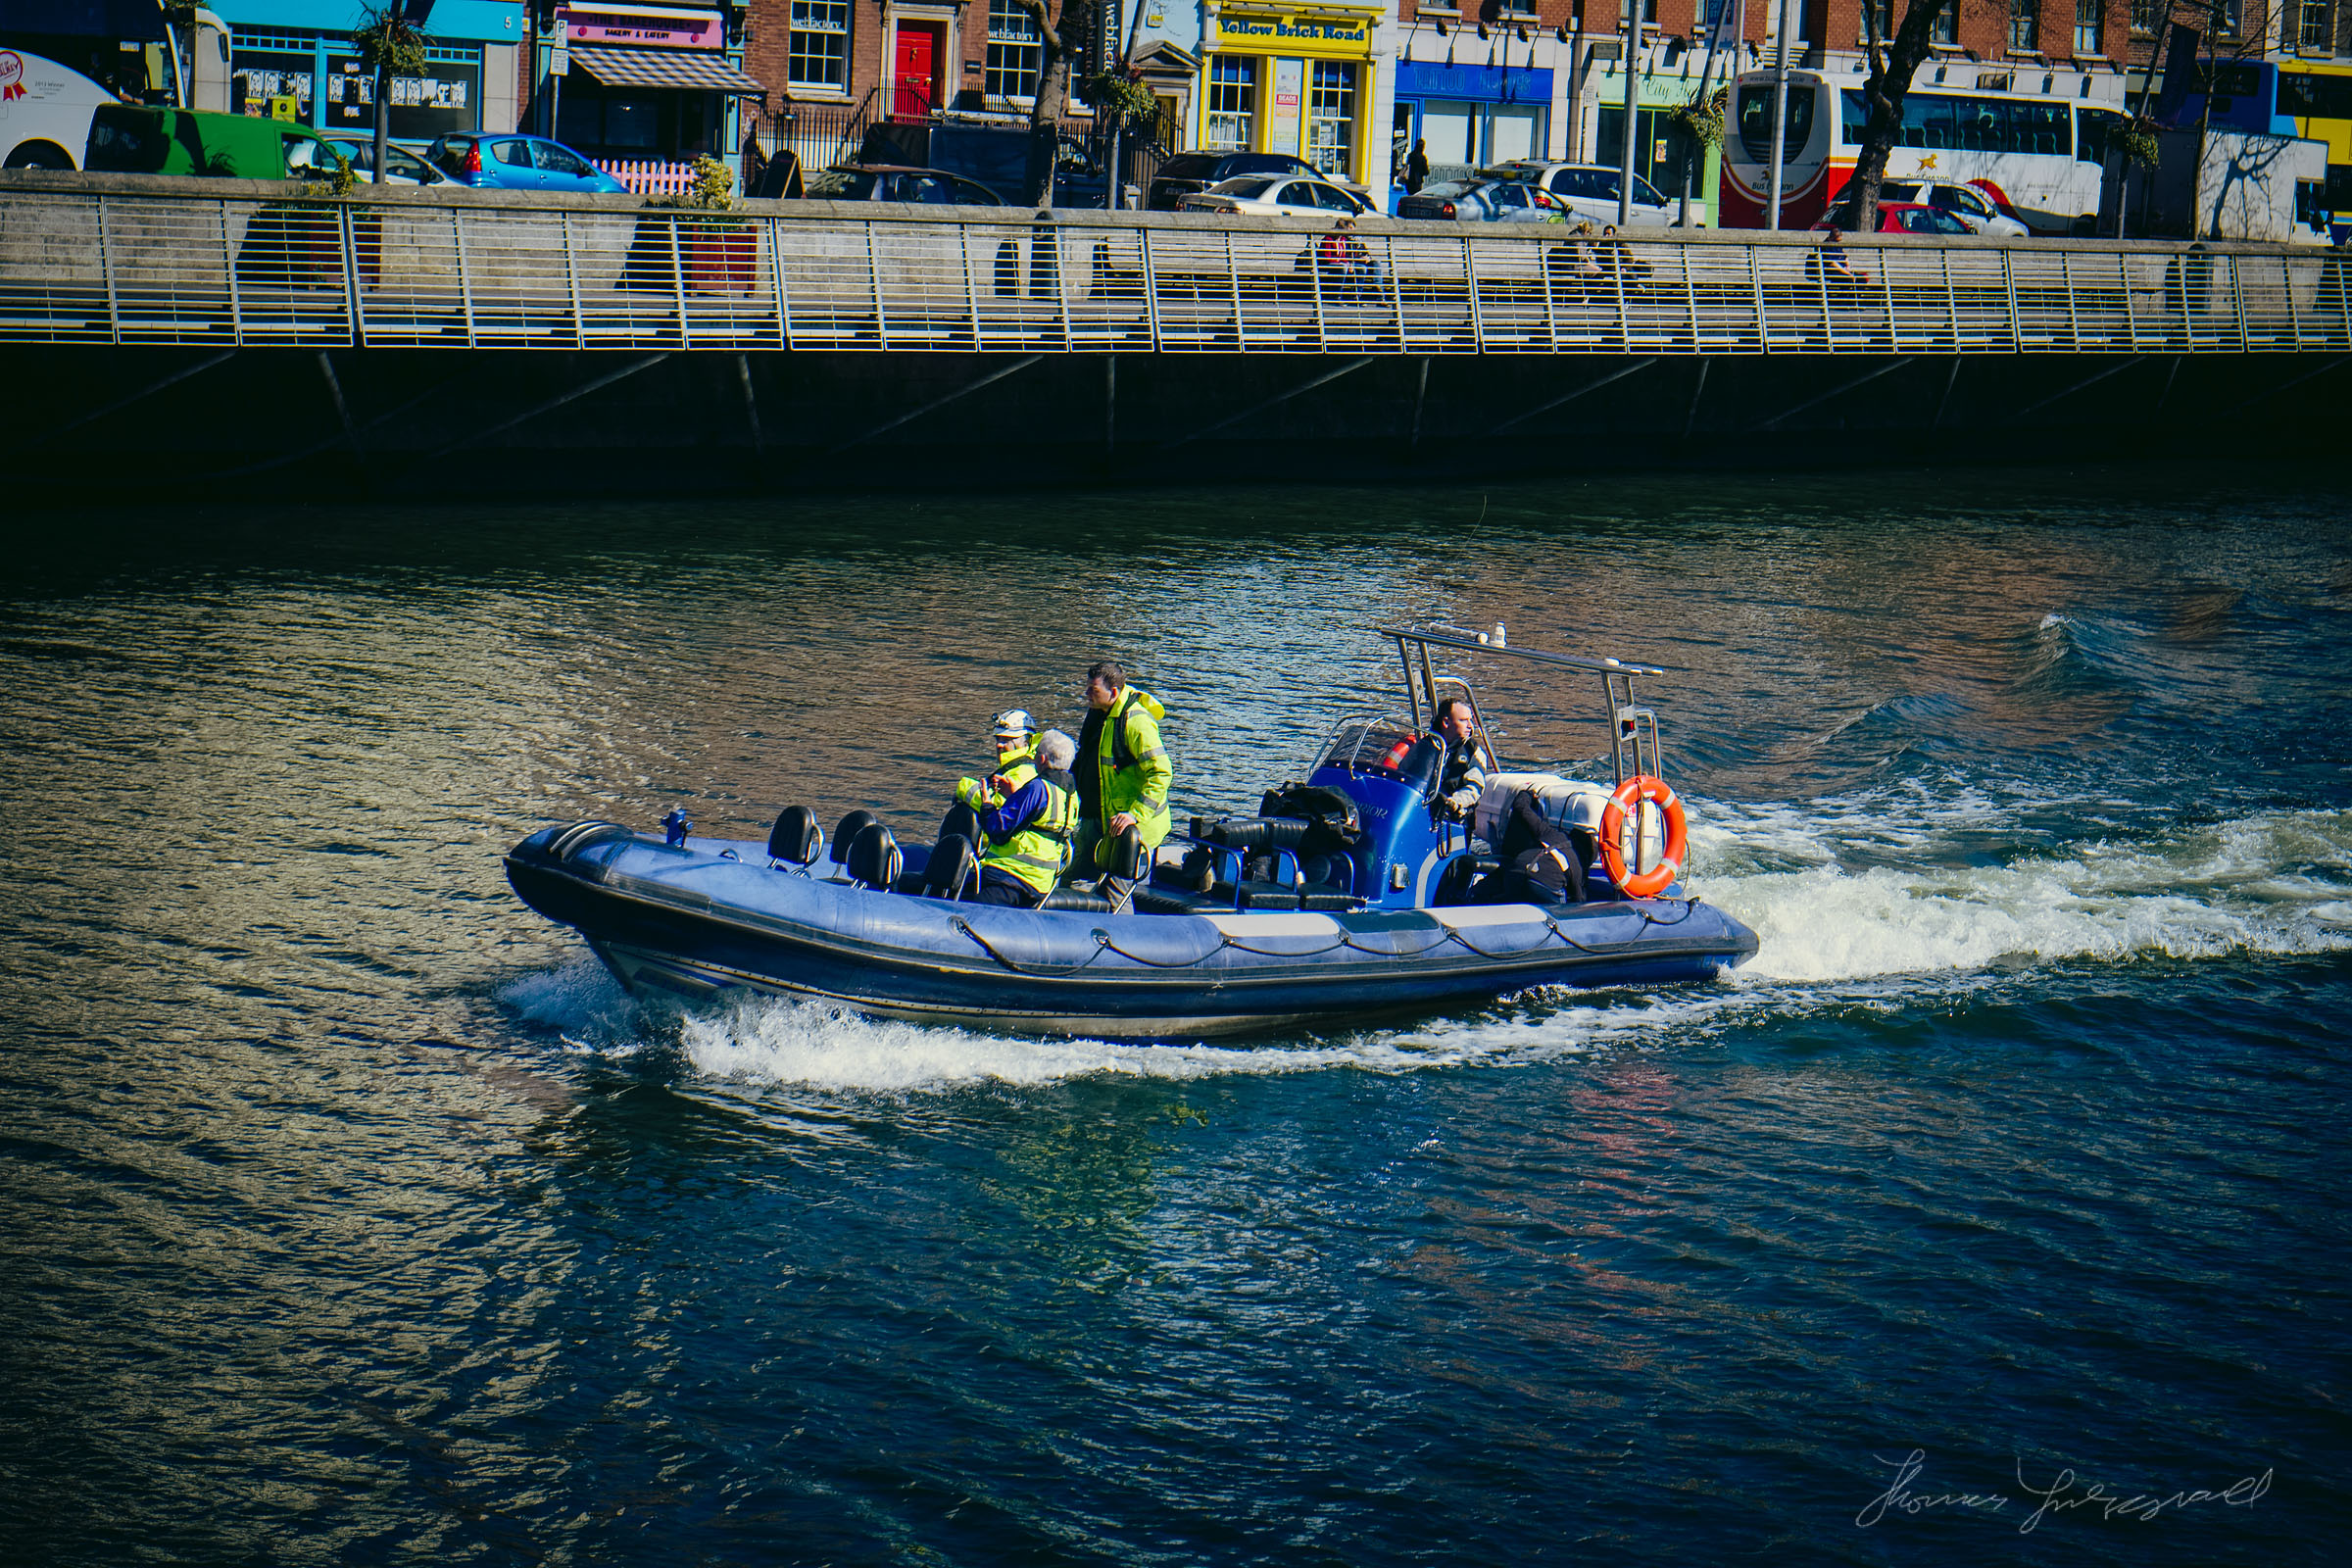
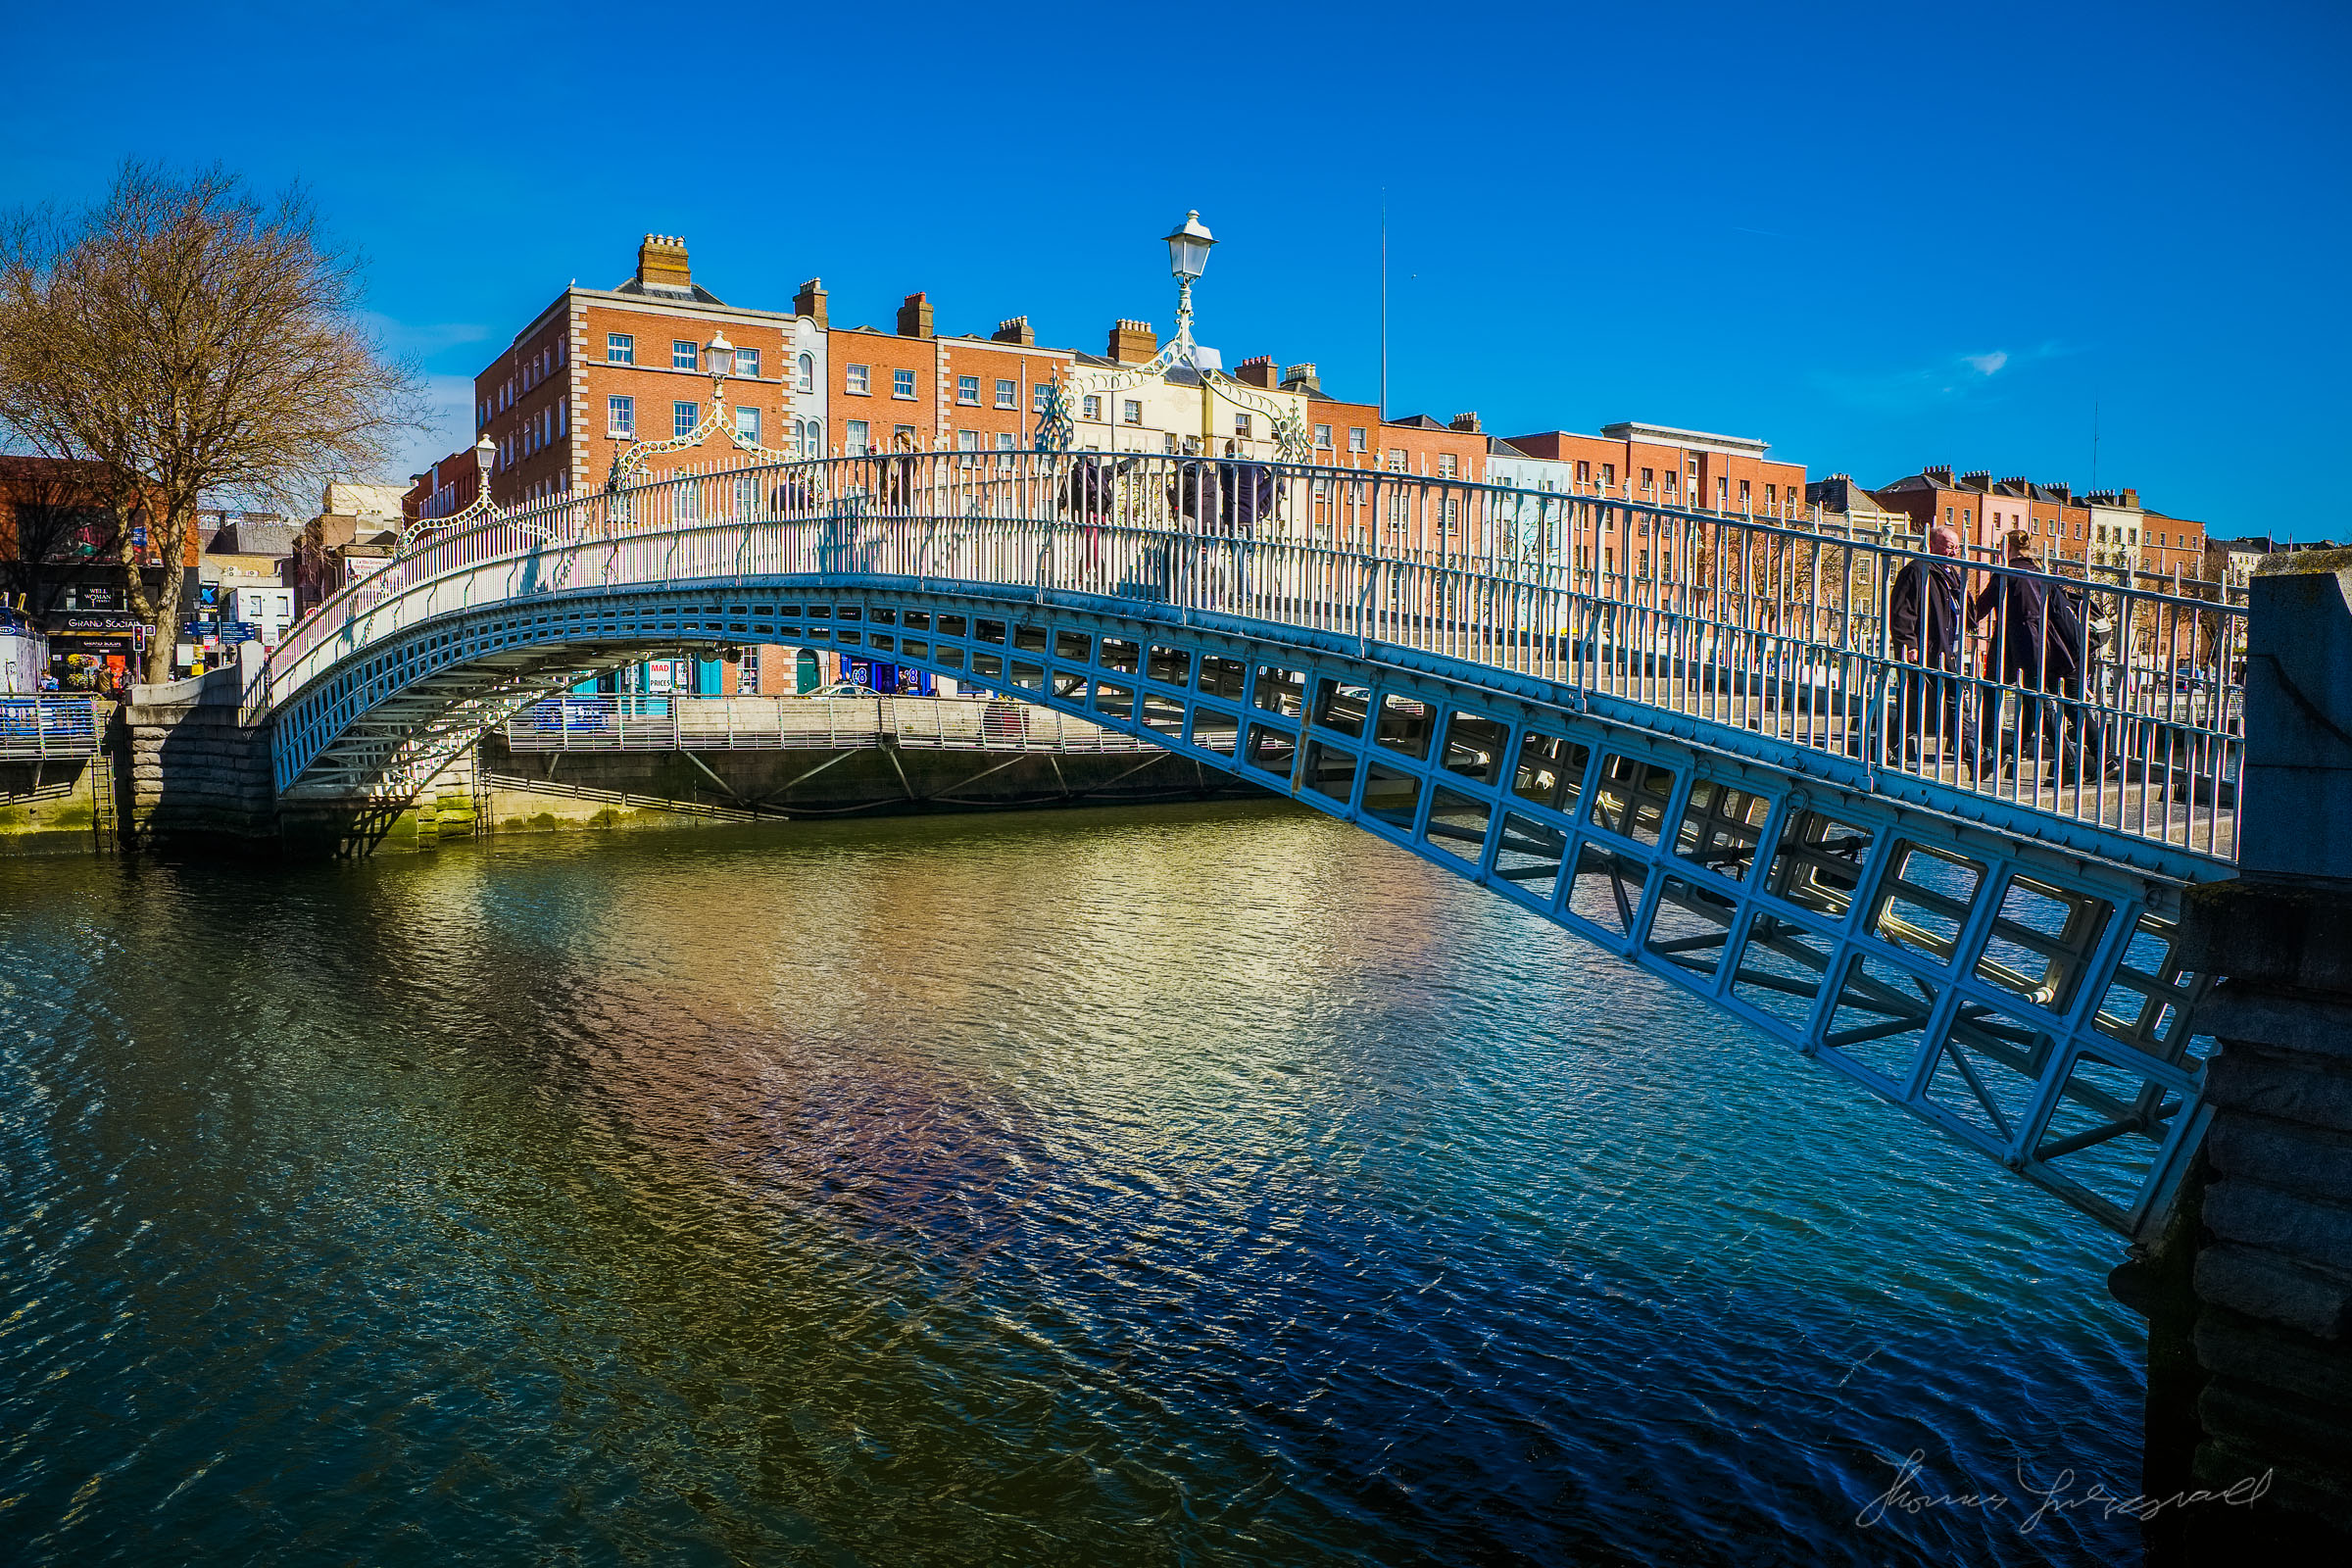
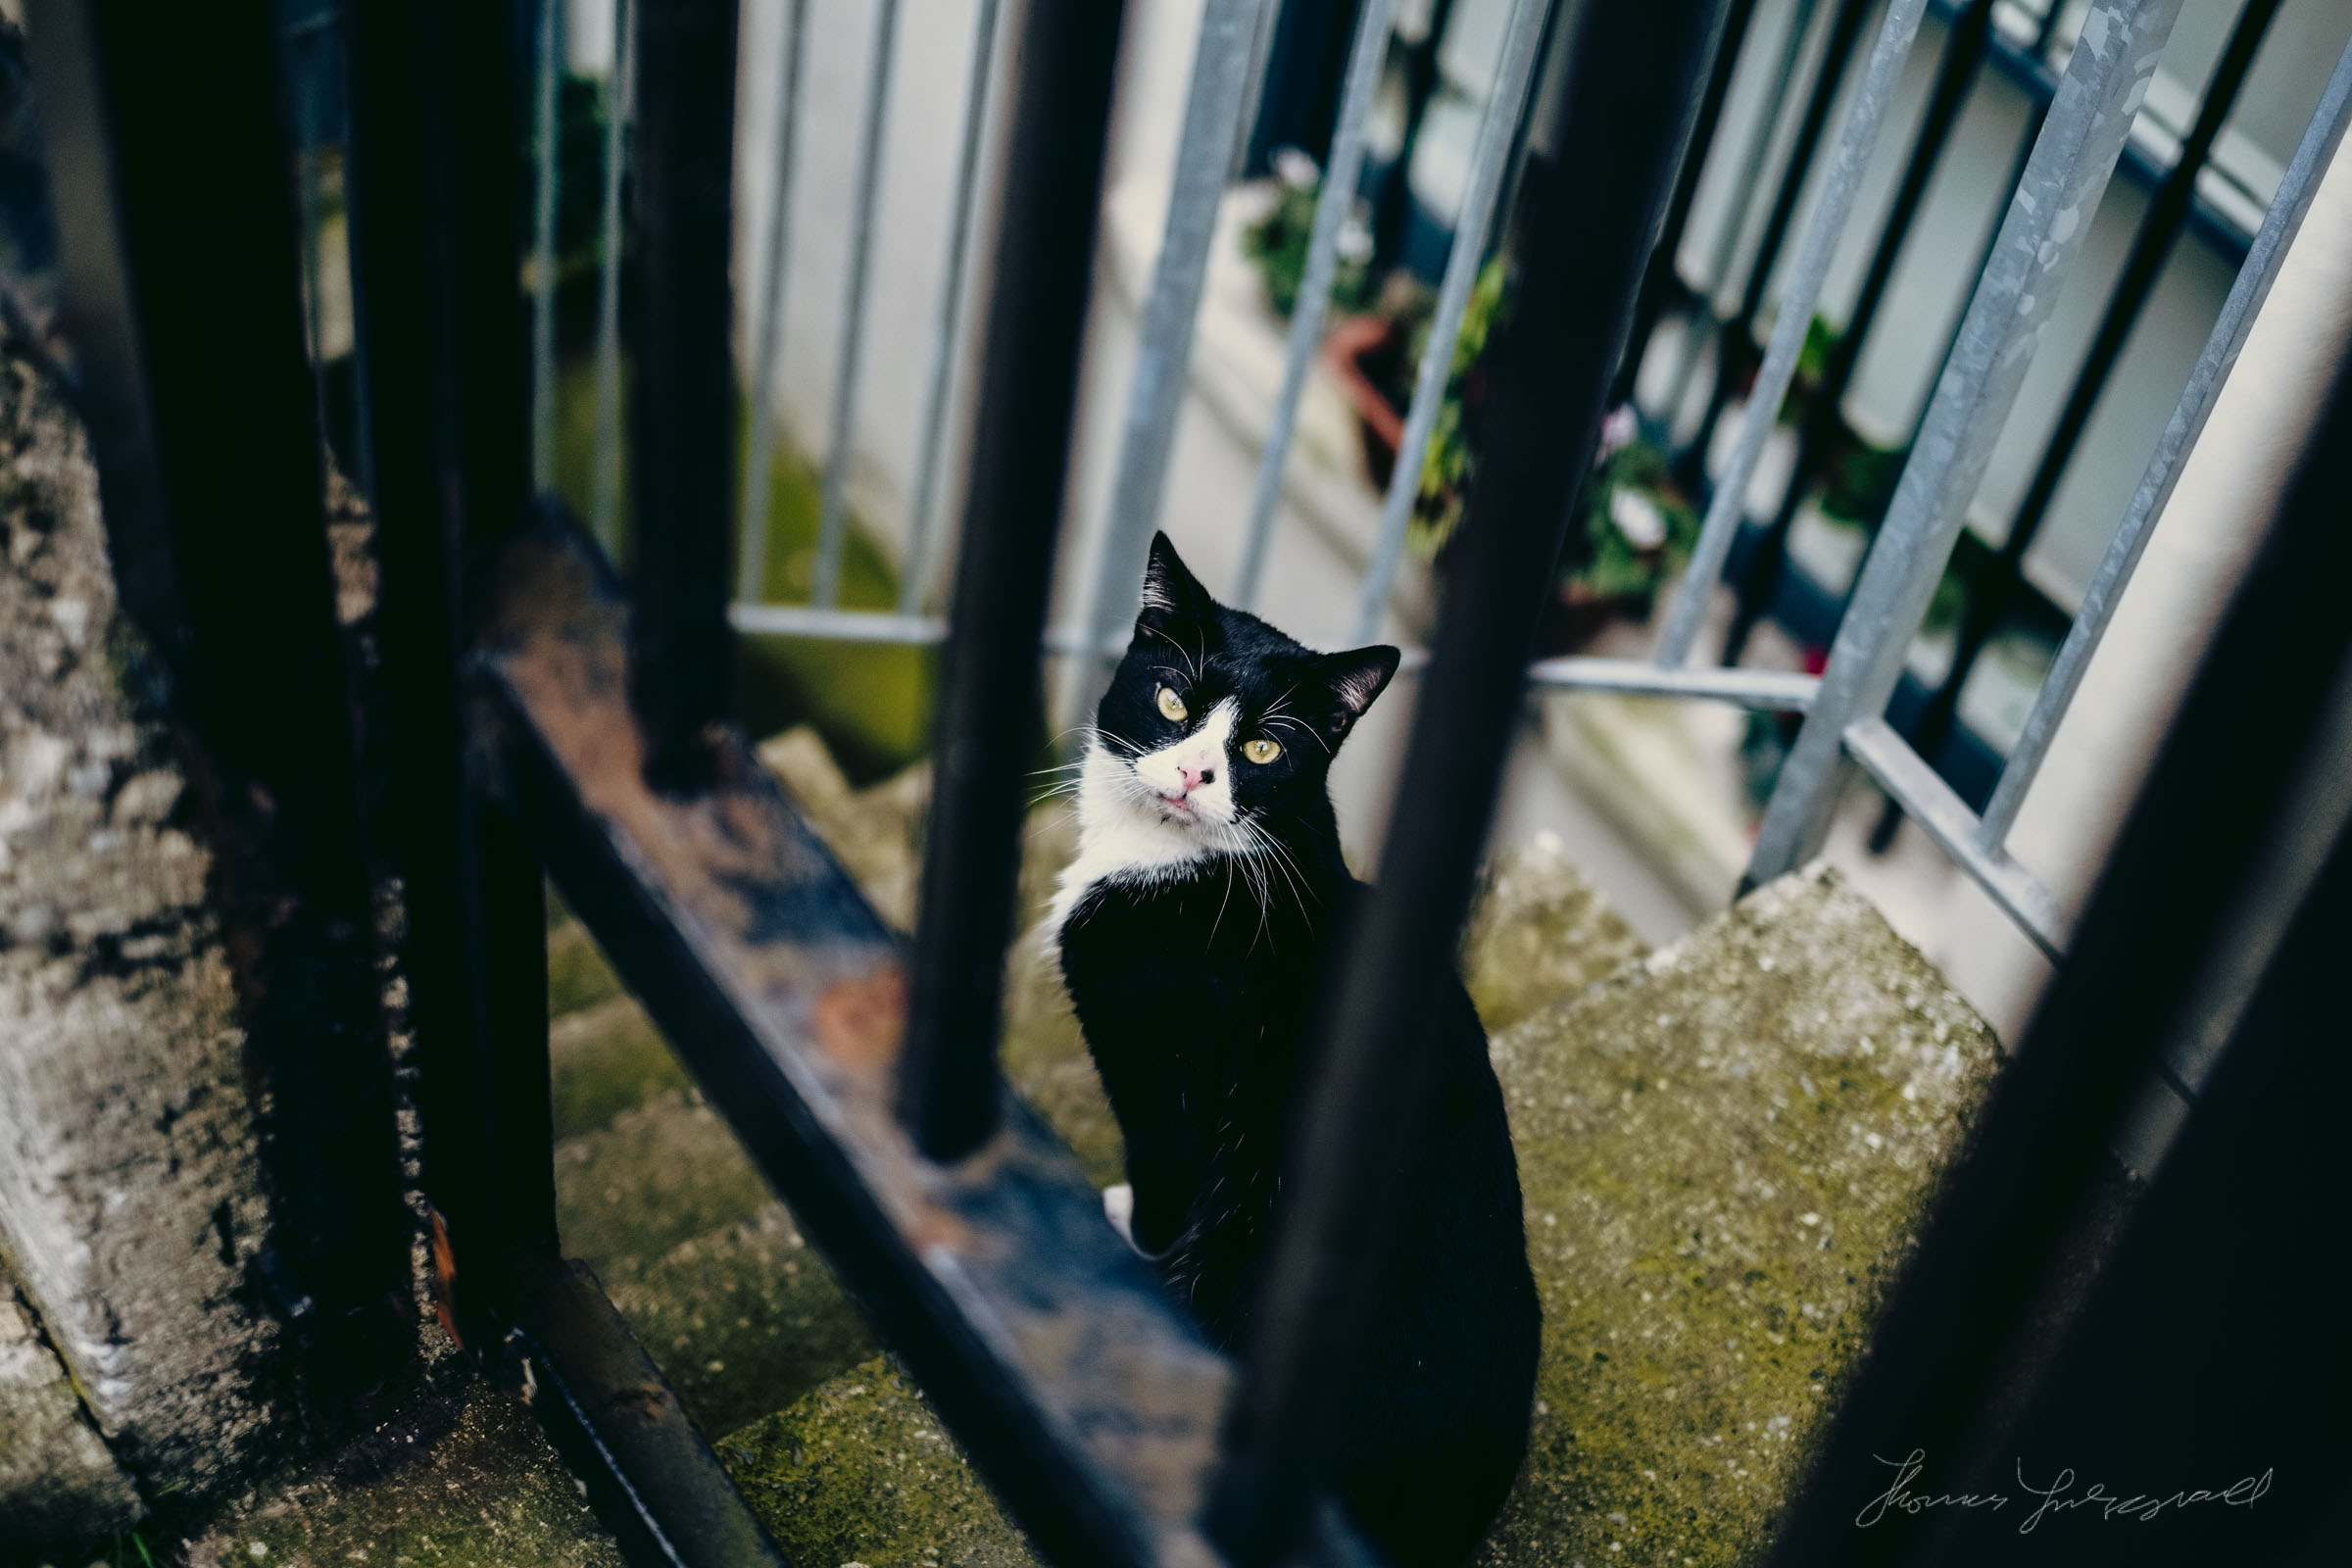
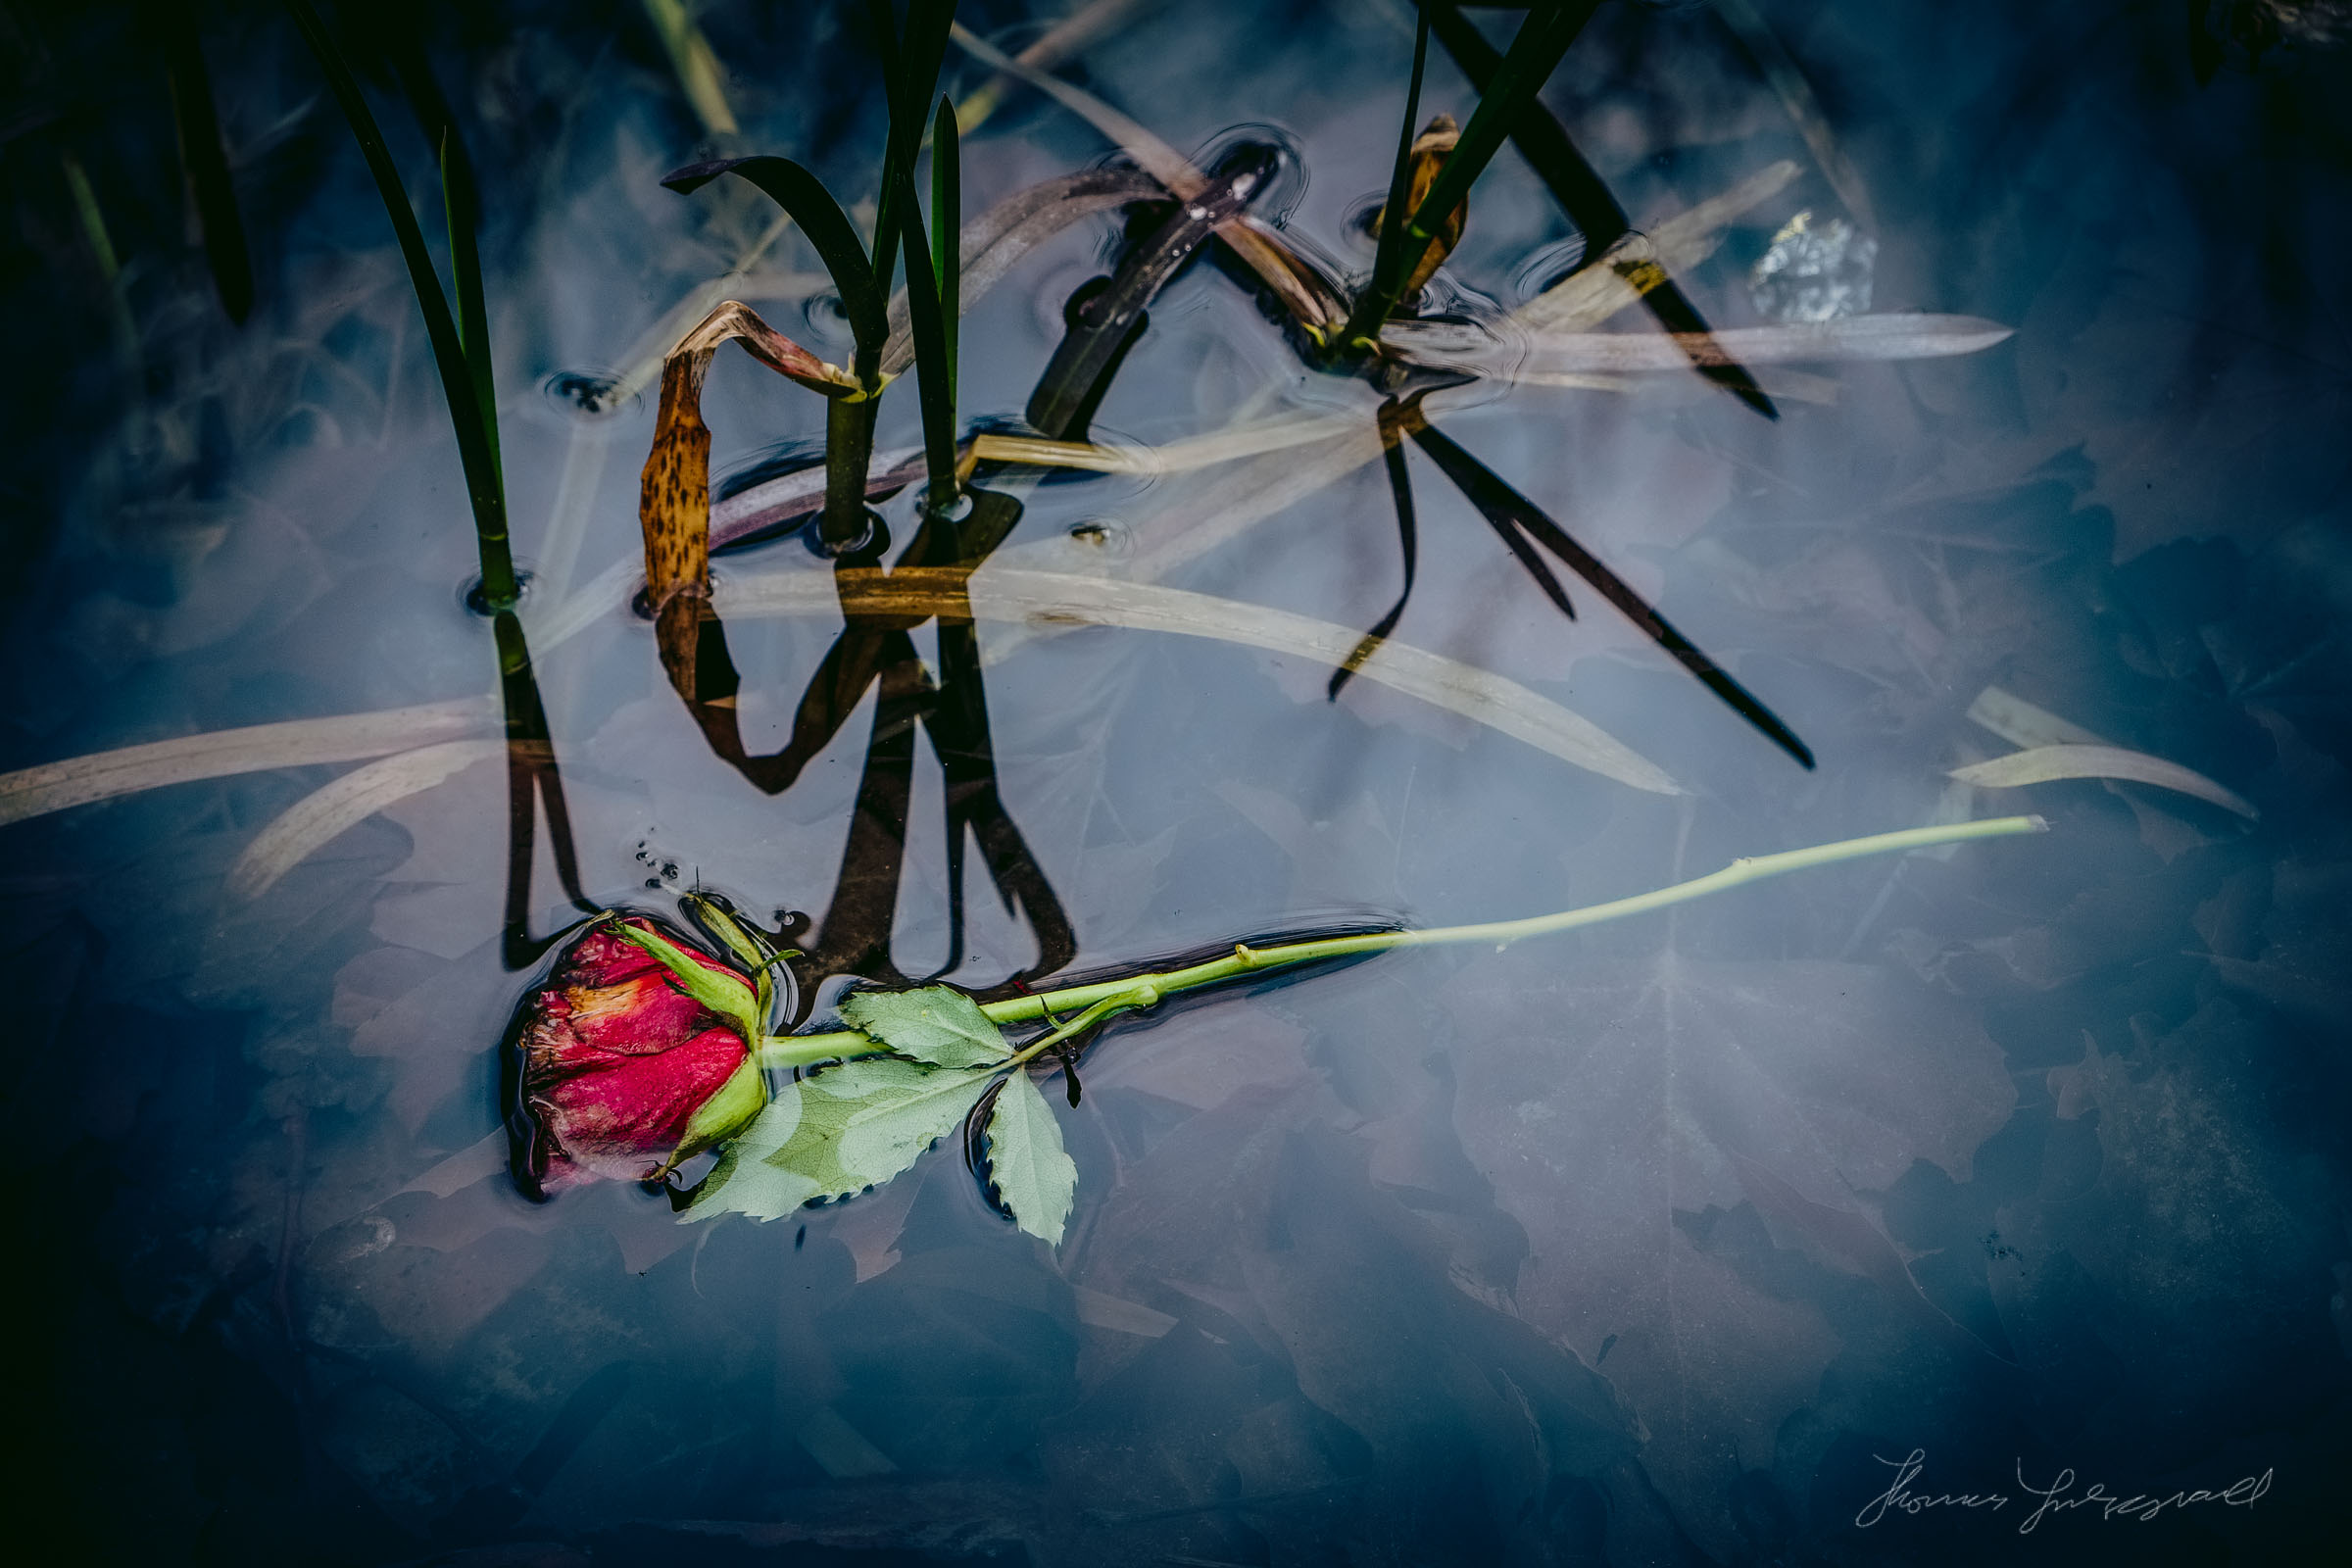
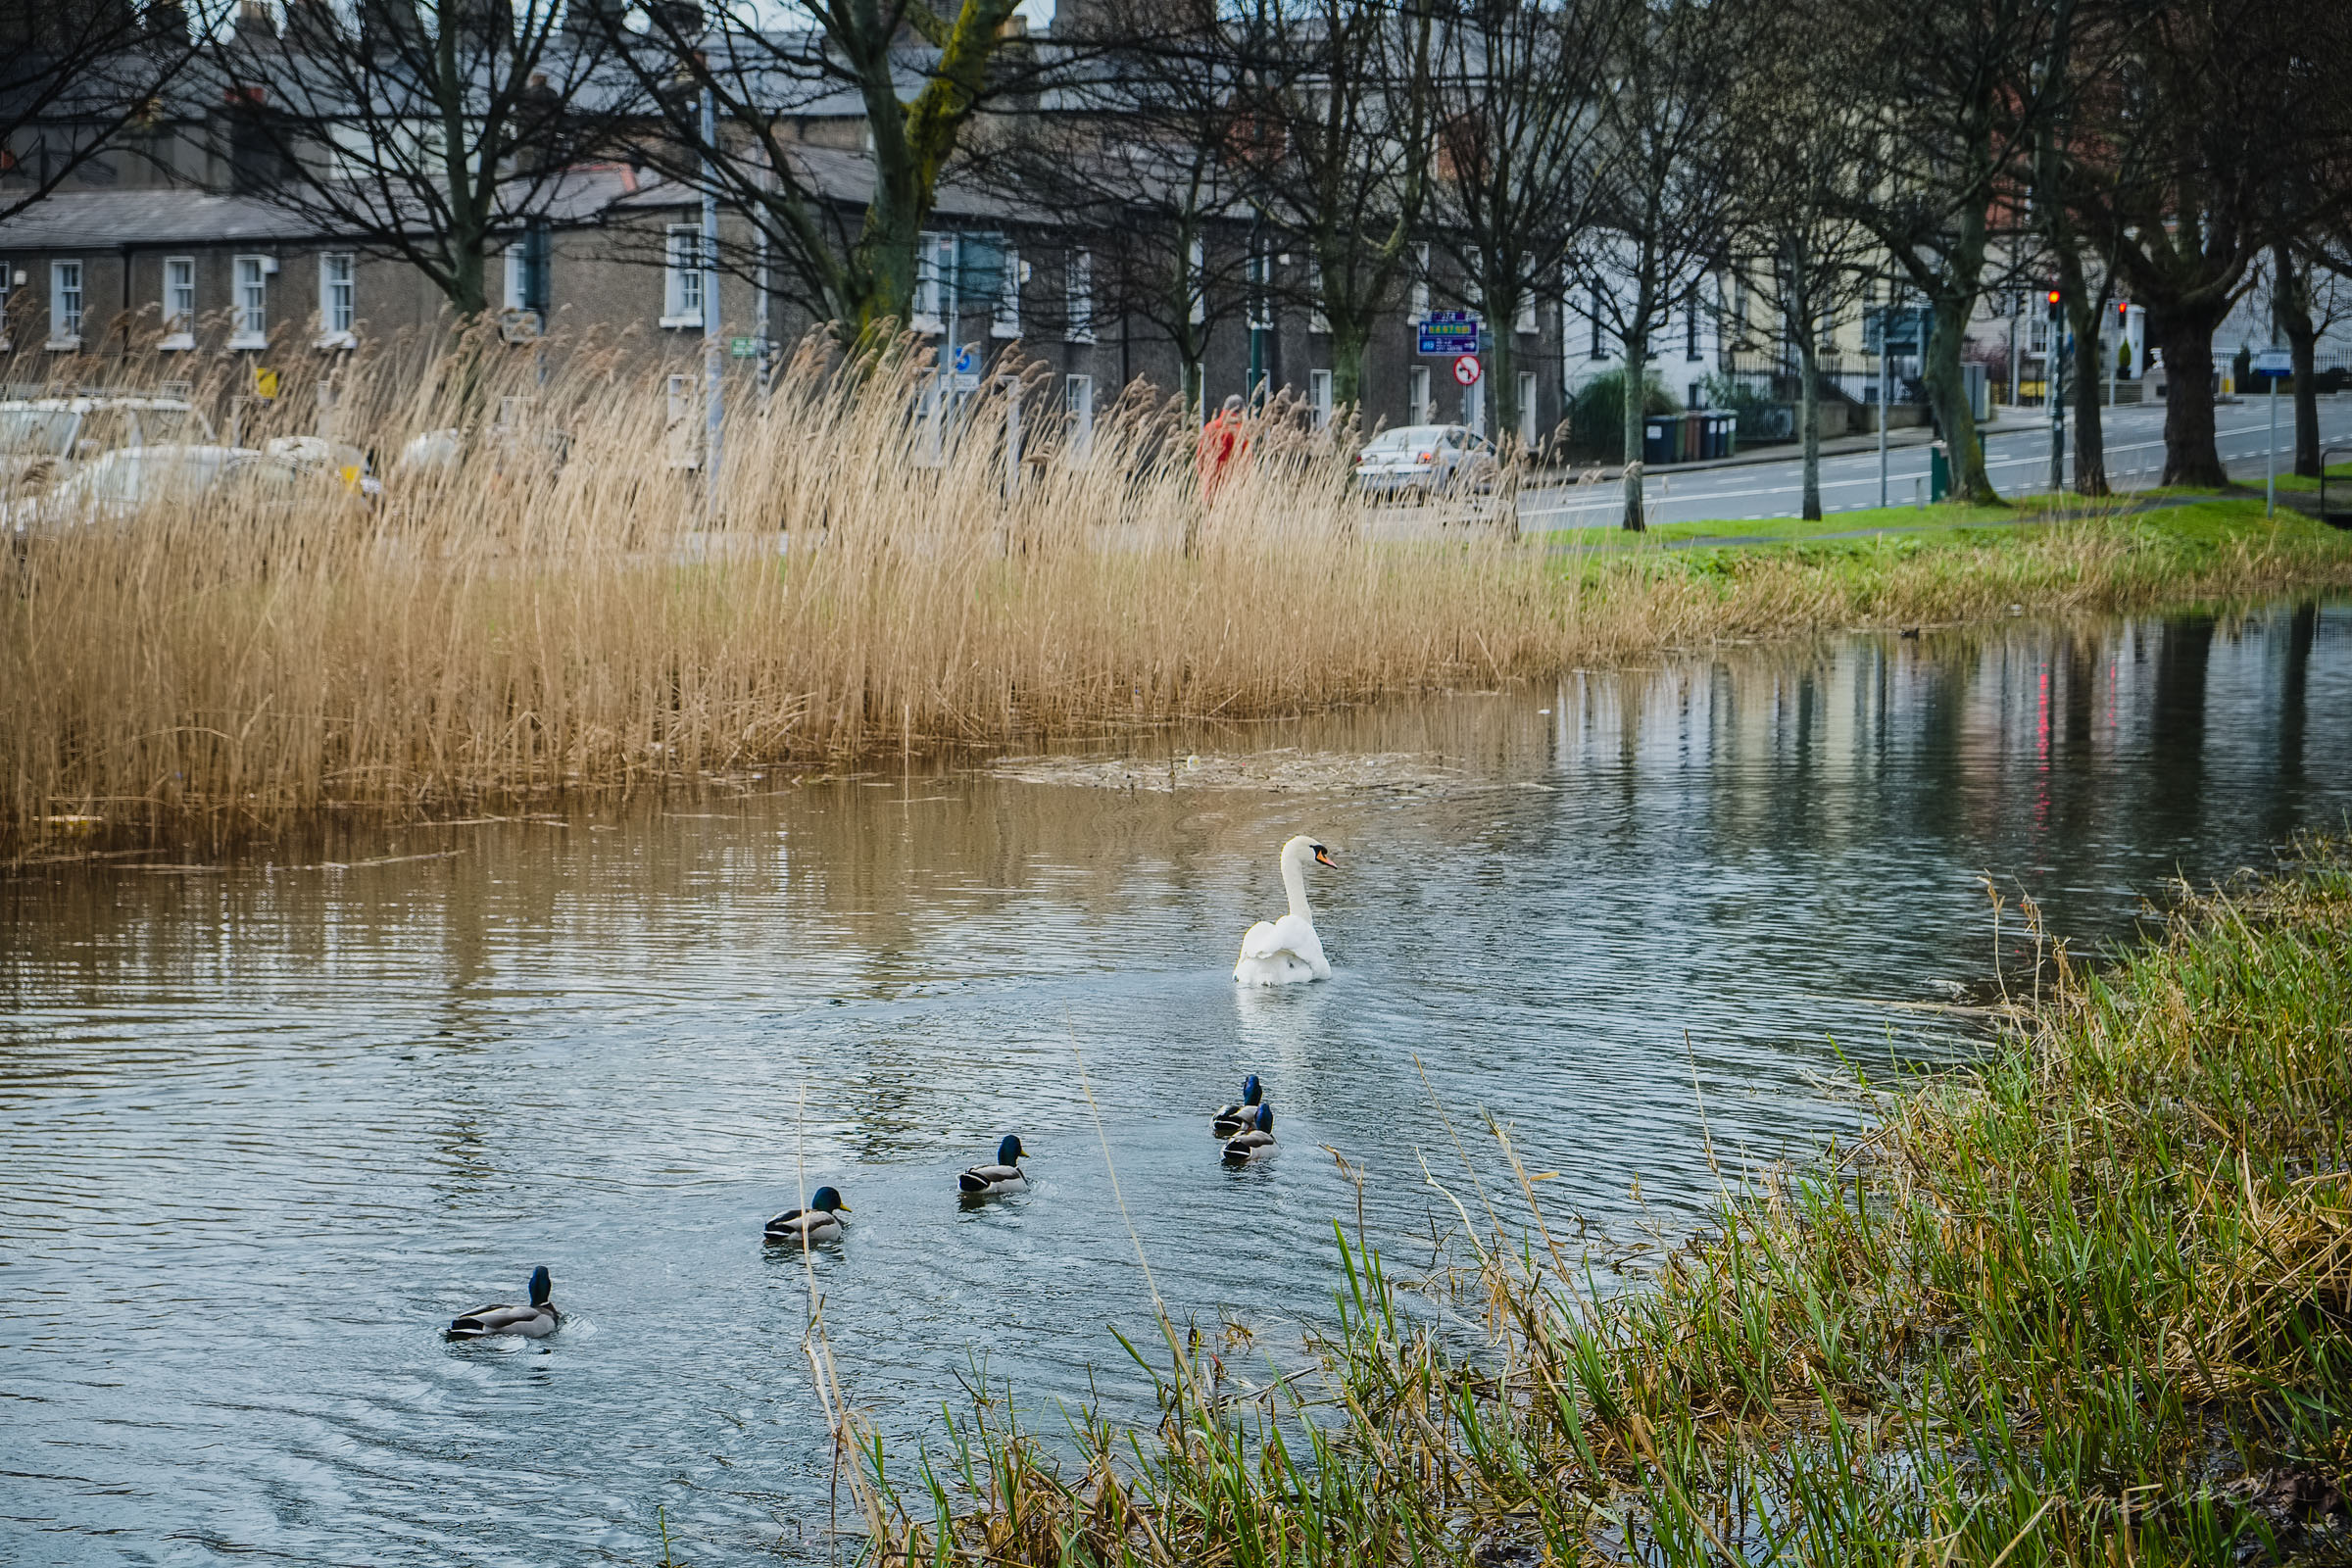
When I was developing my Quick Lux presets, I discovered that they actually worked really well with this process too. I know that sounds like a shameless plug, and it is, I suppose, but I had originally designed them for Raw files, but when used with flat files from Iridient Developer they seem to work really well. Anyway, here are some finished examples using this workflow, with the flat file rendered out from Iridient Developer and then finished in Lightroom using Quick Lux. Of course, this will work well with your own recipes too. Just add some contrast and tweak the exposure, clarity and vibrance and it should work well.


Please Help Support This Site
I am a fine art Photographer and do not shoot commercially. If you like what you read here and want to help support the site, then please consider buying a Print, checking out my new Lightroom Presets