My Workflow and Settings for Processing Fuji Files in Capture One: Part 2
#Introduction
This is the second part of my two part guide on Processing X-Trans files in Capture One. In the first part I looked at changing the default settings and creating a user style to apply those settings in import. I also looked at how to manage Raw + Jpeg pairs in Capture One. In this second part I'm going to look at a few of the common Capture One adjustments and how they affect processing Fuji files in particular. I'll also show my methods of integrating Capture One with Lightroom.
I'm publishing this guide in two ways. The first will be free, here on the blog, posted in two parts. Secondly, I'm making a nicely laid out PDF version of the entire guide, which can be printed or viewed on screen. This can be purchased for just €4. If you like what I'm doing here, and you find the information useful, and want to show support, then you can do so by getting the PDF version. If you don't want to, that's fine too, I'm still giving you all the information here.
A few other common settings and notes
Capture One is a pretty huge application. There is an awful lot of information that would be needed to cover every aspect of the software, and that’s unfortunately somewhat beyond the scope of this guide. Instead, I’m just going to discuss some of the settings that are particularly relevant to shooting Fuji X-Trans files.
Note: Because Capture One’s interface is so flexible and customisable, it’s possible that you may not see a particular tool where I have it in my interface. If this is the case, you can add the tool in question by right clicking on the interface and choosing Add Tool and selecting the relevant tool from the pop-up menu
Base Characteristics
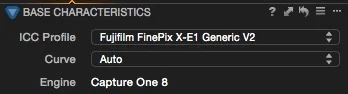
I have this tool in the Exposure tab (Third from the left) but it may not be there by default. If you do not see this tool, you can add it by right clicking on the interface and choosing
Add Tool > Base Characteristics
This tool lets you change the ICC profile that Capture One uses, and it also lets you change the default response curve. Depending on your camera, you may see a couple of ICC profiles in the pop-up. I do not recommend changing the default settings in the ICC Profile pop-up menu, however, the varying the options in the Curve pop-up menu can be quite useful. It’s generally set to Auto, but there are a number of options to choose from and these can give different results. The options that can be seen on files taken with the Fuji X-E1 for example are:
- Film Extra Shadow
- Film High Contrast
- Film Standard
- Linear Response
The first three options will give you varying degrees of contrast. The third option will remove the contrast curve altogether and give you a very flat image. This can be useful if you want to try creating your own curve with the curve tool (I wouldn’t recommend this for beginners).
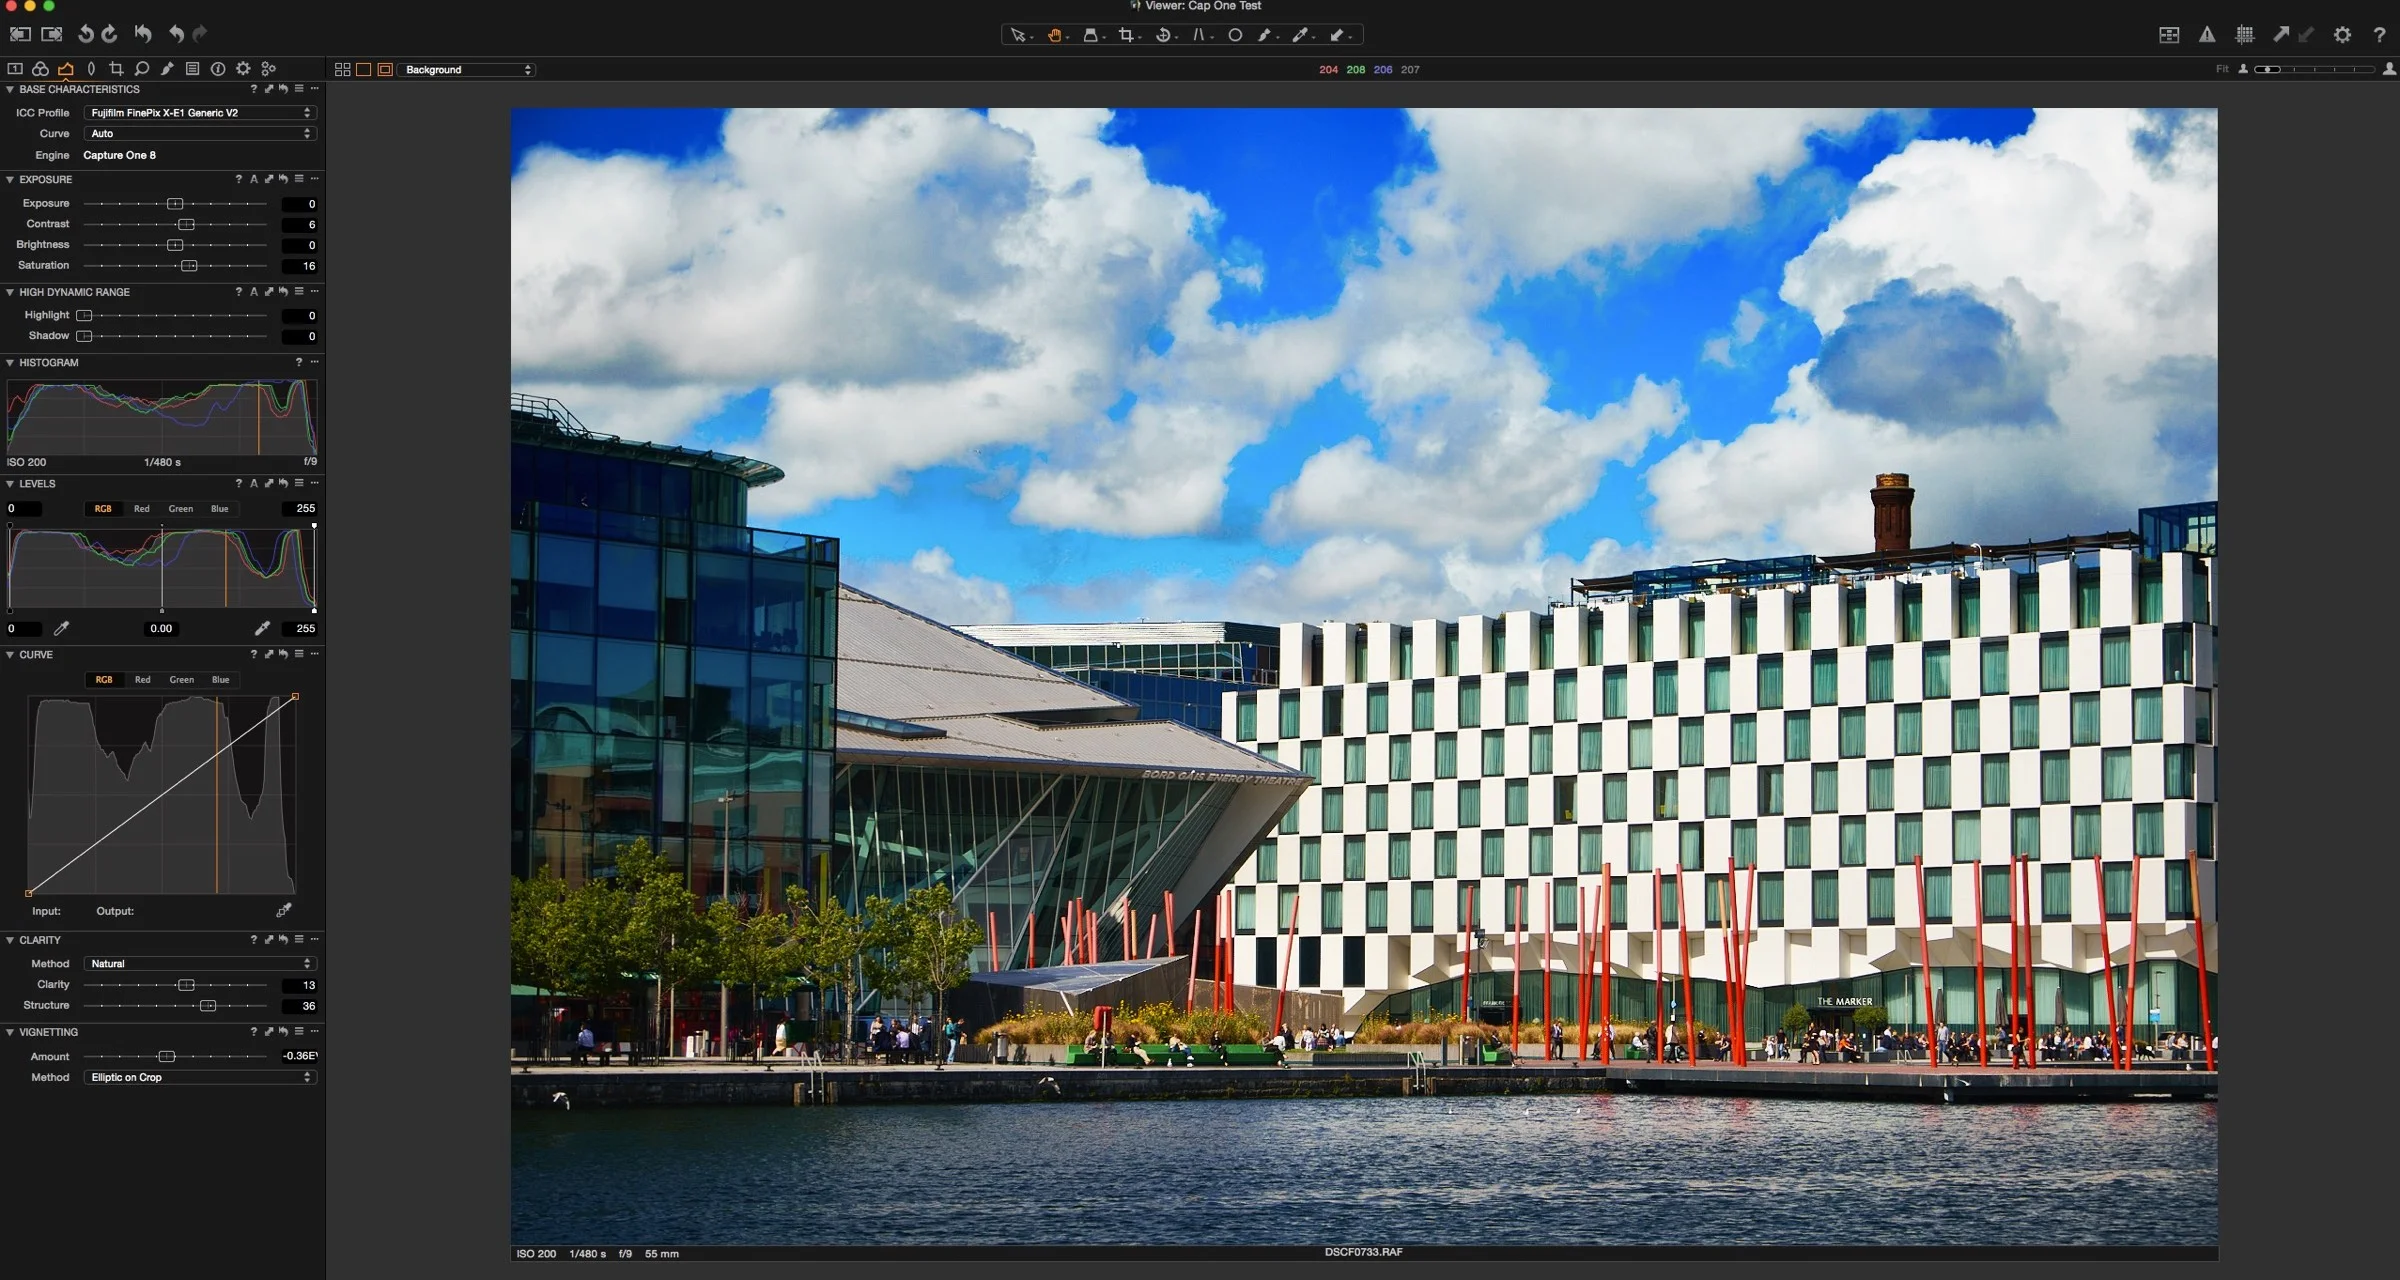
Exposure
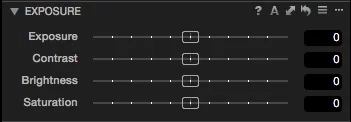
This group of settings is pretty self explanatory. There are a few things worth noting though, especially if you’re coming from a Lightroom background
- There is no vibrance slider, only a saturation slider. This is actually not a big deal because the Fuji files have good colour saturation to begin with, and you generally shouldn’t have to add too much saturation. Be sparing with this slider, because overuse of it can make images become fake and oversaturated very quickly.
- The brightness slider acts like a gamma control, and adjusts the mid values of the image without affecting the whites or darks.
- There is no black slider, so if you need to adjust the black levels, you should use the levels tool or the curves tool instead. The same goes for whites.
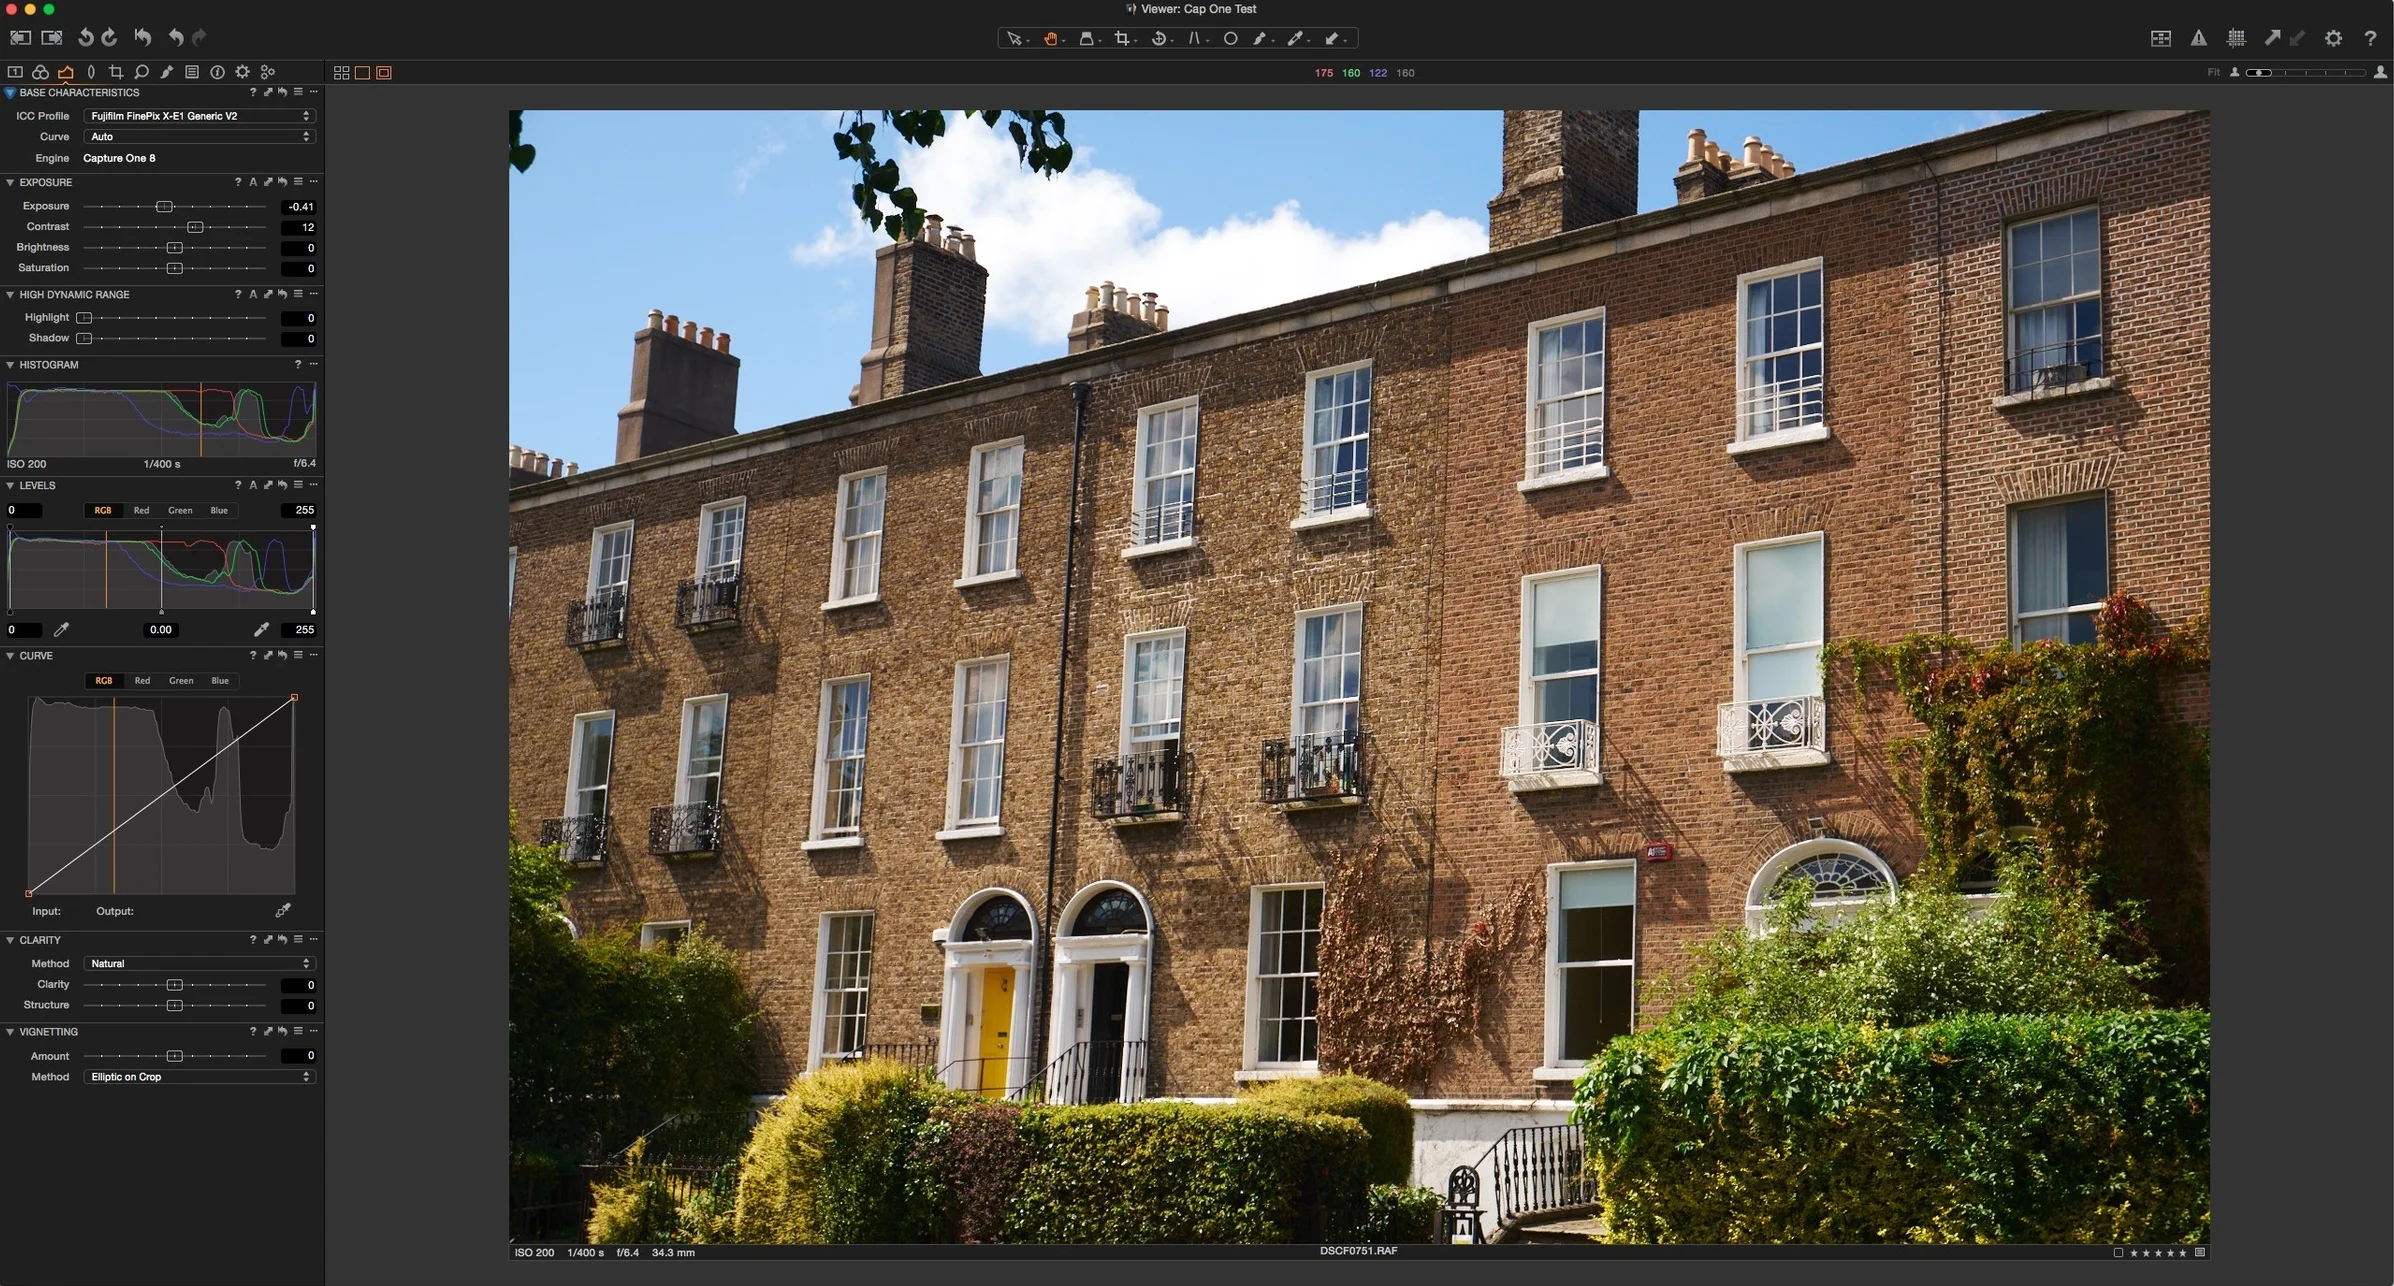
High Dynamic Range
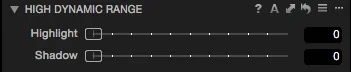
These set of sliders are similar to Lightroom’s Shadows and Highlights slider, although they use a different algorithm so you may get different results. Personally, I find them very effective, especially with Fuji Raw files, and especially for highlight recovery.
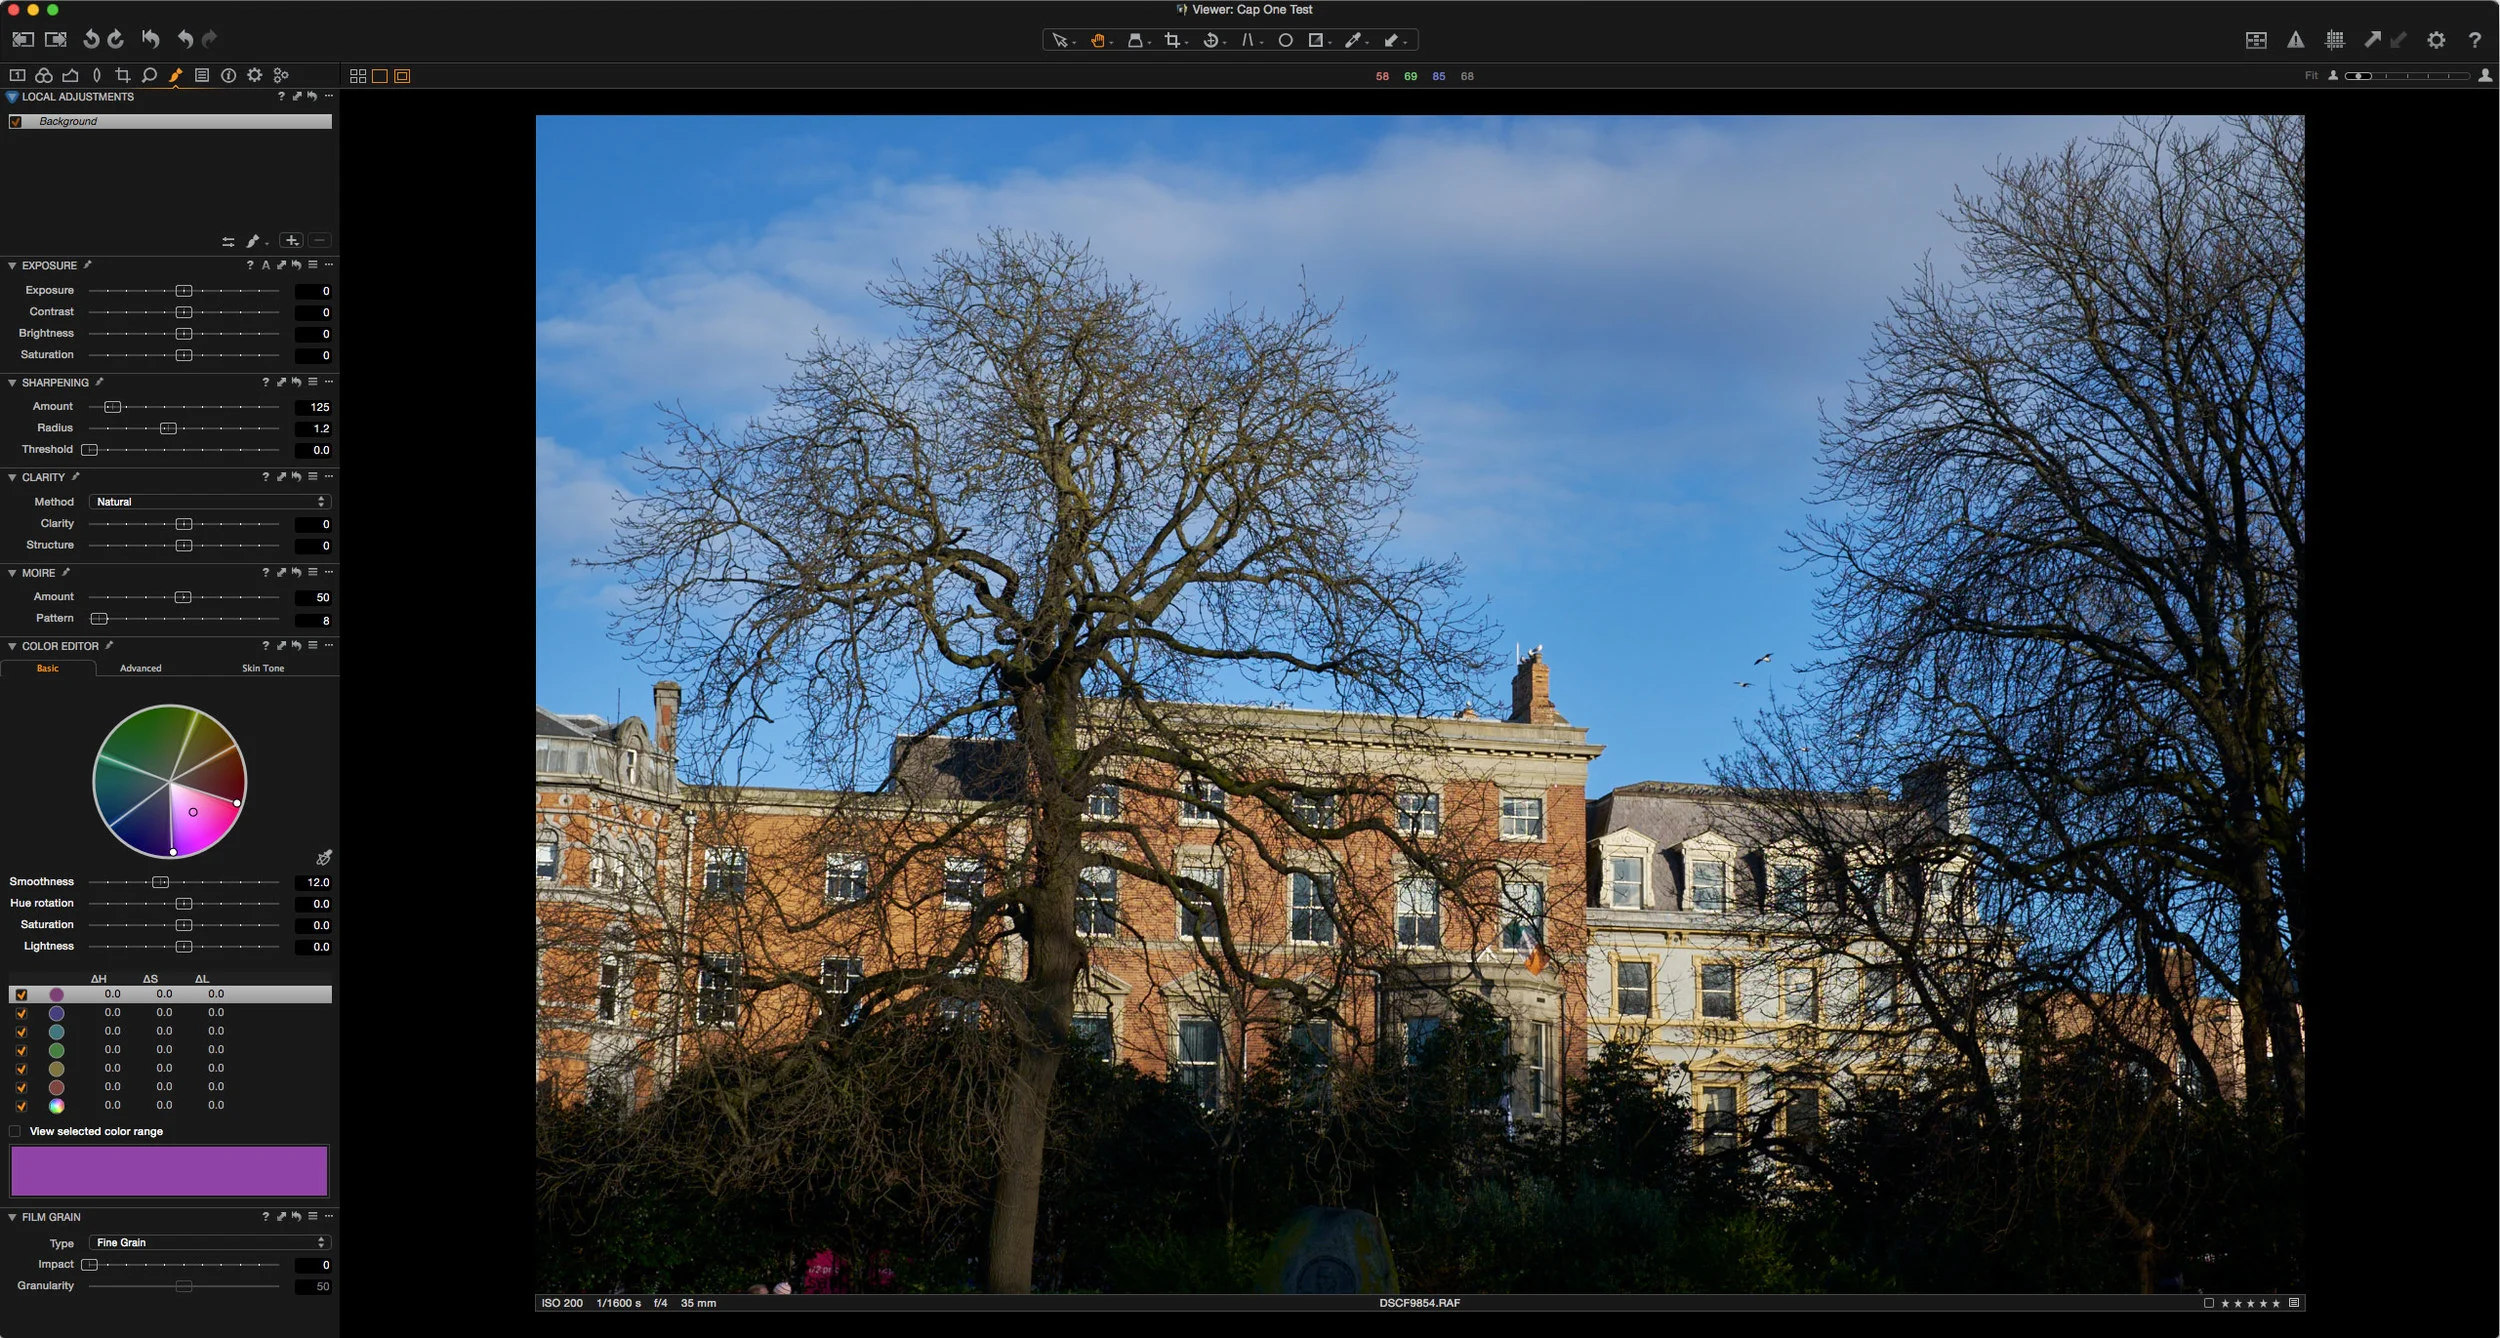
Clarity
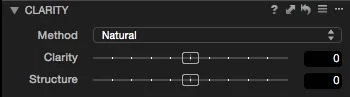
The Clarity section has a couple of options, and sliders. The first is the Method pop-up menu. I generally leave this set to the default Neutral, but play around with the different options, as they can be effective depending on the scene. The clarity slider controls the amount of clarity and this is fairly self explanatory.
The second slider, Structure, is an interesting tool. It adds micro contrast to fine detail, and effectively adds some more sharpening to an image. If you’ve ever used Photo Ninja, it works much like that application’s Detail slider. You should use this sparingly, as too much of this can quickly result in an image becoming unnatural looking and over-sharpened. For X-Trans Images, I recommend a value between 1 and 25, but I definitely wouldn’t go over 50 except on rare occasions when the image can take it.
To properly see the results of structure while you tweak the settings you’ll need to zoom in to 1:1. Incidentally, negative values for Structure will blur an image.
Lens Correction
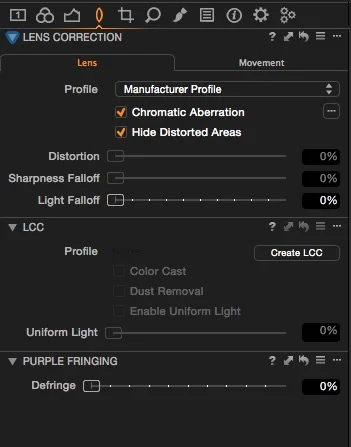
Capture One supports Fuji’s embedded lens profiles, and automatically corrects distortion, aberration and so on. You can control this in the Lens Correction tab, but you shouldn’t have to change any of these settings for the most part. The lens correction tab is the fourth one across with the icon that looks like a little lens when viewed from the side.
In the first sub-tab, under Lens, the Profile should say Manufacturer Profile. This means that it’s using the embedded lens information. The two checkboxes that appear in this tab should be checked also: Chromatic Aberration and Hide Distorted Areas. The second of these basically crops the edges that are distorted, which would be already done in a JPEG file anyway.
There’s another useful tool that you can add here, which is disabled by default, and that’s Purple Fringing. To add this tool to the lens correction tab, right click on a blank area of the adjustments interface and choose:
Add Tool > Purple Fringing
This brings up a one slider tool that enables you to remove purple fringing. It’s not as comprehensive as the one in Lightroom, but it works most of the time. Luckily, there is very little purple fringing on most of Fuji’s lenses anyway.
Outputting and Sending Images Back to Lightroom
Capture One has a very comprehensive (and a little complicated) set of options for outputting images. You can crate “Recipes” which are much like Lightroom’s output presets. These details can be found in the Process tab, which is the second last icon (shaped like a cog) on the set of adjustment icons in the main interface.
For sending back to Lightroom, I generally render out 16 bit Tiffs and use the Adobe RGB (1998) Icc Profile. You could use ProPhoto but I’m not 100% sure it’s fully supported natively, and as far as I can tell, Adobe RGB is the colour space that is used internally, so I generally use that. If your system is properly calibrated, it shouldn’t be a problem.
In terms of strategy for outputting your images back to Lightroom (if you want to do that) there are two approaches.
Method 1
The first is to render the images back to the same directory as the Raw files. To set this up, do the following:
- You can render the images back to the same directory as the Raw files. To do this, in the Process Recipe section, go to the File Tab, and under Root Folder, Choose Image Folder. This will render the images back to the same folder as the raw files when you process them
- To process an image, simply click the Process button in the Process tab
- If you’re processing multiple images at once, make sure the “Edit Selected Variants” button is selected. See screenshot below:

Now, once you’ve rendered out your images, back in Lightroom, simply select the folder and right click on it in the folder panel and choose “Synchronise Folder”. This will import the images back into Lightroom
Method 2
An alternate method is to render everything out to a single folder, and have Lightroom watch that folder and automatically import into it. In Capture One, you simply repeat the above steps, but select a specific folder, rather than the Image Folder in method one. In Lightroom, you need to enable the watched folder and set it to watch the folder you are outputting to in Capture One. In Lightroom, complete the following steps:
- From the File menu, choose Auto Import > Auto Import Settings.
- In the window that opens, choose the folder that you created earlier. Note, it must be empty before you set this up in Lightroom.
- Set the destination folder to somewhere else. Unfortunately, there’s no way to watch a folder and leave the items in that folder. You’ll have to tell Lightroom to move them to another folder.
- Set any other settings that you want (the defaults should be fine) and click OK
Now when you process images out of Capture One, they should be automatically imported back into Lightroom.
Conclusion
This has only touched a little on Capture One as an application. It’s a high end piece of software and there’s lots to it, but I hope this has provided some guidance if you’re looking to use it specifically for X-Trans processing. Much of what I’ve written here applies to image files from other cameras too. In fact I sometimes process images from my other cameras in Capture One too, and I use the same settings as I do for the X-E1.
As with many things relating to photography, much of this is down to your own personal preferences and perception, so you may use different settings, or have different ideas for workflow, but these are the settings and approaches that I use when working with the application.
Get the Full Guide as a Printable PDF
As mentioned at the start of this post, I'm making this guide available for free online, and as a Printable PDF that you can download. If you find this information useful, and you want it in a nice, contained and printable format, then the PDF has both parts of this guide, in a single nicely laid out document.
All of the work I do here, and the information on this blog is done entirely free of charge and takes up quite a bit of work. I want to spend more and more time on this blog, and offer more and more of this kind of information, tips and so on, so If you like what I'm doing here and want to show support, then you can do so by buying a PDF copy of this guide. If you don't or can't right now, that's no problem. You can still get all the information here! I don't want anyone to be left out. Your continued readership is important too!
I'm working on more guides for processing Fuji files in various other Applications, including a comprehensive one on Lightroom, which should be available soon, so stay tuned.