Simulating Fuji X-Series Dynamic Range Settings in Lightroom
I've been busy working on the second of my series of guides for Processing Fuji X-Trans raw files. The second guide is all about processing raw files in Lightroom, and collects all of the various pieces I've written over the years along with new material into one comprehensive document. As with my Capture One guide, I'll be making it available for for sale in a single PDF. It's not quite ready yet, as it's a bit bigger than my Capture One guide, so I thought I'd share a snippet with you for the moment. This is still a work in progress, so forgive any minor typos or errors. I hope to have the full guide available in the next week or so.
[UPDATE] The full guide for processing Fuji X-Trans images in Lightroom is now available on my Digital download store
Simulating Fuji Dynamic Range Settings in Lightroom
One of the useful settings on your Fuji Camera is the Dynamic Range settings, or DRO for short. What DR does is allow you to capture more information in the shadow and highlight areas when shooting JPEG files, effectively extending the dynamic range of the shot. This information doesn’t translate directly into the raw files.
Fuji’s Dynamic Rage expansion works by shooting at a higher ISO, then underexposing the image at the time of capture so as not to clip highlights, and then increasing the effective exposure for the resultant file from the underexposed sensor data so that it gives a correctly exposed file, but with greater dynamic range in the highlights.
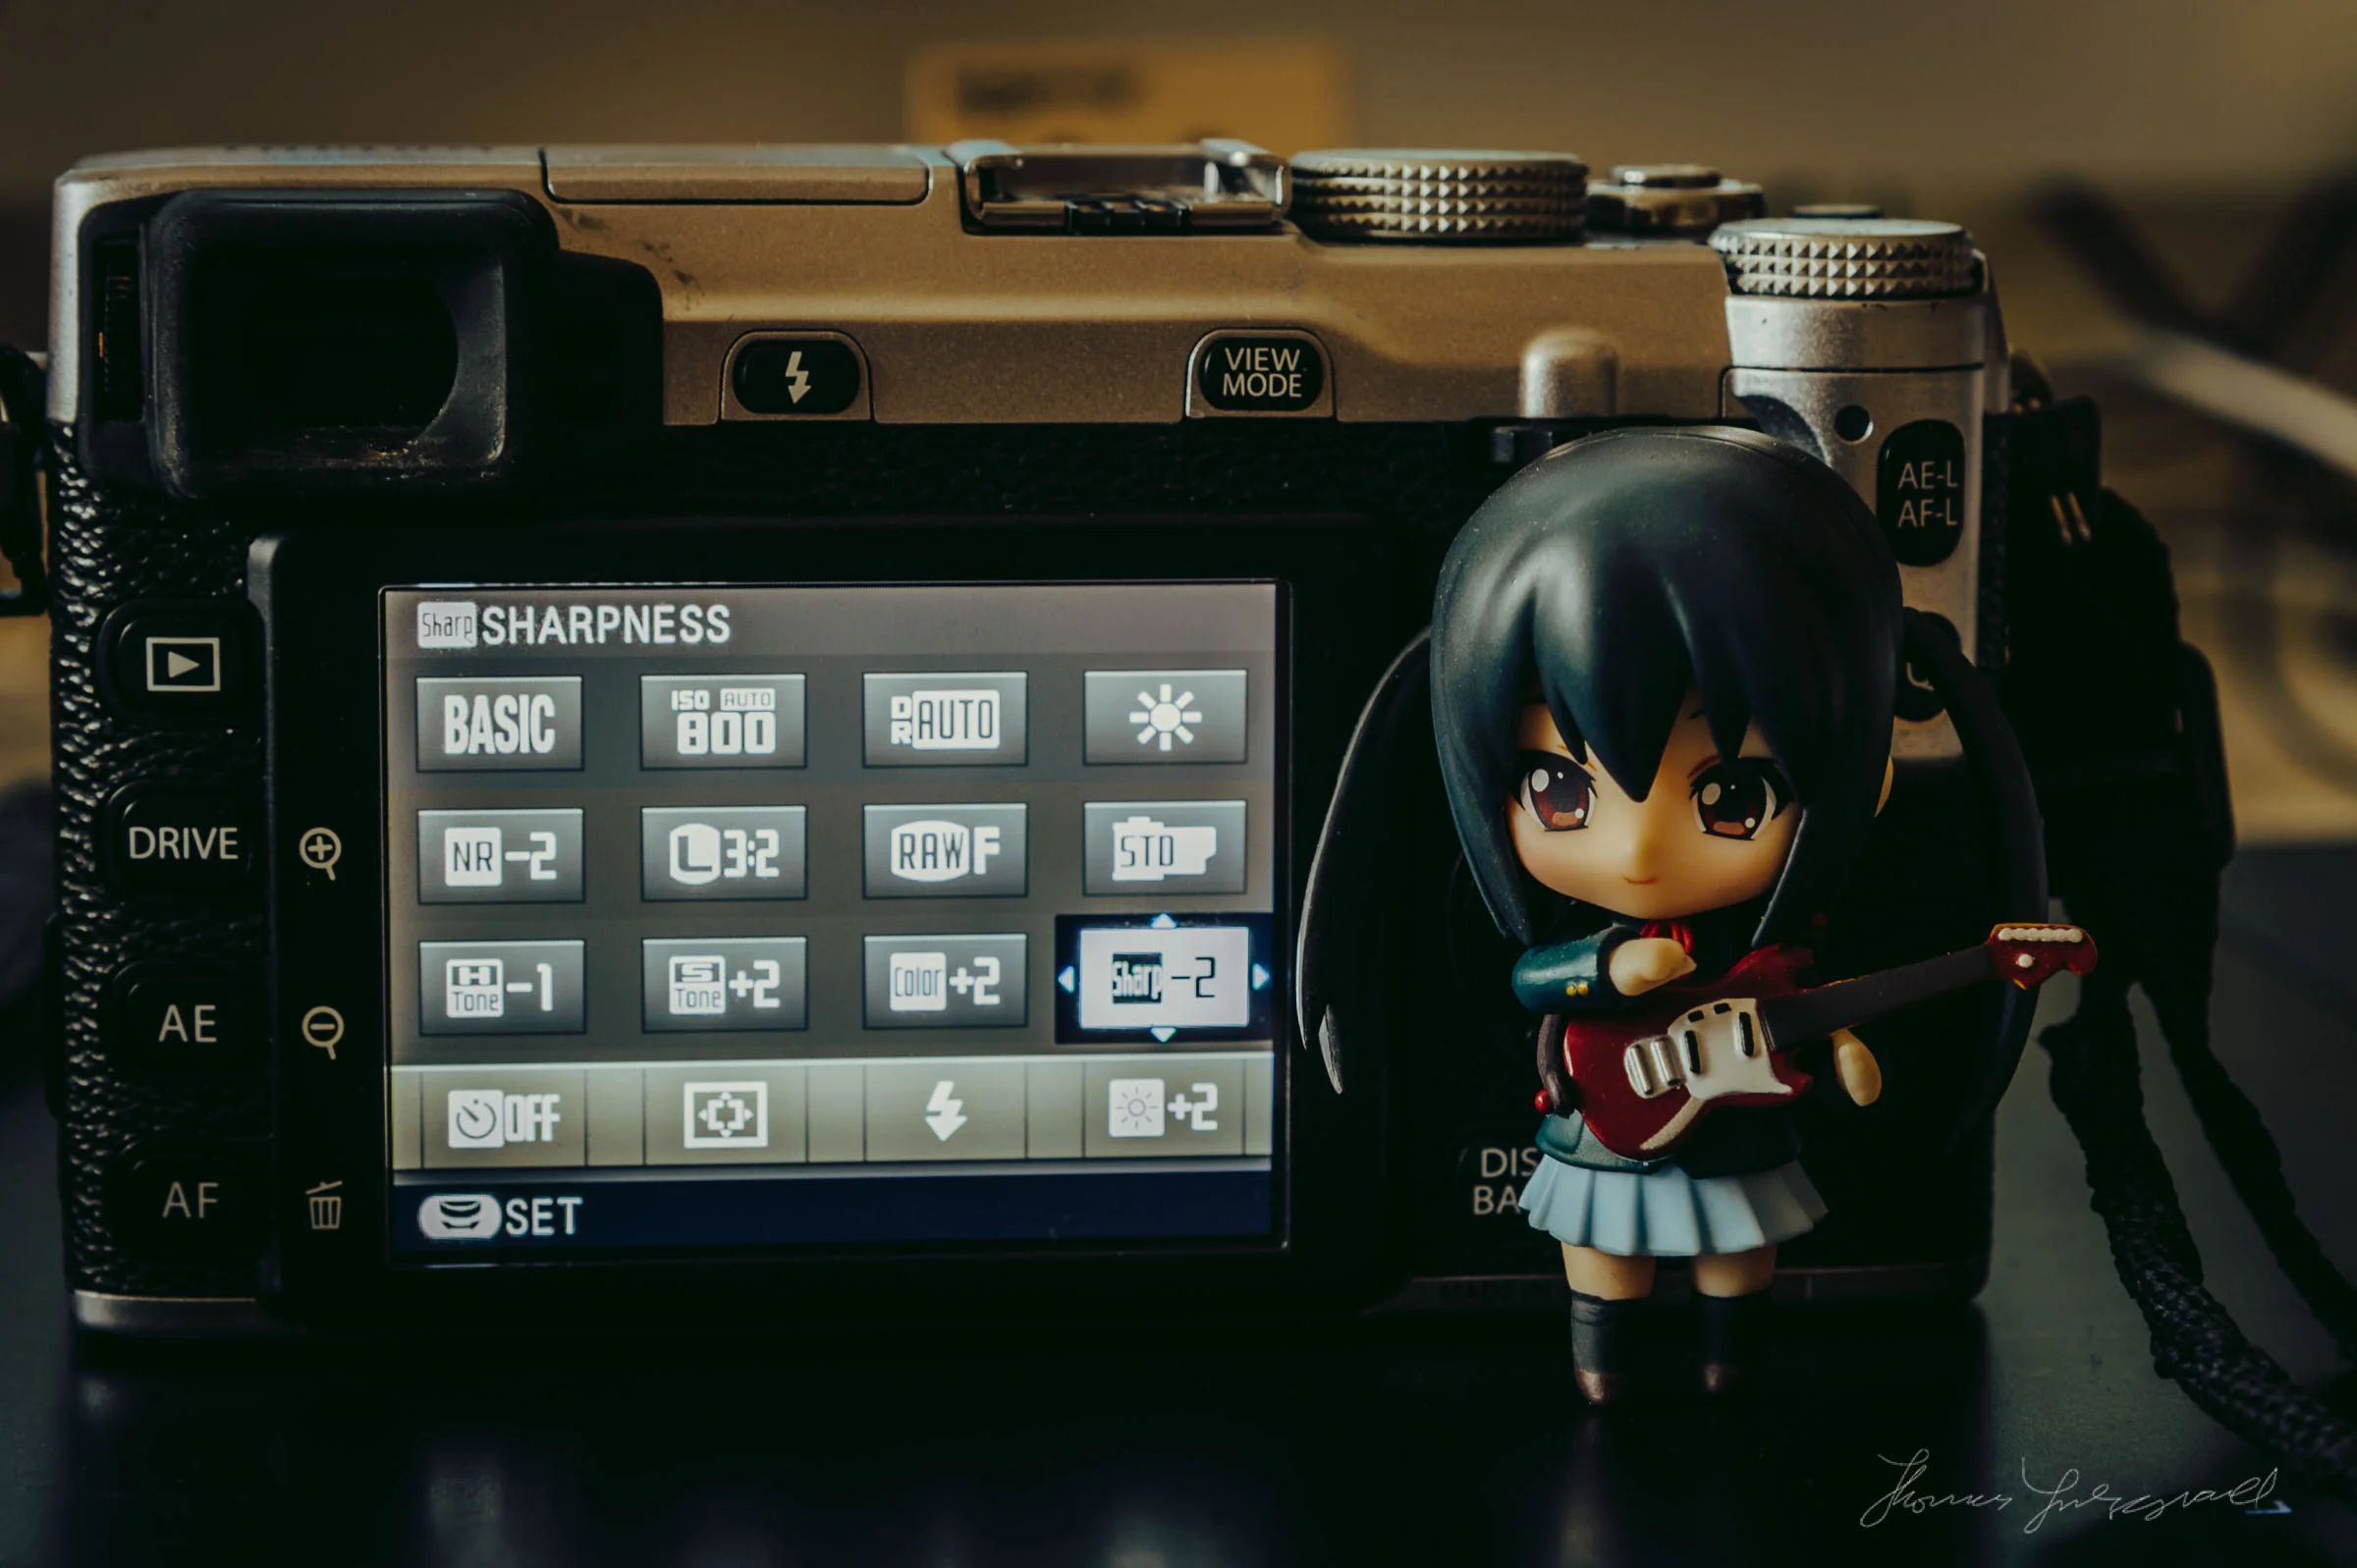
When shooting with DR400 for example, the camera underexposes the image by 2 stops and then recovers the data back to give a correct exposure, compressing the highlights so that they are not clipped. For DR200 it does the same underexposure trick but only by one stop. The in-camera DR settings only really work properly on JPEG files however, as they require in-camera processing.
While the DR settings in the camera work well for maintaining highlights, there are some tradeoffs. The biggest of which, is the fact that you need to increase the ISO to use the DR settings. This can be a problem if you're trying to shoot wide open with a fast lens.
When the original X100 first came out, if you used one of the DR modes in camera, and brought the raw files into Lightroom, they would show up as underexposed. For all subsequent cameras, Lightroom correctly interprets the exposure when using the DR modes in camera. It does not, however, correctly adjust the highlight and shadow recovery to match the highlight compression and shadow recovery that occur in-camera when using the DR modes. You can easily do this yourself though using the shadow and highlights sliders.
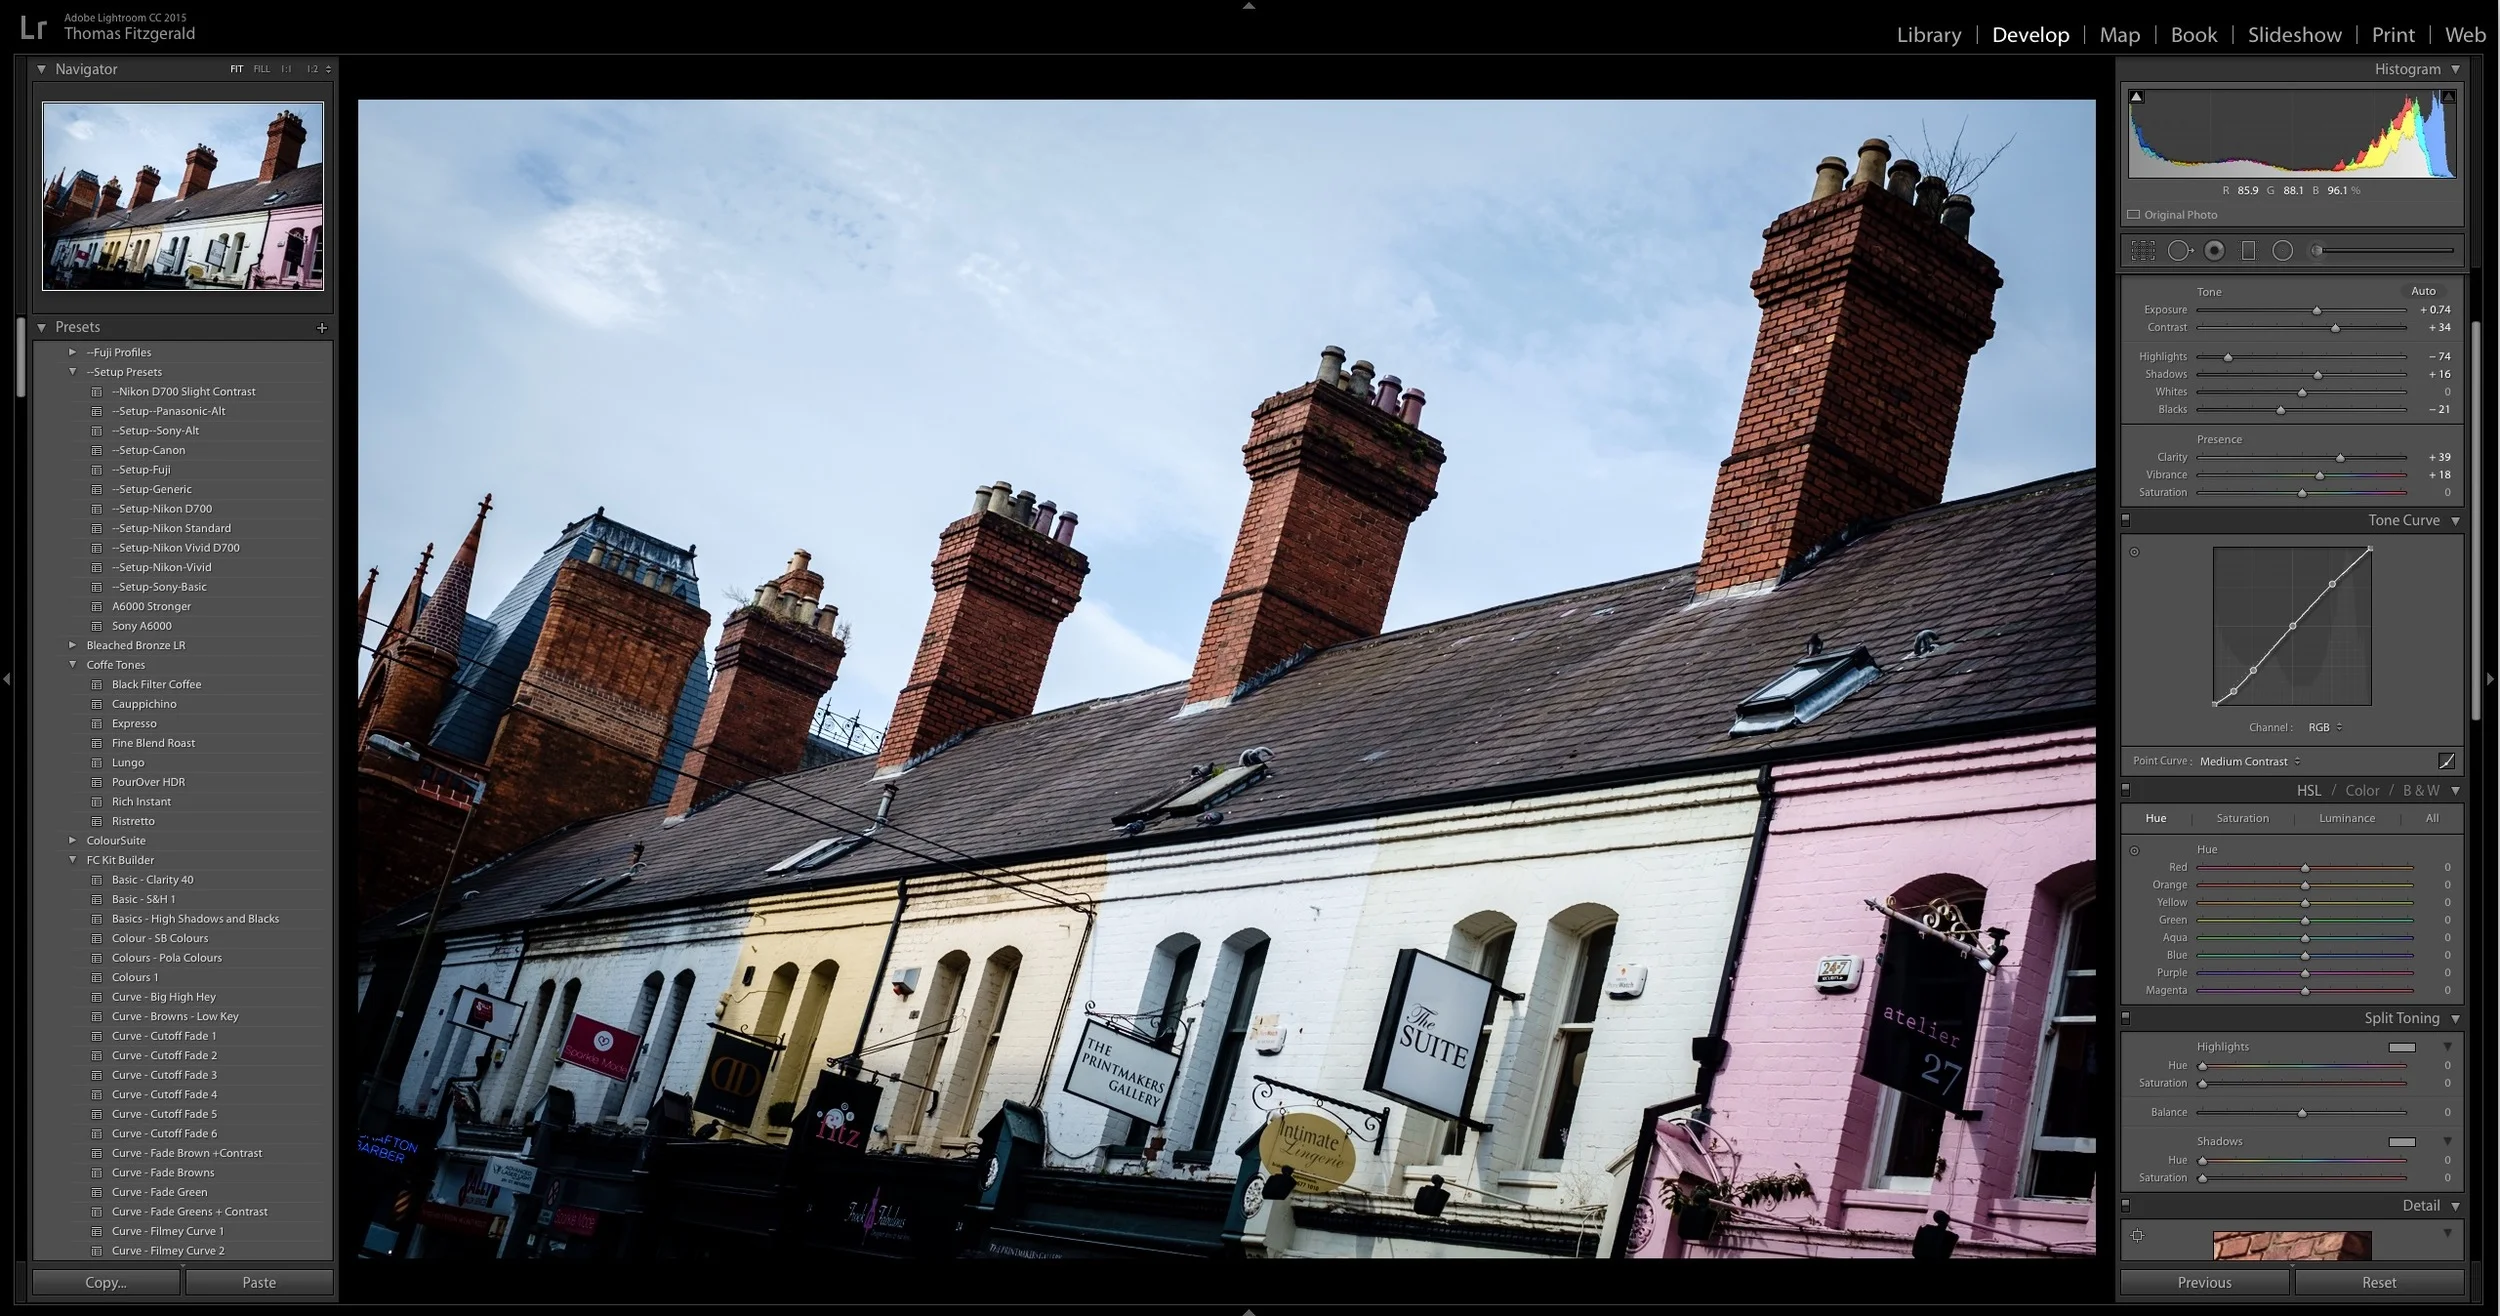
If you’re unfamiliar with the shadow and highlight controls in Lightroom here is a quick primer.
- Go to the Develop Module in Lightroom if you’re not already there
- In the basic panel you will see two sliders, Highlights and Shadows
- To increase the dynamic range in the Highlights section, and recover clipped highlight data, drag the Highlights slider to the left to decrease the value. Negative values will recover more highlight data.
- You can also manually enter a value for Highlights by clicking on the numerical value to the right of the slider
- To recover picture information from the shadow area of an image, drag the Shadows slider to the right to increase its value. Positive values will recover more shadow information.
Quick Tip: You can also adjust the Highlights and Shadows by dragging in the histogram top right hand side of the Develop module. As you hover over the histogram, you will see different areas highlighted with a grey bar, and a caption under the histogram will tell you what part you are about to adjust. For the Highlights, hover over the right hand third of the histogram till the “Highlights” caption is showing. Now, click and drag to adjust the highlight in the image. Drag to the left to pull back the highlights and recover information from clipped highlights. For the Shadows, hover over the bottom third till the caption reads “Shadows” and click and drag.
To create values will give similar results to the on camera DR settings, here are some suggested values. These will not exactly match the Fuji settings, but should be fairly close, and you can try your own to see which works best for you, but these should give similar results:
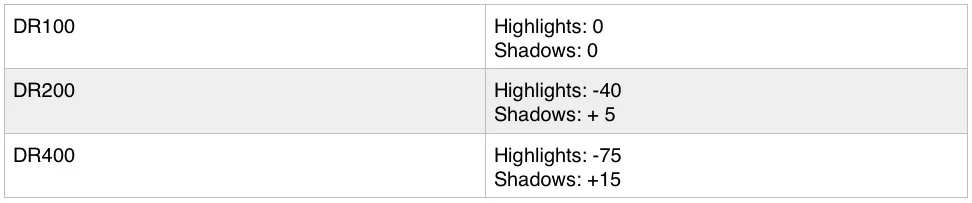
You can save these values as a preset for easy application at a later date. I have included these as presets with this guide.
Some people are of the opinion that, if you are shooting raw then you may be better off sticking with DR100, and just shooting as normal. There is some truth to this. The raw files have plenty of flexibility to adjust the dynamic range in Lightroom using the shadow and highlight sliders, and you can achieve almost as much highlight recovery by just using the highlights and shadows sliders. There are still some differences though. In my own testing I’ve found that by using the DR modes in camera, even when shooting RAW, you can recover a fraction more detail from the files compared to not using the DR modes. The amount is pretty negligible though, and by sticking with DR100 in camera, you retain the ability to shoot at lower iso values.
Help Support the Blog
All of the work I do here, and the information on this blog is done entirely free of charge and takes up quite a bit of work. I want to spend more and more time on this blog, and offer more and more of this kind of information, tips and so on, so If you like what I'm doing here and want to show support, then you can do so by buying something from my Digital Download Store
I have Lightroom Presets, Photoshop ACR Presets, Textures ande-books all available for download.