Sony A6000 Post Processing Guide for Lightroom Now Available
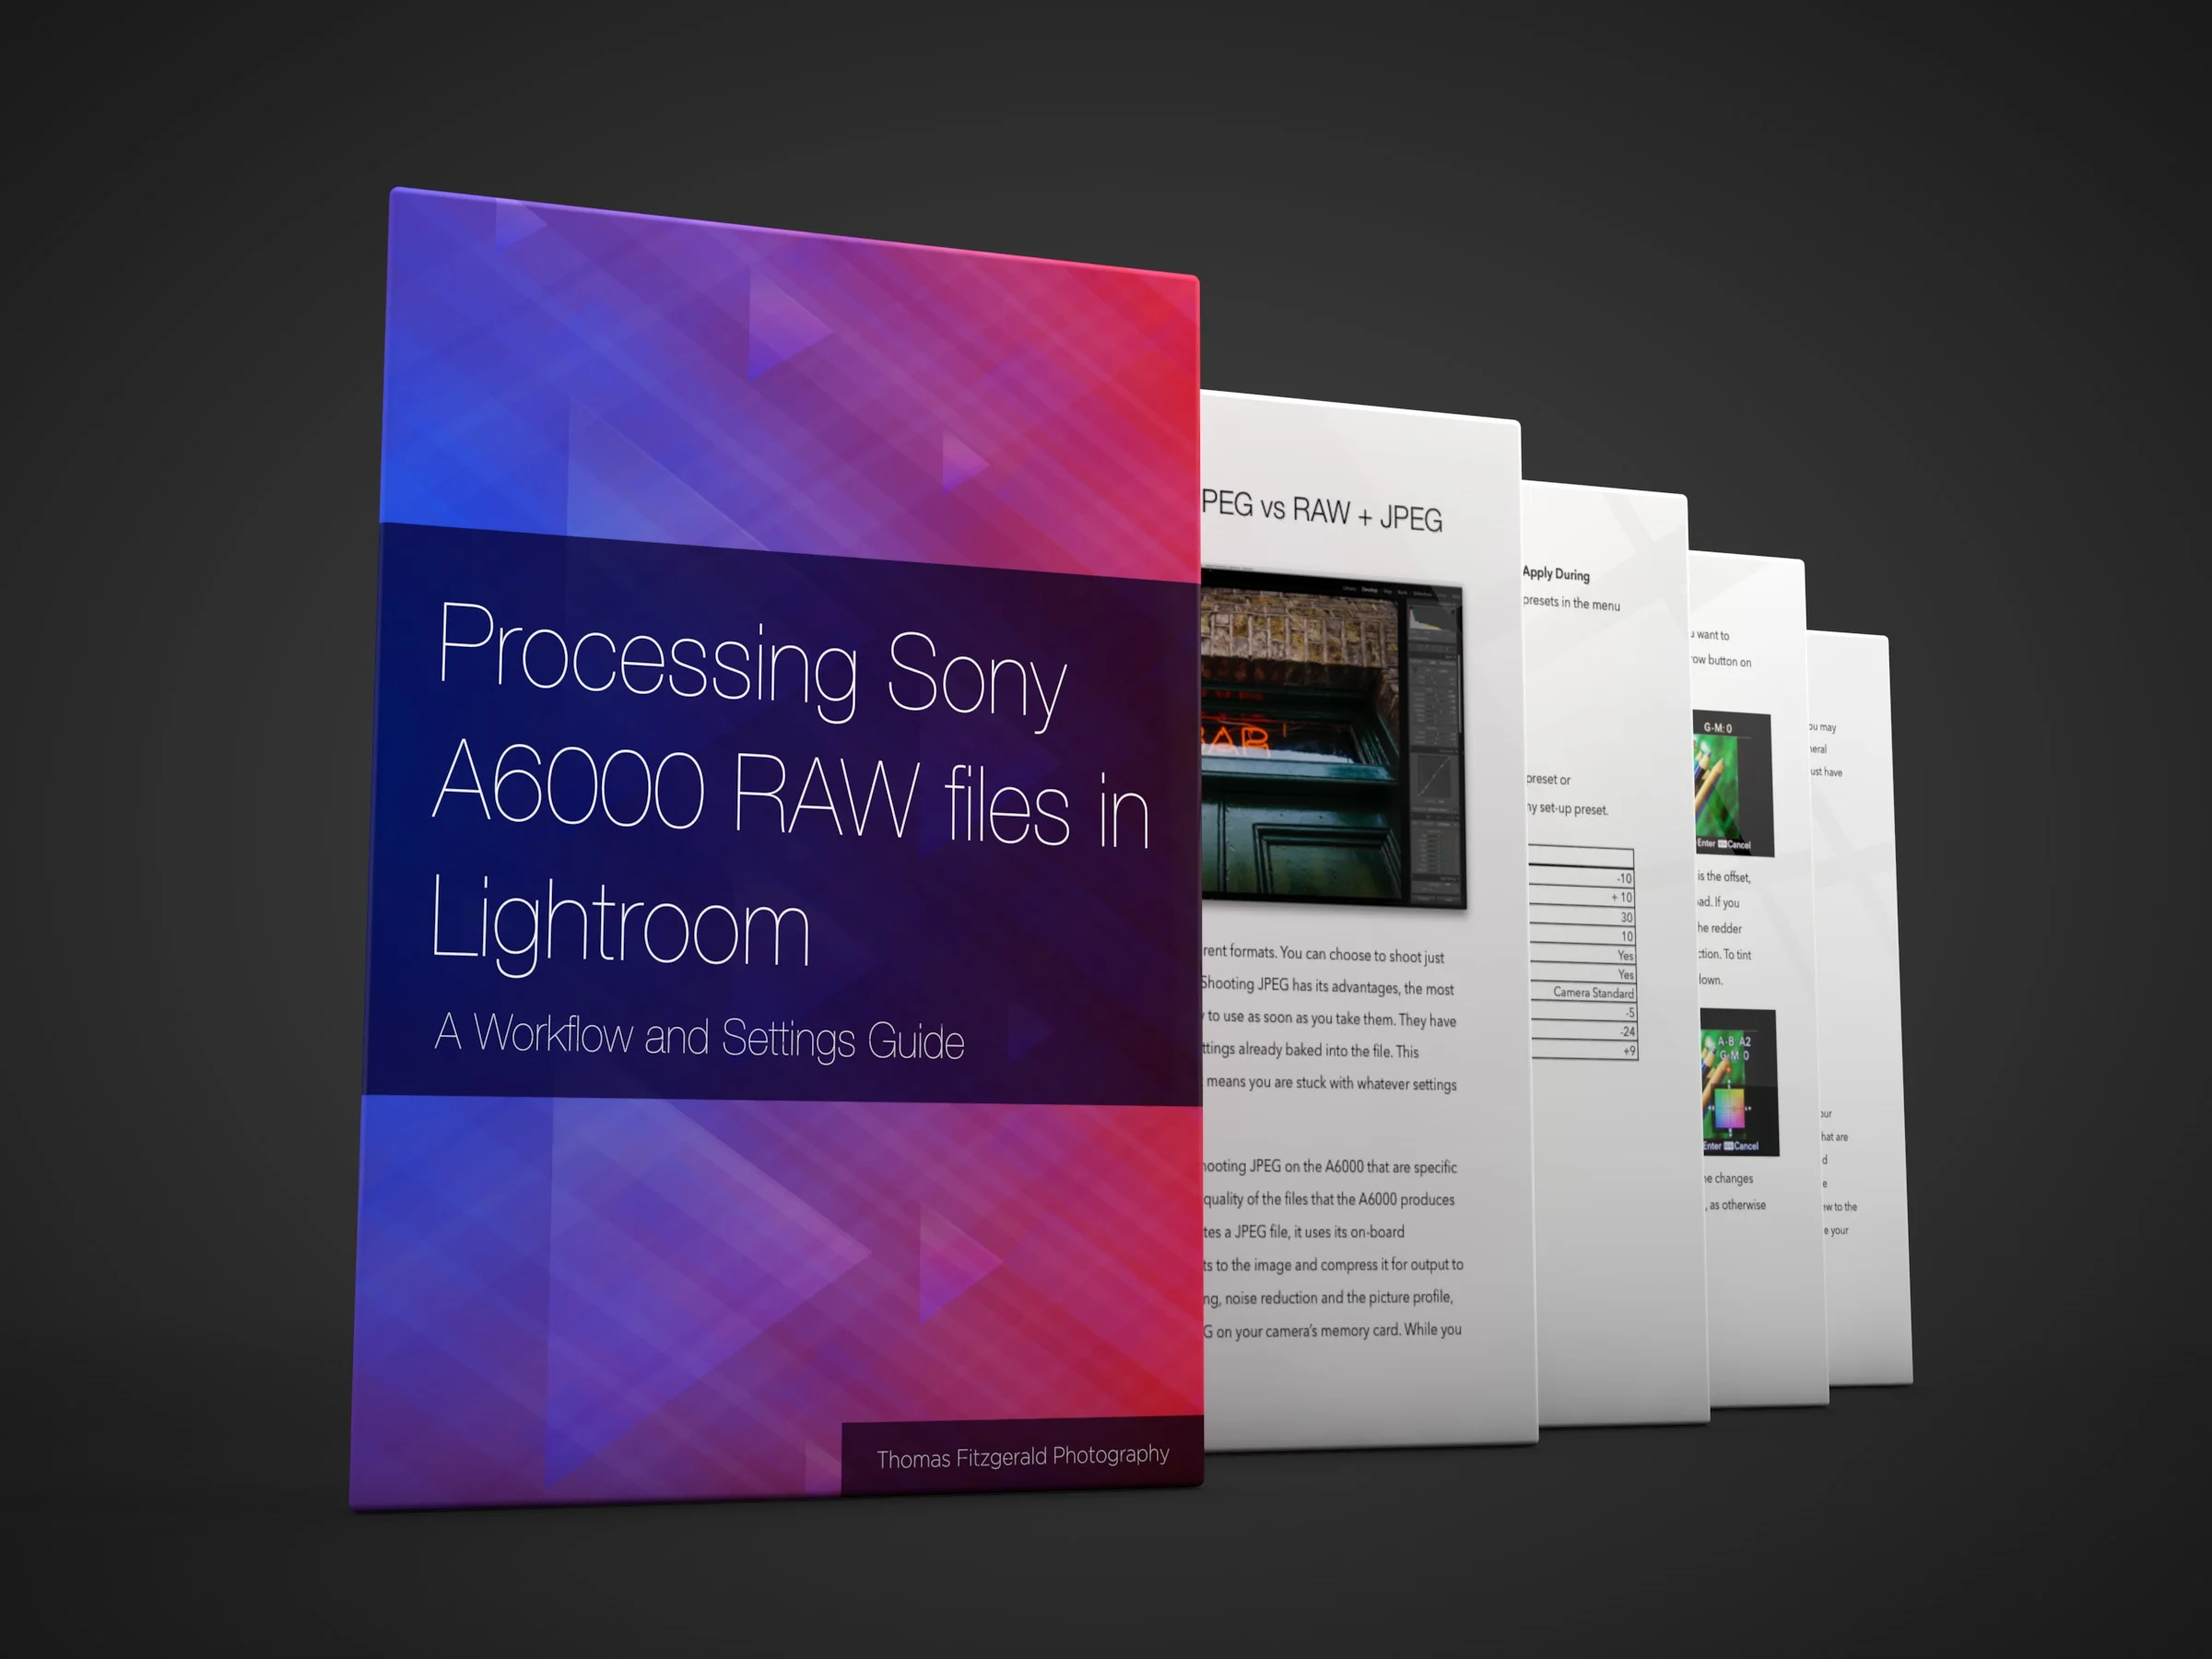
I’m very pleased to announce, that after a very long time in production, my newest guide is now available. this e-book guide is called “Processing Sony A6000 Raw files in Lightroom: A Workflow and settings guide”. While that’s probably a bit of a mouthful, it pretty much sums up what this new guide is about. In the same way that I have previously written guides for Fuji X-Series shooters, this guide is designed specifically for Sony A6000 shooters who want to get the best from their camera when processing their images in Lightroom.
While working with Sony RAW files in Lightroom may seem like a fairly straightforward process, there are lots of things that you can do to optimise your workflow. This guide will look at all these things, and give you the knowledge you need to get the best from your Sony RAW files, no matter what the situation.
This guide also includes a set of develop module presets for Lightroom. These cover some of the subjects and settings that are covered in the guide.
What’s it all about then?
The guide is 58 pages long and here’s a breakdown of what topics are covered in the guide, by chapter:
Chapter 1: RAW vs JPEG vs RAW + JPEG
The A6000 will let you shoot in three different formats. You can choose to shoot just JPEGs, just RAW files, or RAW and JPEG. In this chapter I discuss the merits of shooting RAW + JPEG and I discuss workflows for managing both in Lightroom. I also briefly discuss Sony’s compressed raw format and some of the controversy surrounding it.
Chapter 2: Setting Basic Settings and Creating an Import Preset
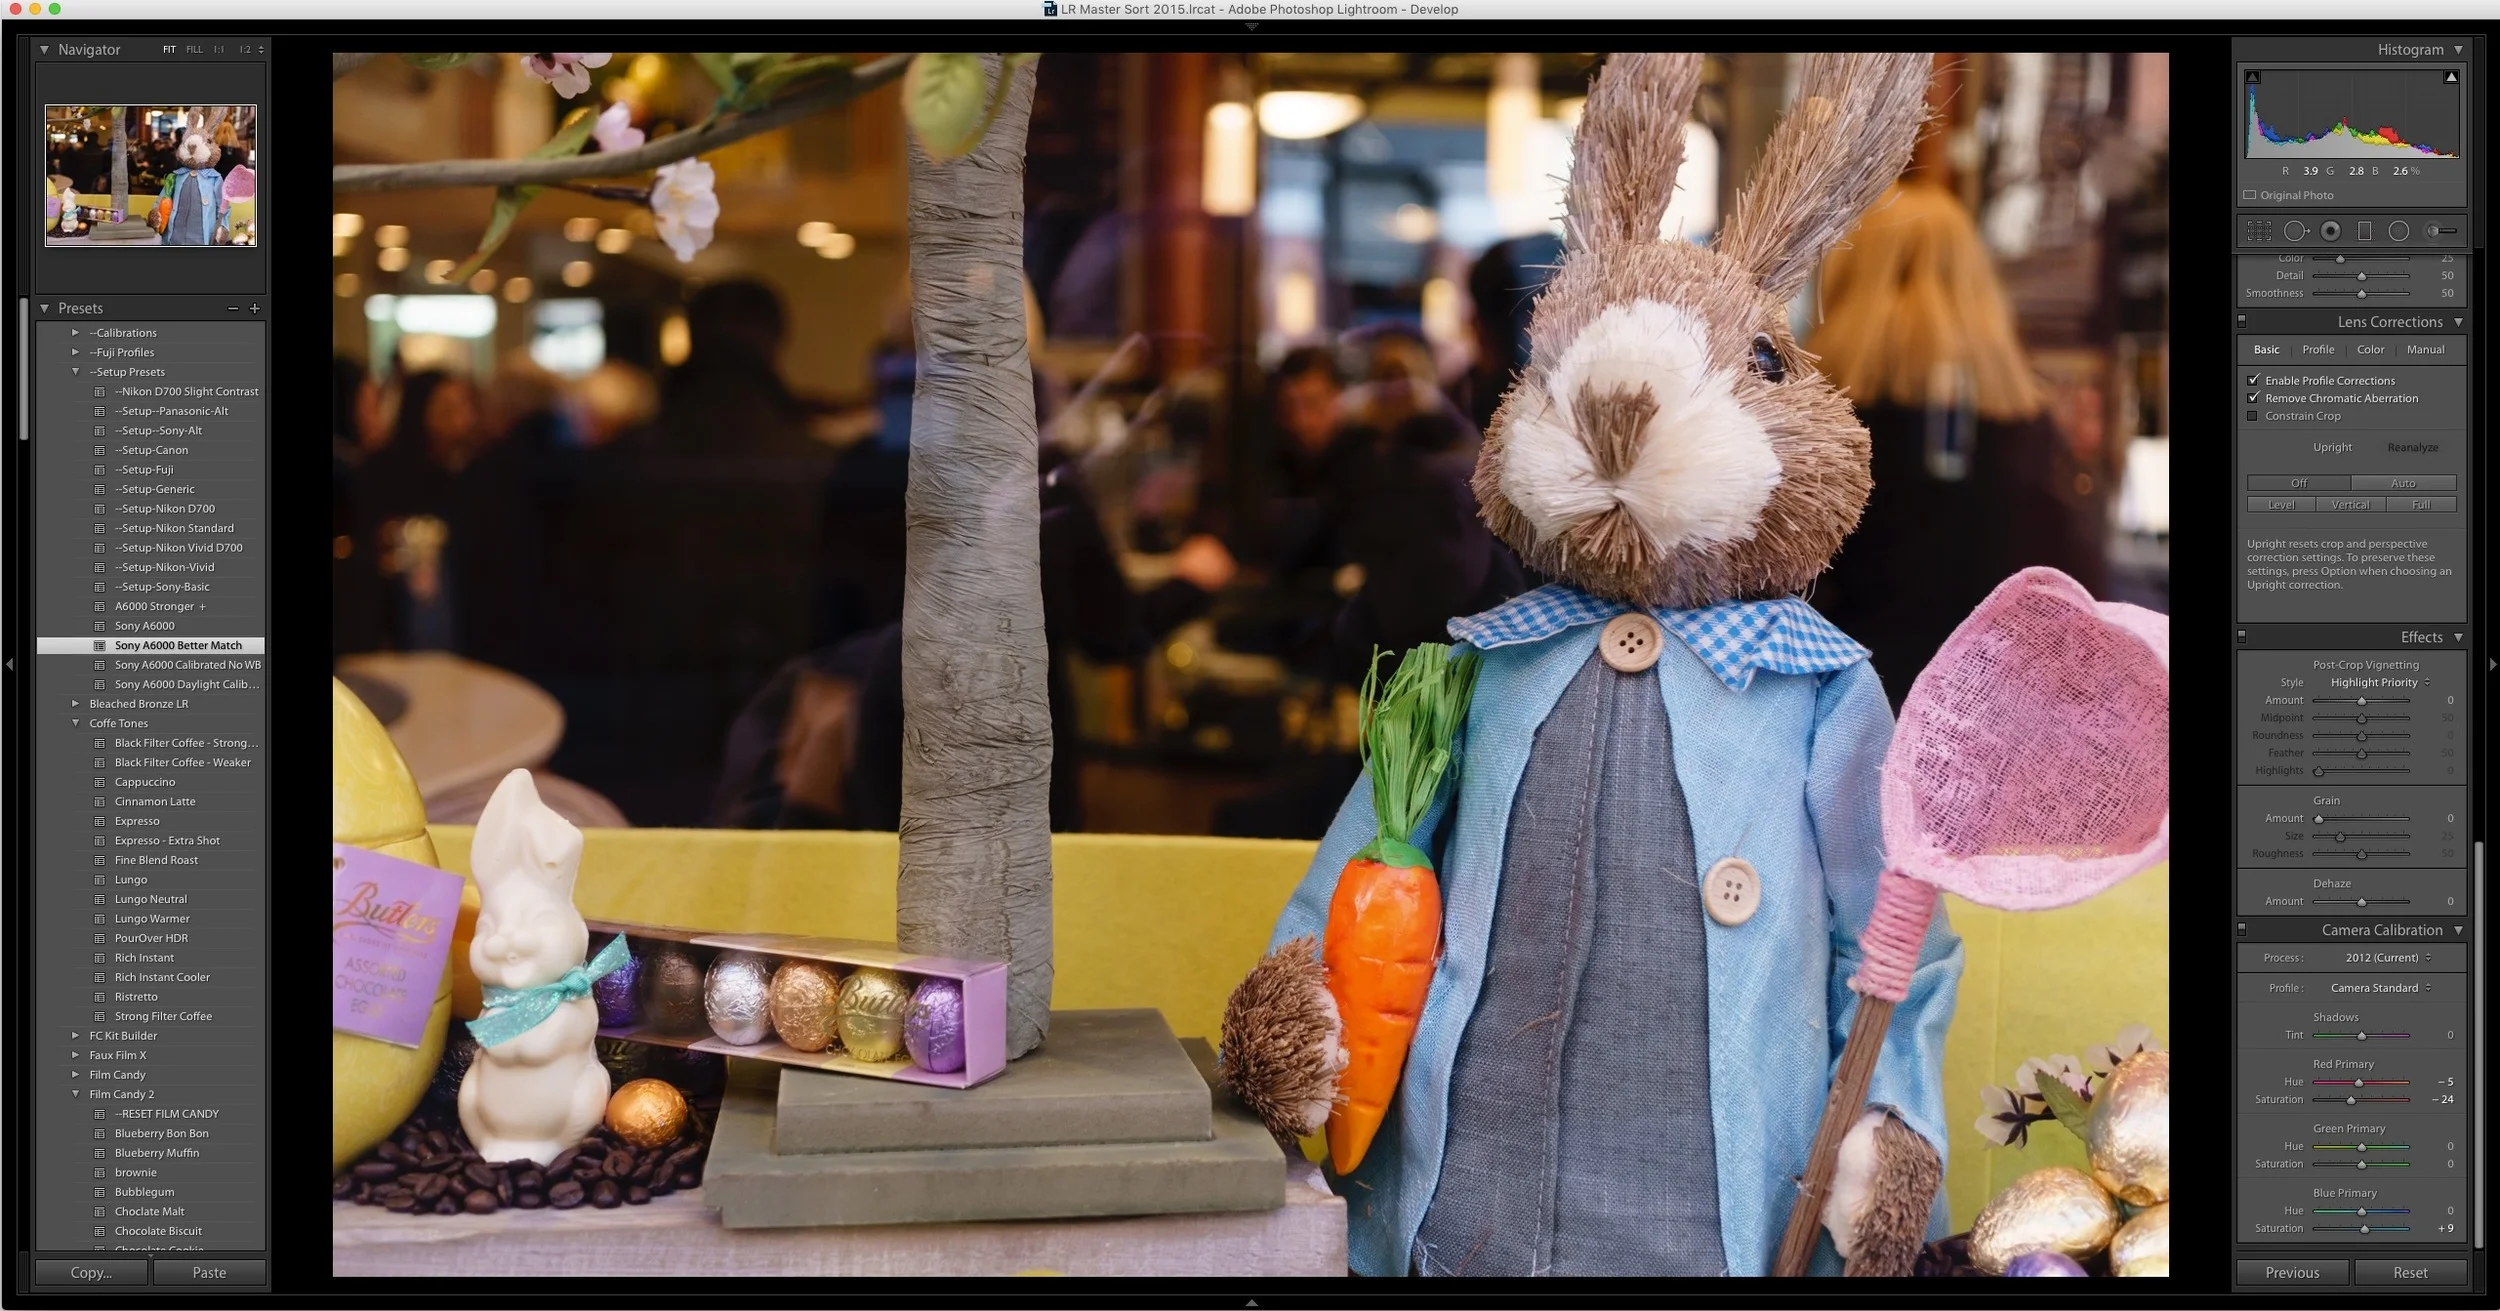
If you’re shooting RAW files with the A6000, you may be disappointed when you first import them into Lightroom, especially if you’ve been looking at the JPEG output on your camera. The reason for this is that JPEG files have the contrast, colour settings and so on baked into the file.
There are ways to minimise this discrepancy, and that’s what this chapter is about. By creating a basic setup that sets a “base level” for your RAW files, it will save you a lot of work in the future and it will also mean that your images look better out of the camera when you first import them into Lightroom. With a few tweaks, you should see a big difference.
In this section I’m going to show you what to change to create a default setup, and how to save those changes as a preset to apply to imports in the future. I’m also going to show you the settings I use and recommend, which are included with this guide as a preset that you can try for yourself.
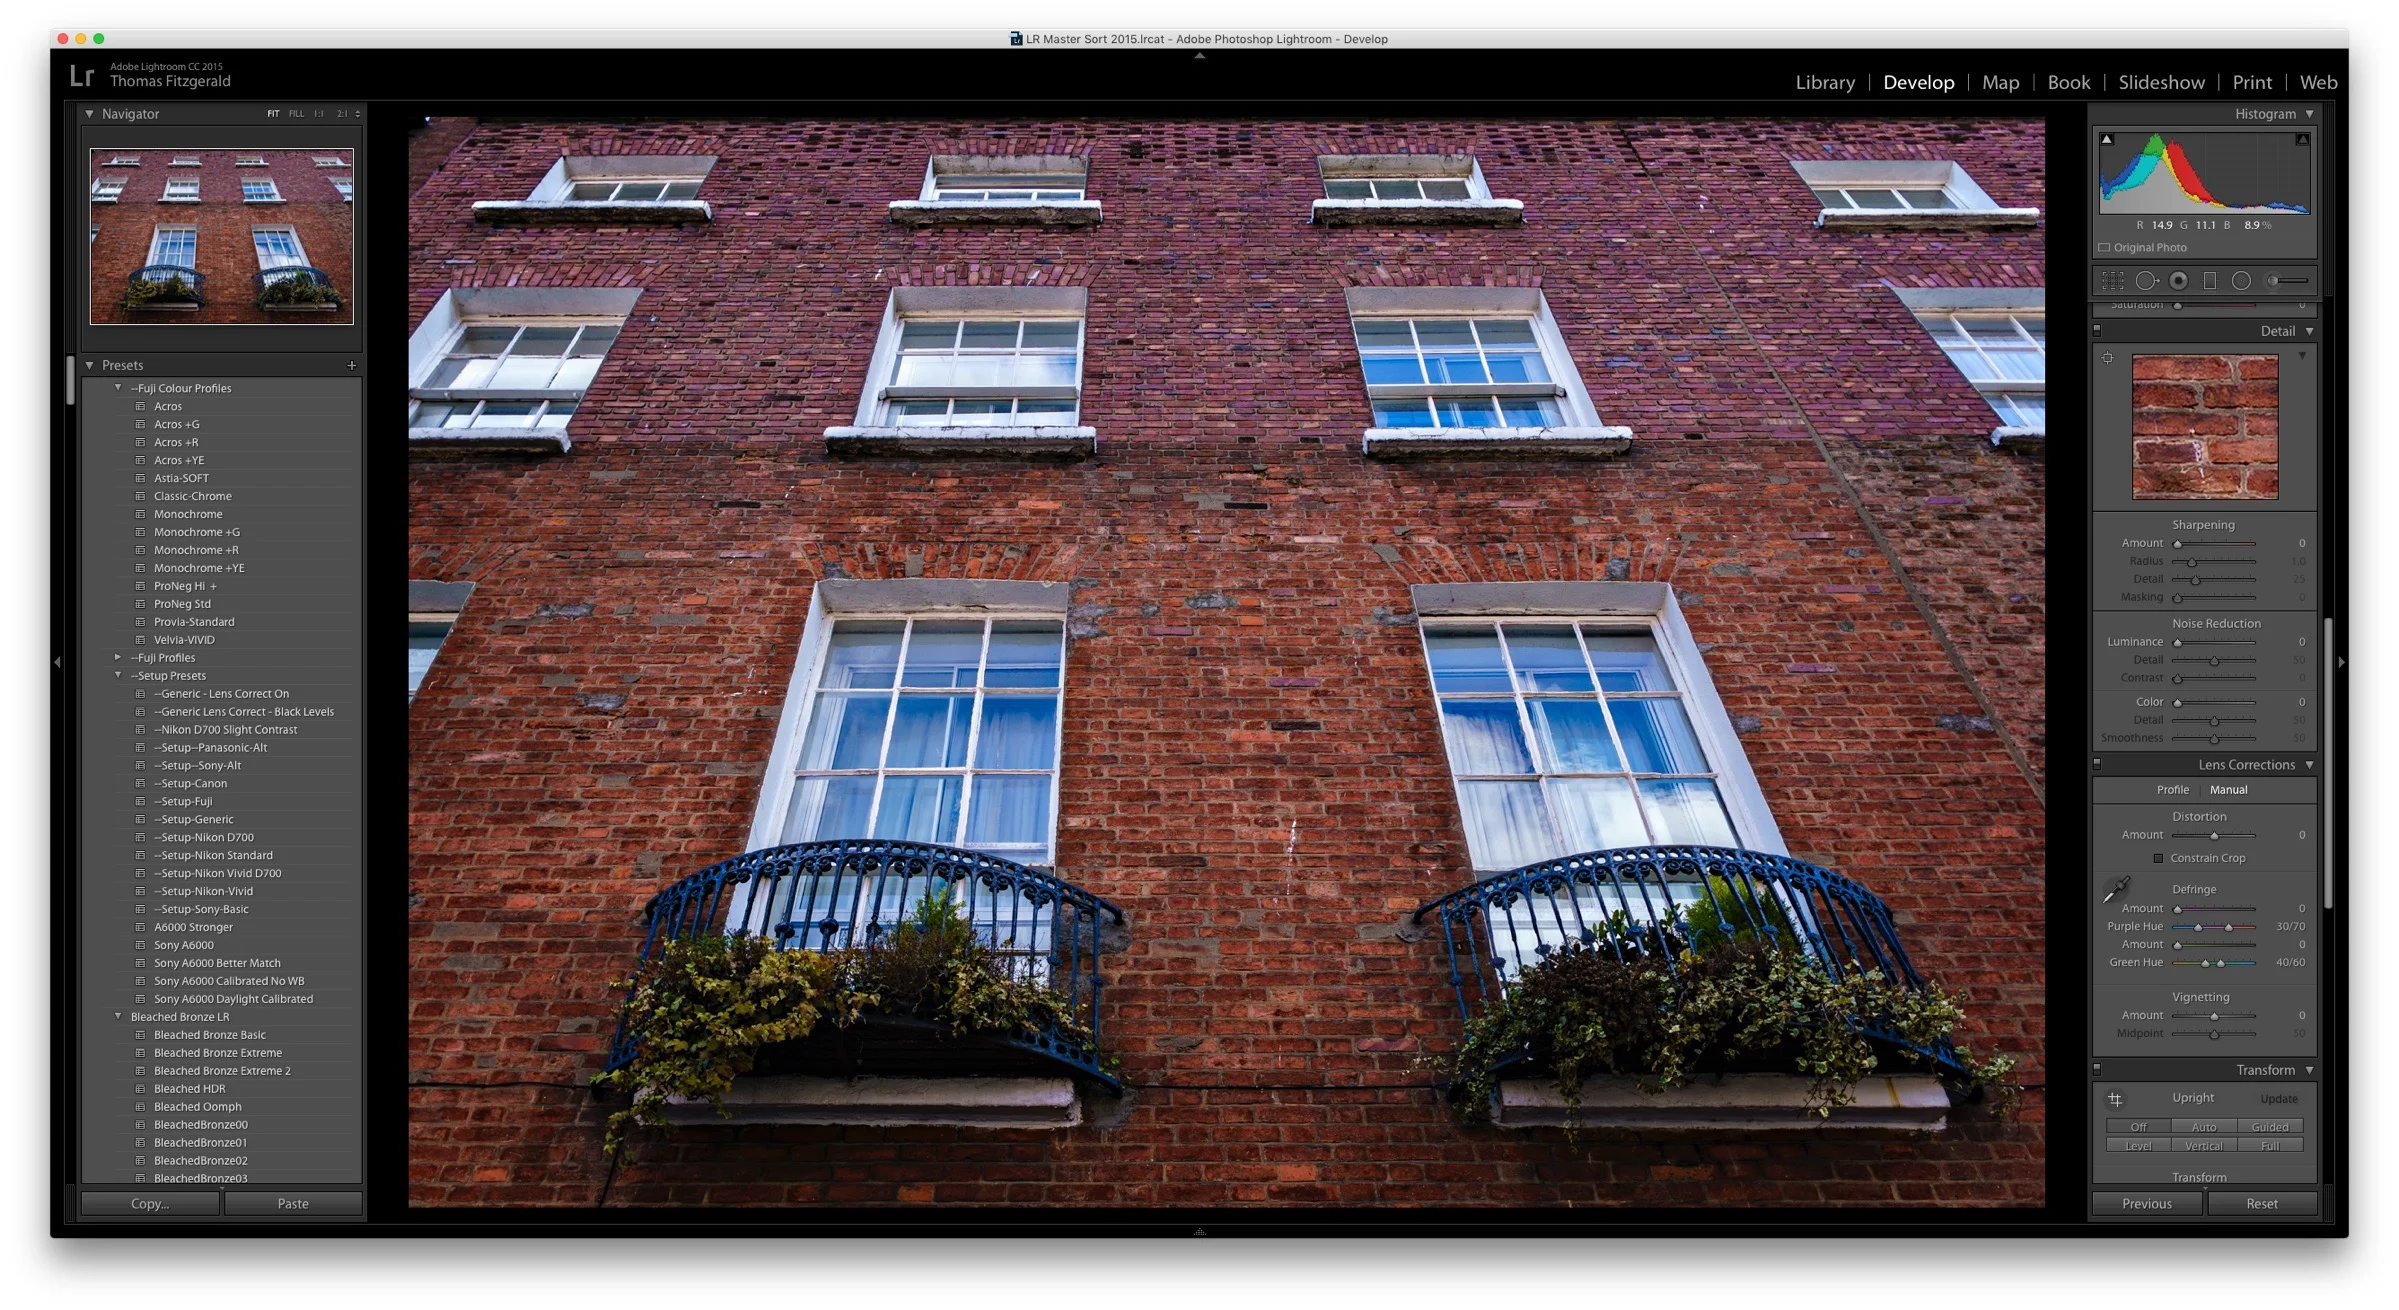
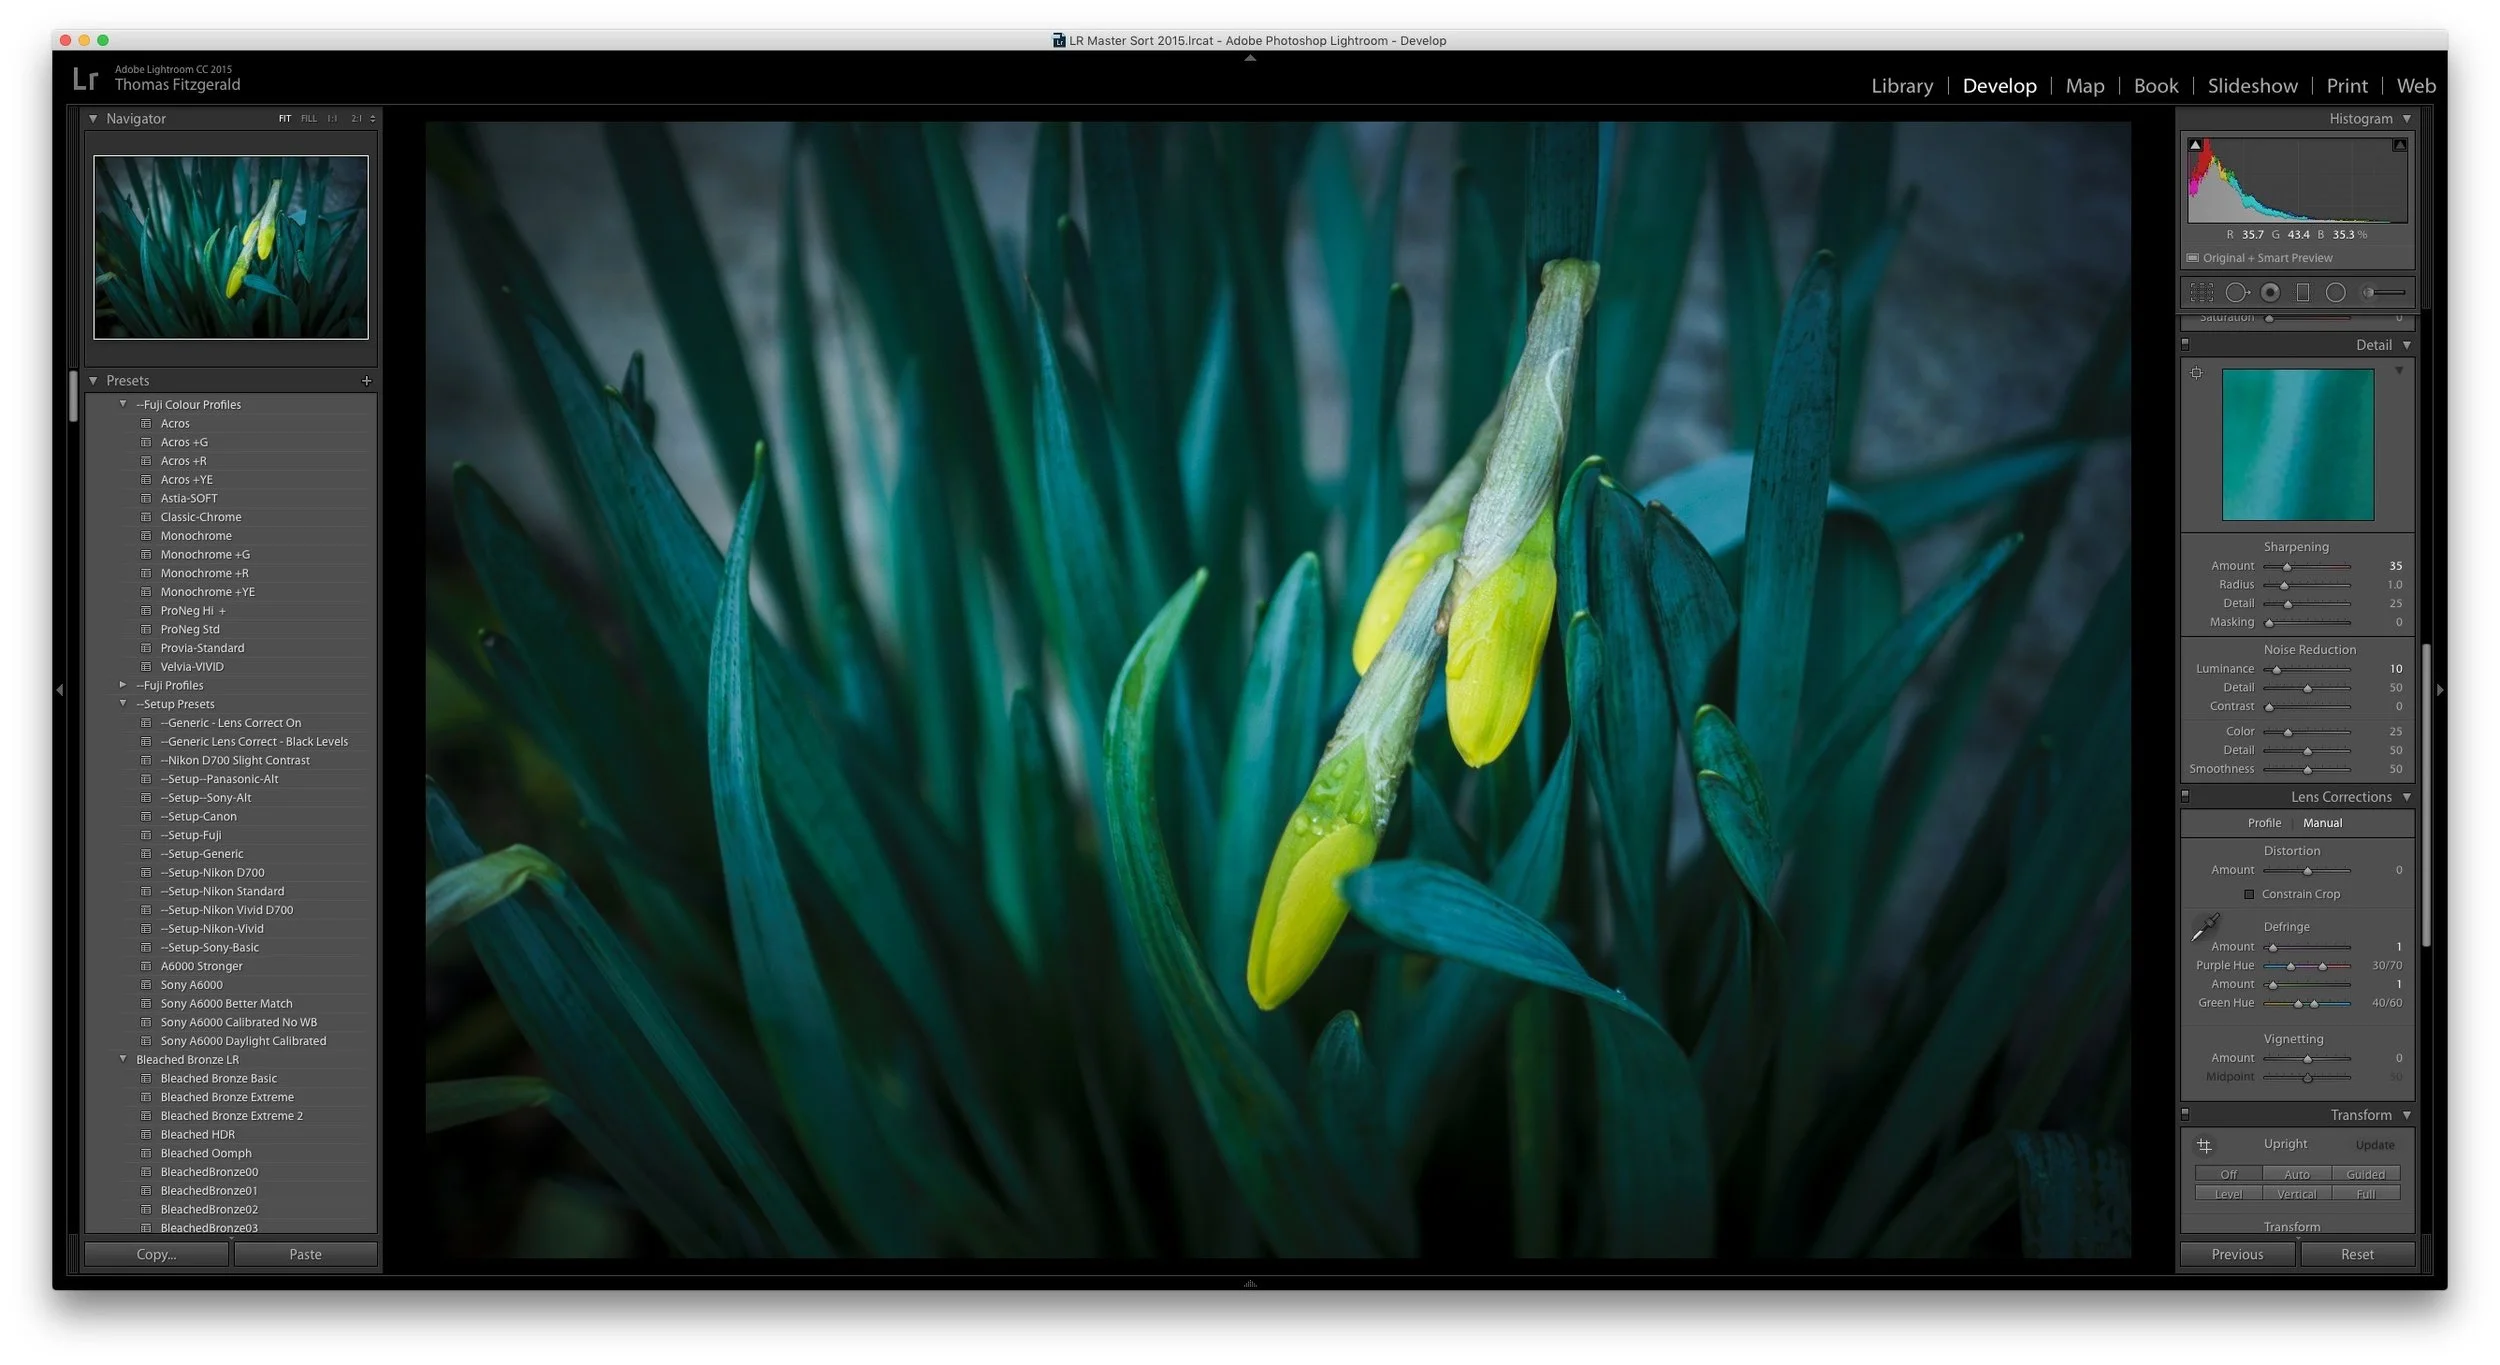
Chapter 3: Fixing Common Problems
In this chapter I look at how to address a number of issues that commonly crop up when processing RAW files from the Sony A6000. While many of these topics are common to all cameras, this chapter will approach the subject with a focus on how they affect images taken with the A6000 specifically.
Chapter 3 looks at the following issues that can occur with your images and ways to approach dealing with those problems:
• Correcting white balance and how white balance affects images.
• Tinting shadows and highlights.
• Fixing colour fringing.
• Manually setting distortion options.
• Fixing banding.
• Fixing shadow noise with photoshop.
Chapter 4: Creative Adjustments
In this chapter we look at some of the ways that you can creatively adjust your images in Lightroom. While this could be a book all of its own, we focus on some of the adjustments that you can make to match the in-camera options. In particular we look at creating black and white images, matching the adjustments available for the picture controls, and expanding the dynamic range, similar to the camera’s DRO settings. We also discuss shooting and processing HDR Images.
Available Now
Processing Sony A6000 Raw files in Lightroom: A Workflow and settings guide is available now for just €5 and for the first two weeks it will be at a special launch price of just €4. The guide is in PDF format and also contains some presets.
For more details see the full product descriptionin my digital download store. You can also download a sample PDF of the first chapter.