Processing Lots of HDR exposures at once in Lightroom
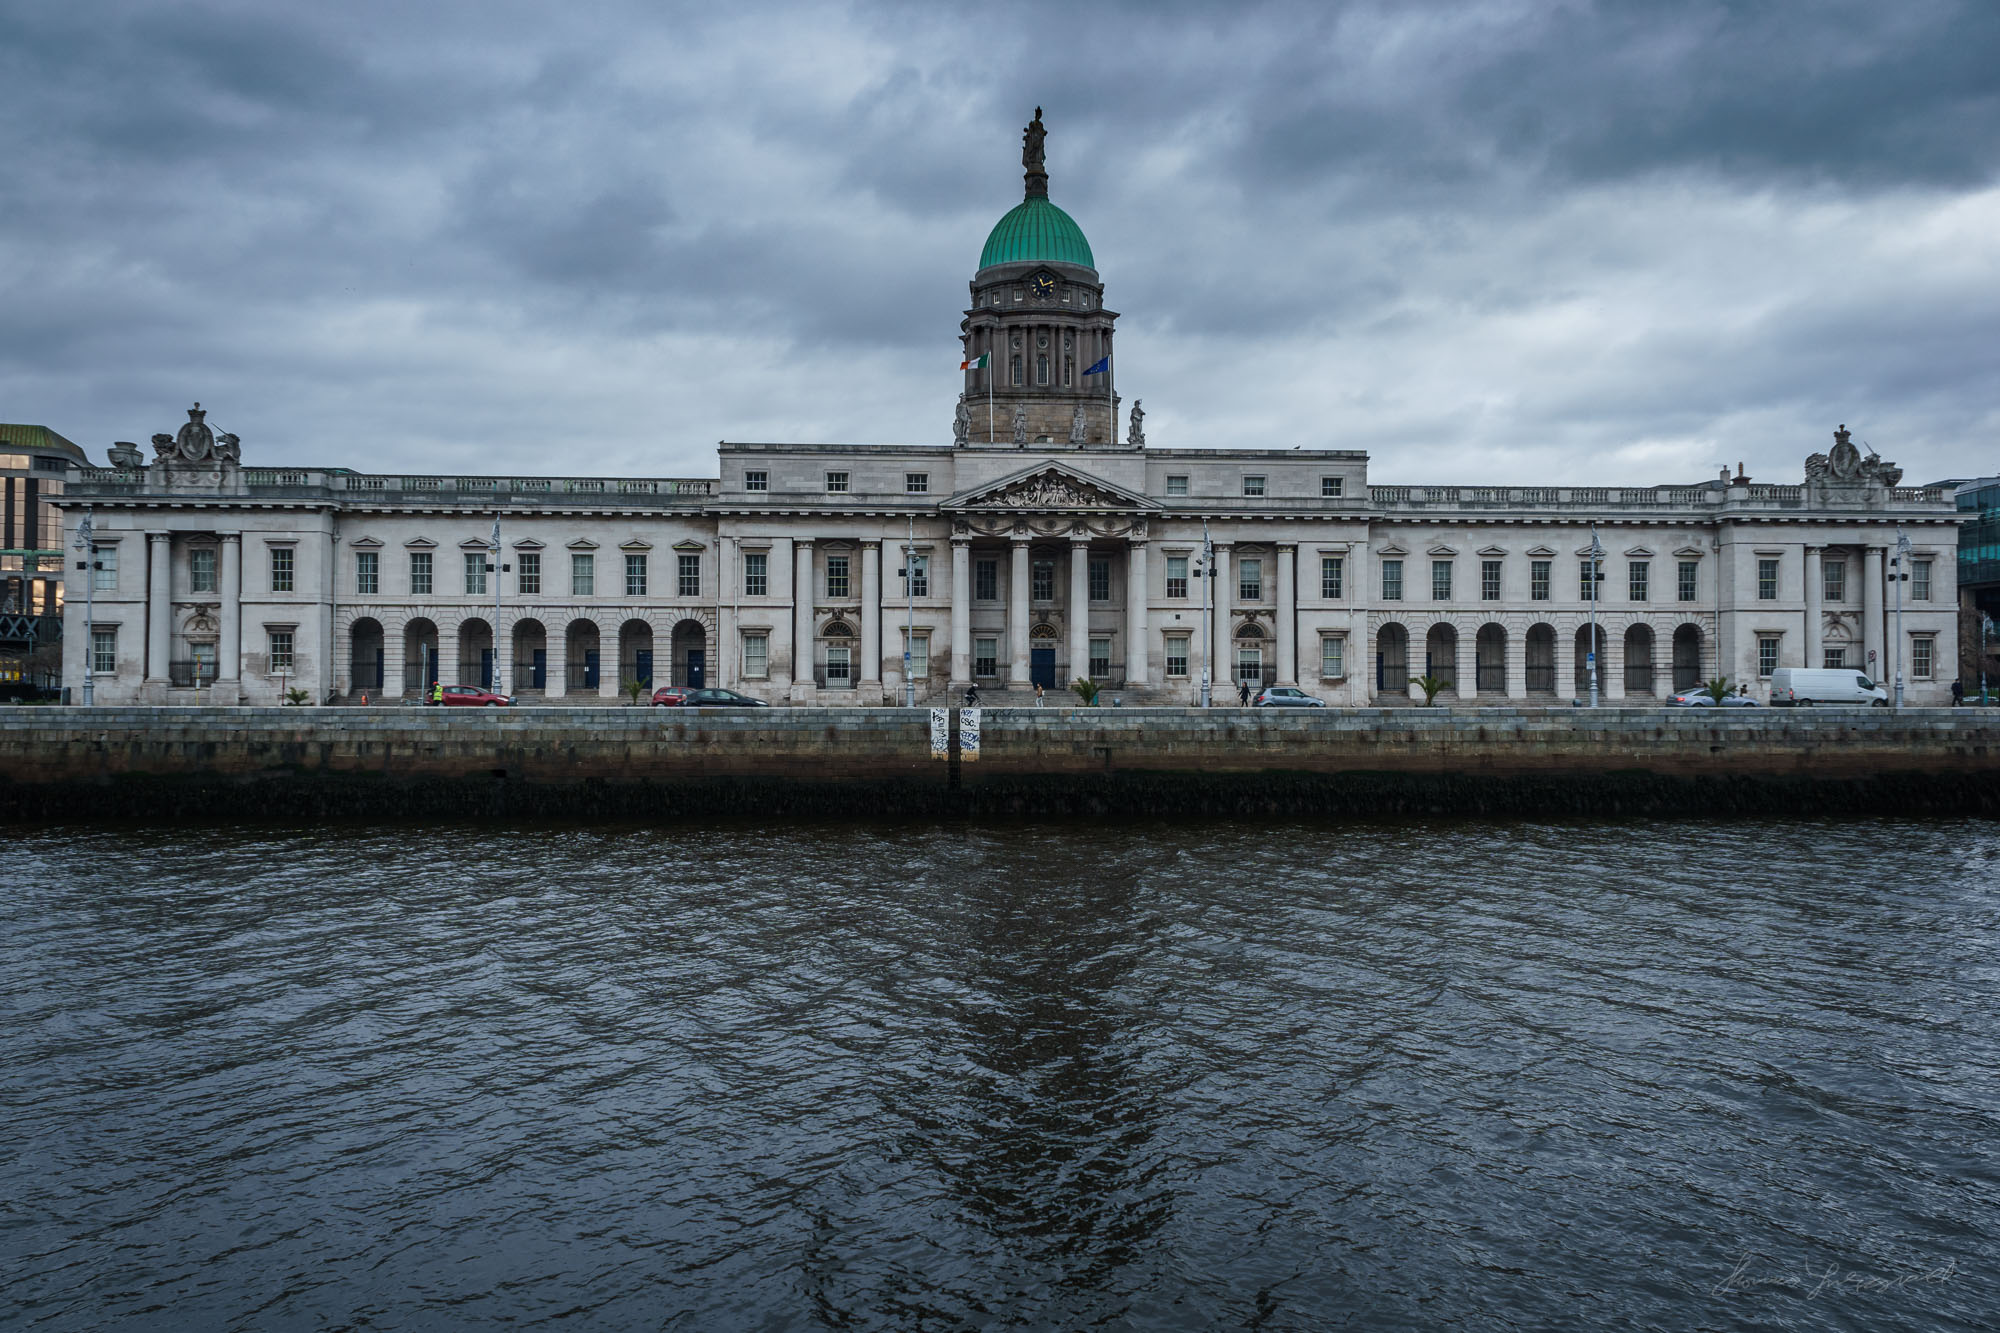
Recently I was out taking some photos in the city centre of Dublin, and I ended up shooting a lot of bracketed exposures. It was a moody, cloudy day, and while the low clouds would probably come out by pushing the Raw files with just one exposure, it as quite dramatic, and I wanted to maintain as much detail as possible. I wasn’t so much intending to create lots of HDR files, but I was more just trying to give myself options afterwards.
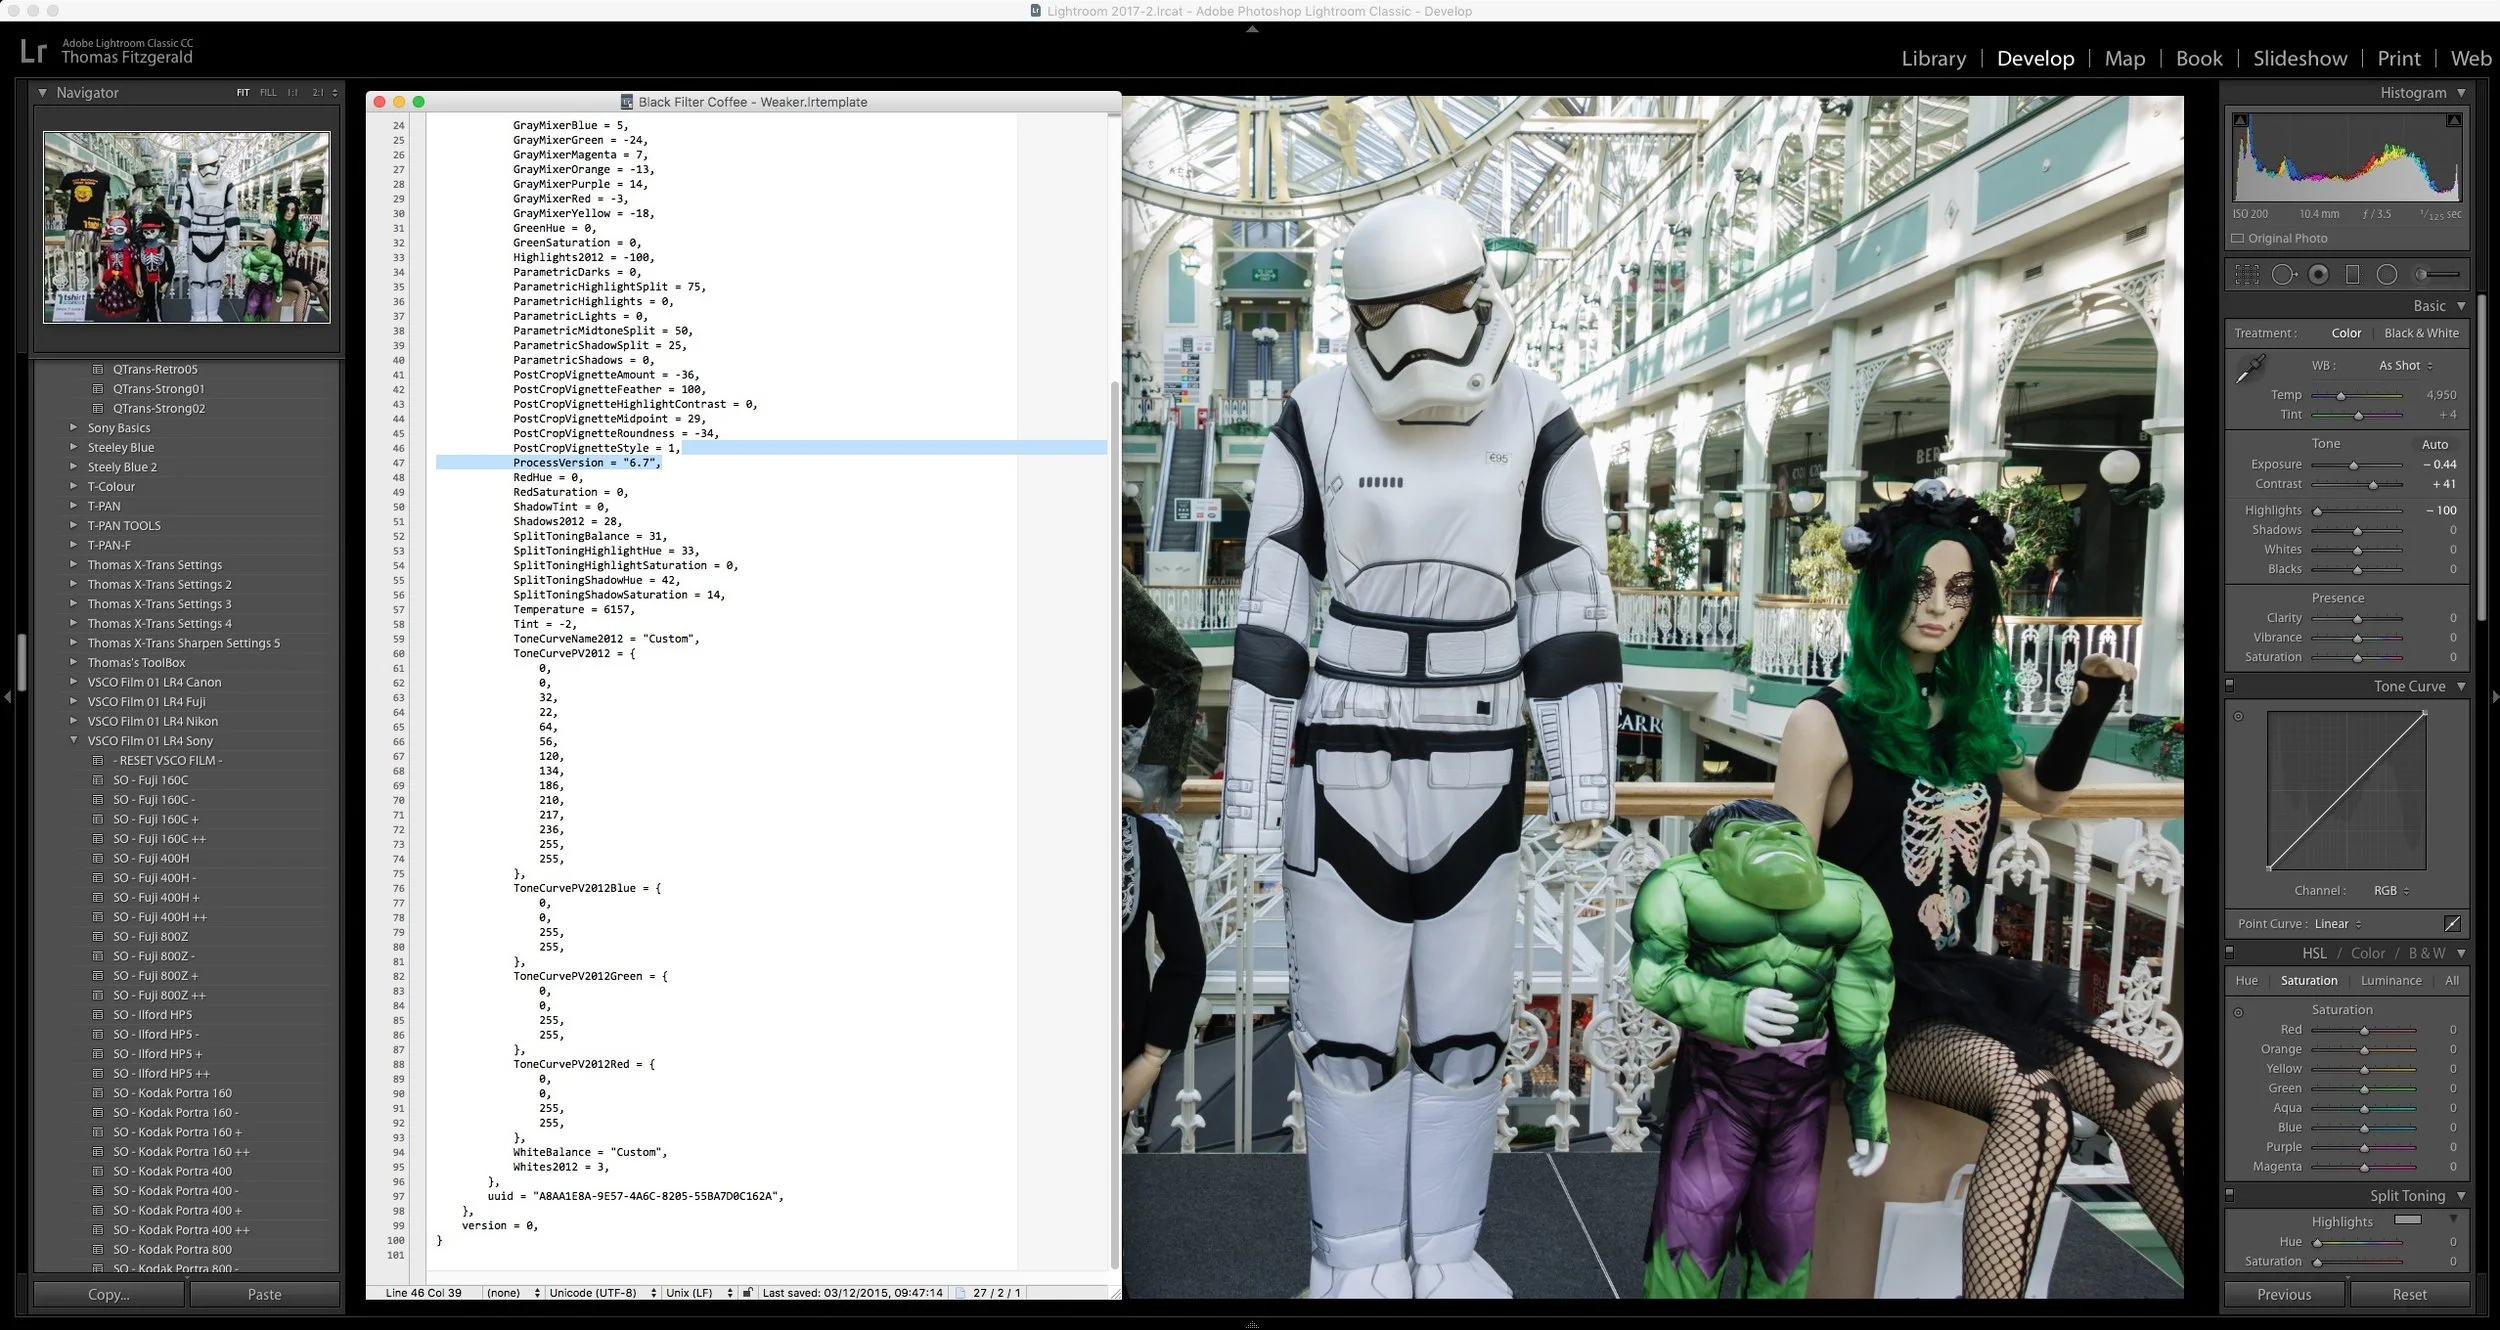
When back in Lightroom, I started by trying a few of the files on their own. I tried working with the shadows and highlights to recover and push the details, and while it sort of worked, it did start to get a bit noisy, so I tried using Lightroom’s built in HDR feature to see what I could get. I was happy with the results. The image was cleaner and had a lot more oomph to it. In some cases the HDR was completely unnecessary, but seen as I had the shots I went ahead and used them anyway. After trying a few more, I realised that this was the way to go. The thing is though, I had shot a lot of these, and I wanted to combine them all, which would take ages. Luckily there’s a little trick to speed this up.
Once you have done one set of exposures, and you have set the parameters the way you want them, you can combine more images without bringing up the dialog, and it will merge them in the background. Simply hold down the shift key as you execute the command to merge exposures. Or to do it even faster, select the three (in this case three) exposures and use the keyboard shortcut: Ctrl + Shift +H (It’s “control” even on a mac - not command). Using this technique you can set several merge functions going at once. I could manage about 5 before my computer started to get too bogged down. I was working on my laptop though. I could probably have managed a few more if I had been using my desktop.
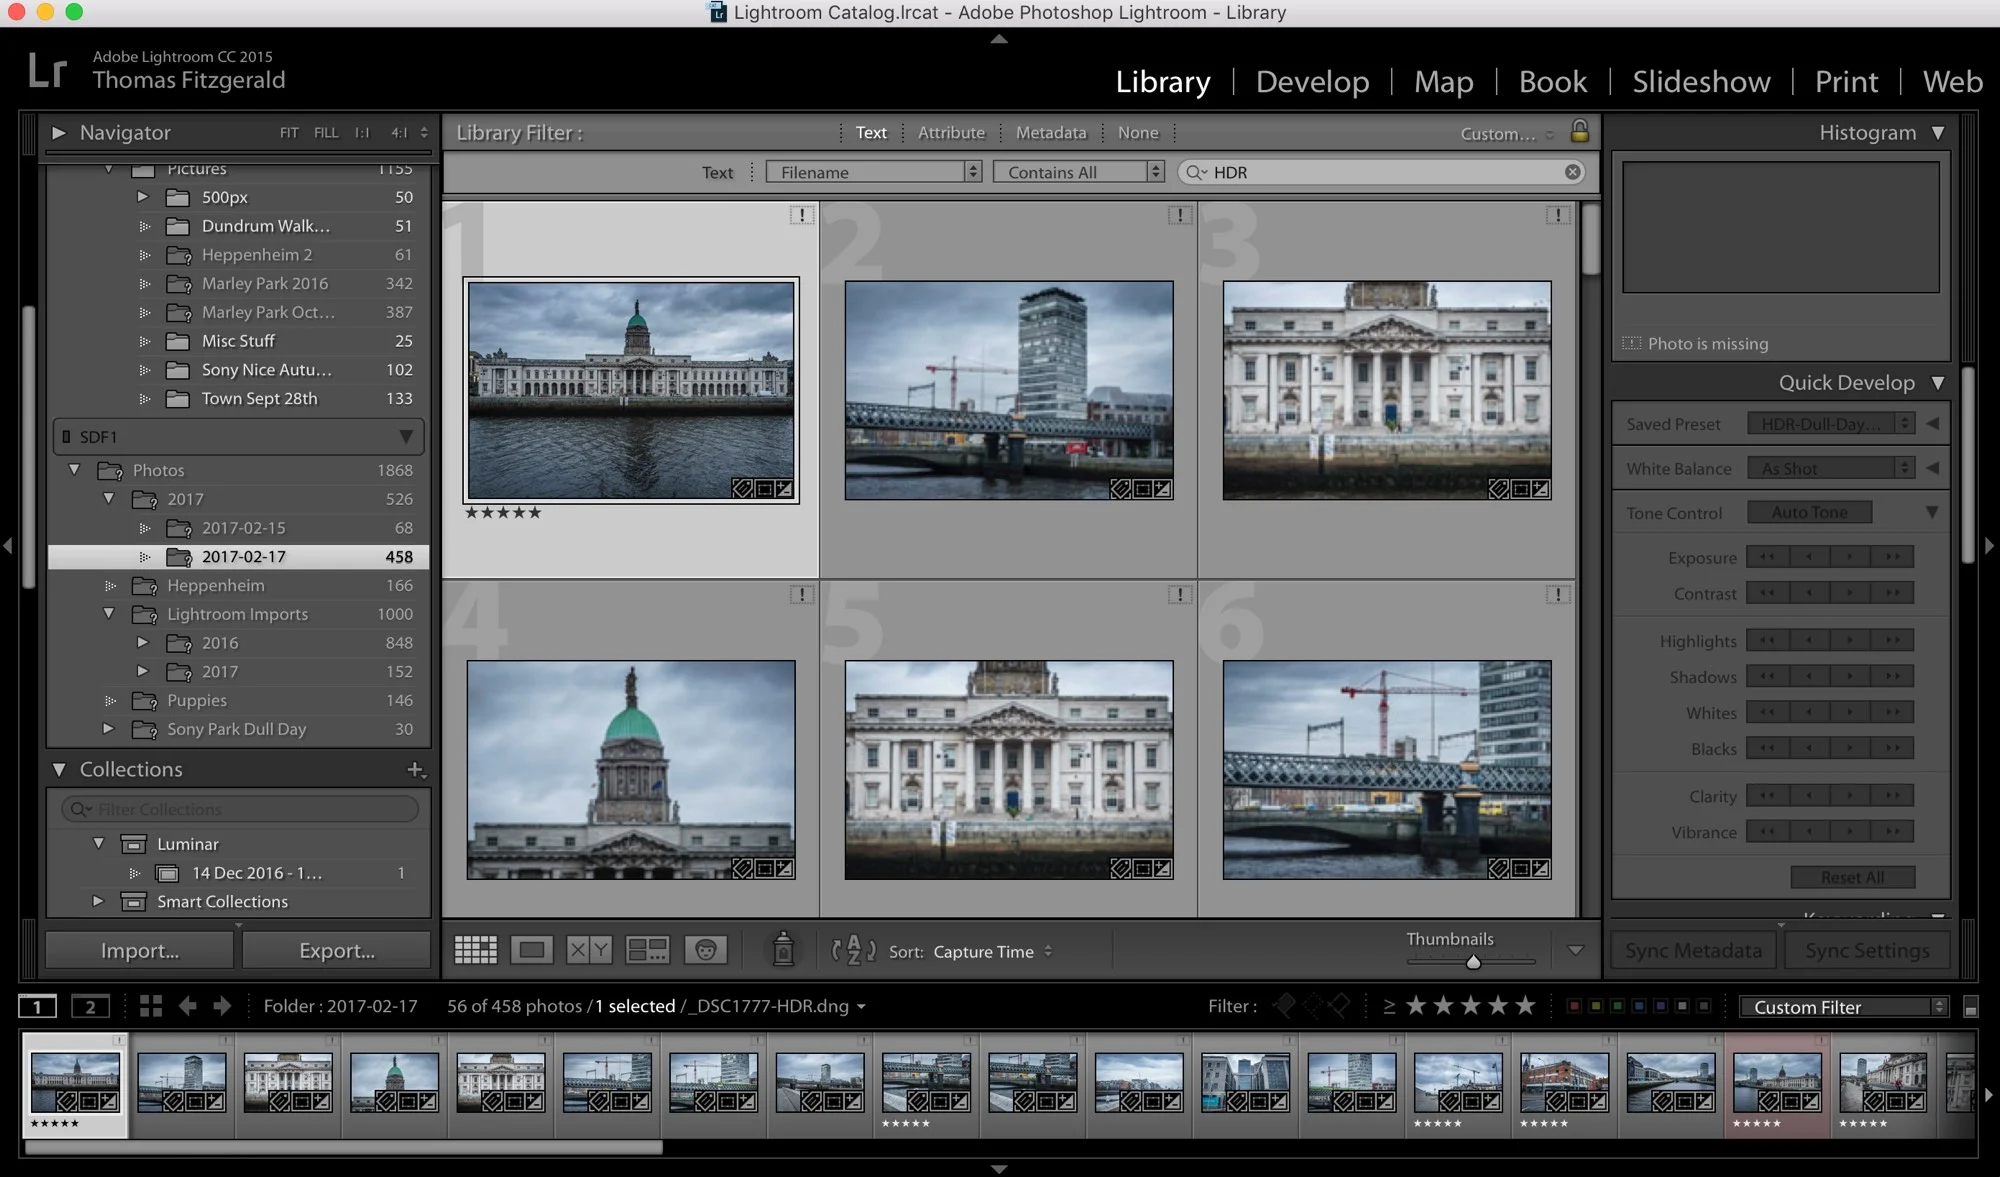
Once processed, you can quickly find them by using the filter bar in the library module. There are a few ways to do this. You could search for HDR using the text search option, which is probably the easiest way to go about it. Alternatively, you could use a file type filter to find all the DNG files. Of course this wouldn’t work if you convert to DNG on import.
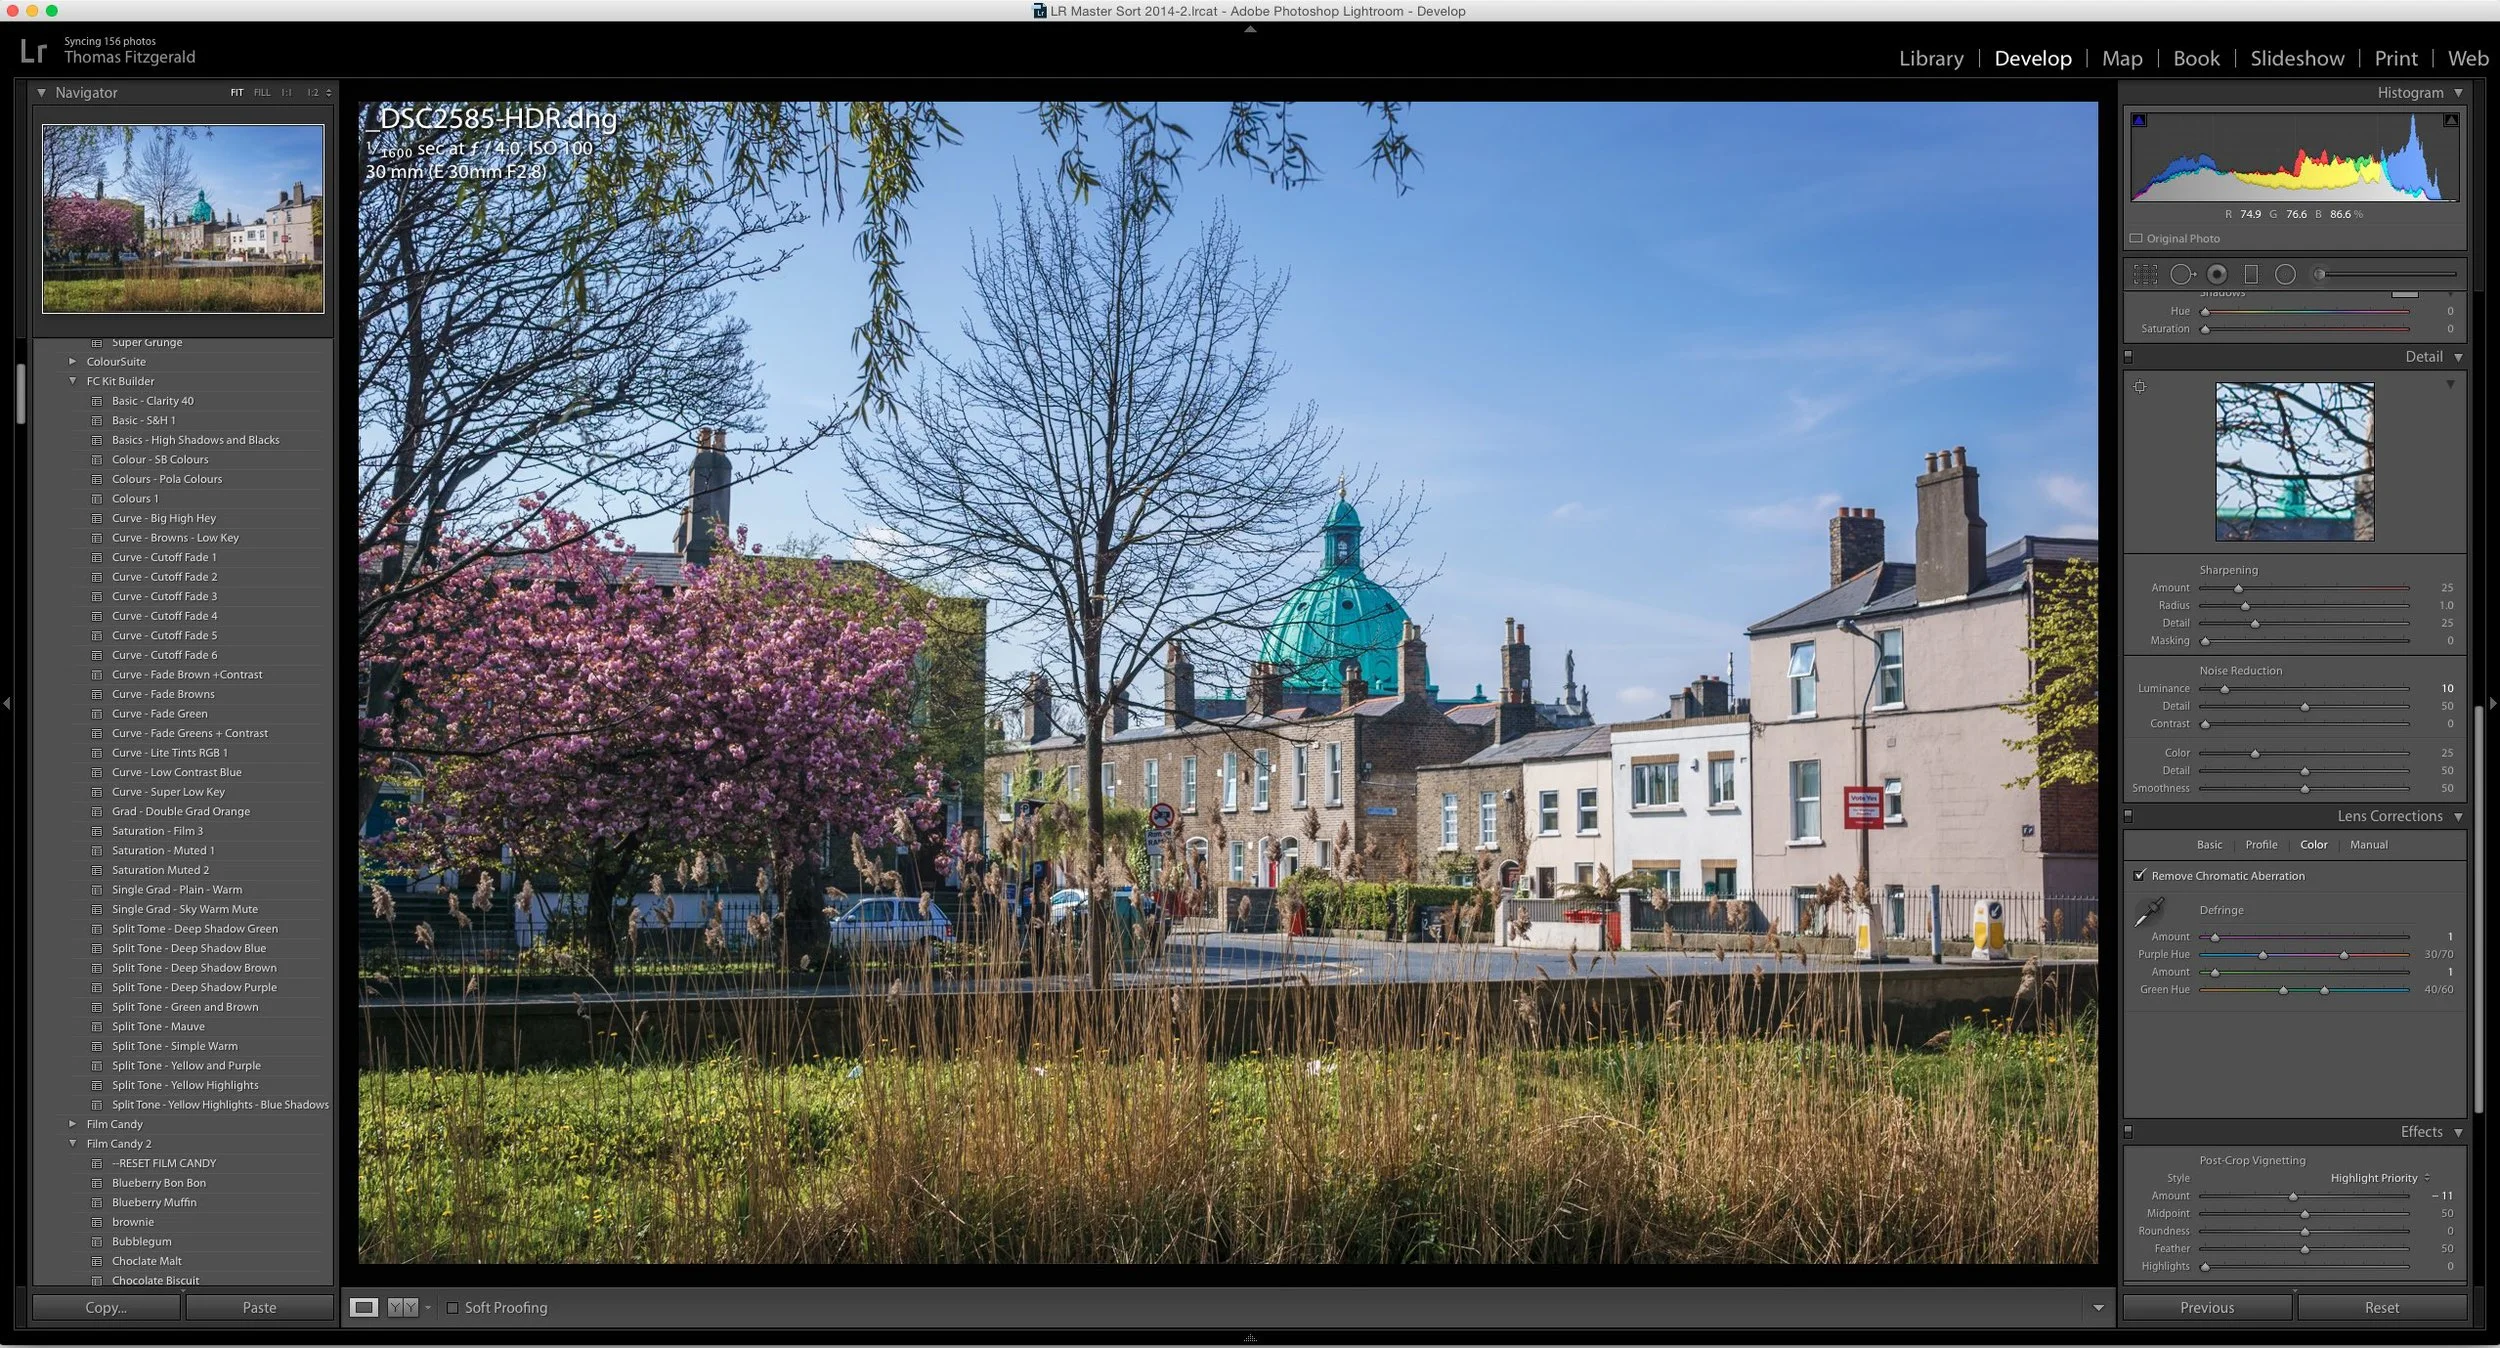
You might notice that the resulting images don’t look like the stereotyped HDR files. This is because sometimes I think HDR gets a bad name. At its simplest form, it’s basically a way to expand the dynamic range of an image. With Lightroom’s merge function, the resulting HDR tone mapping in Lightroom seems more geared towards this kind of approach, giving you a more natural looking HDR file. Had I wanted to go for a more dramatic, or stylised approach, I would have used AuroraHDR or Photomatix.
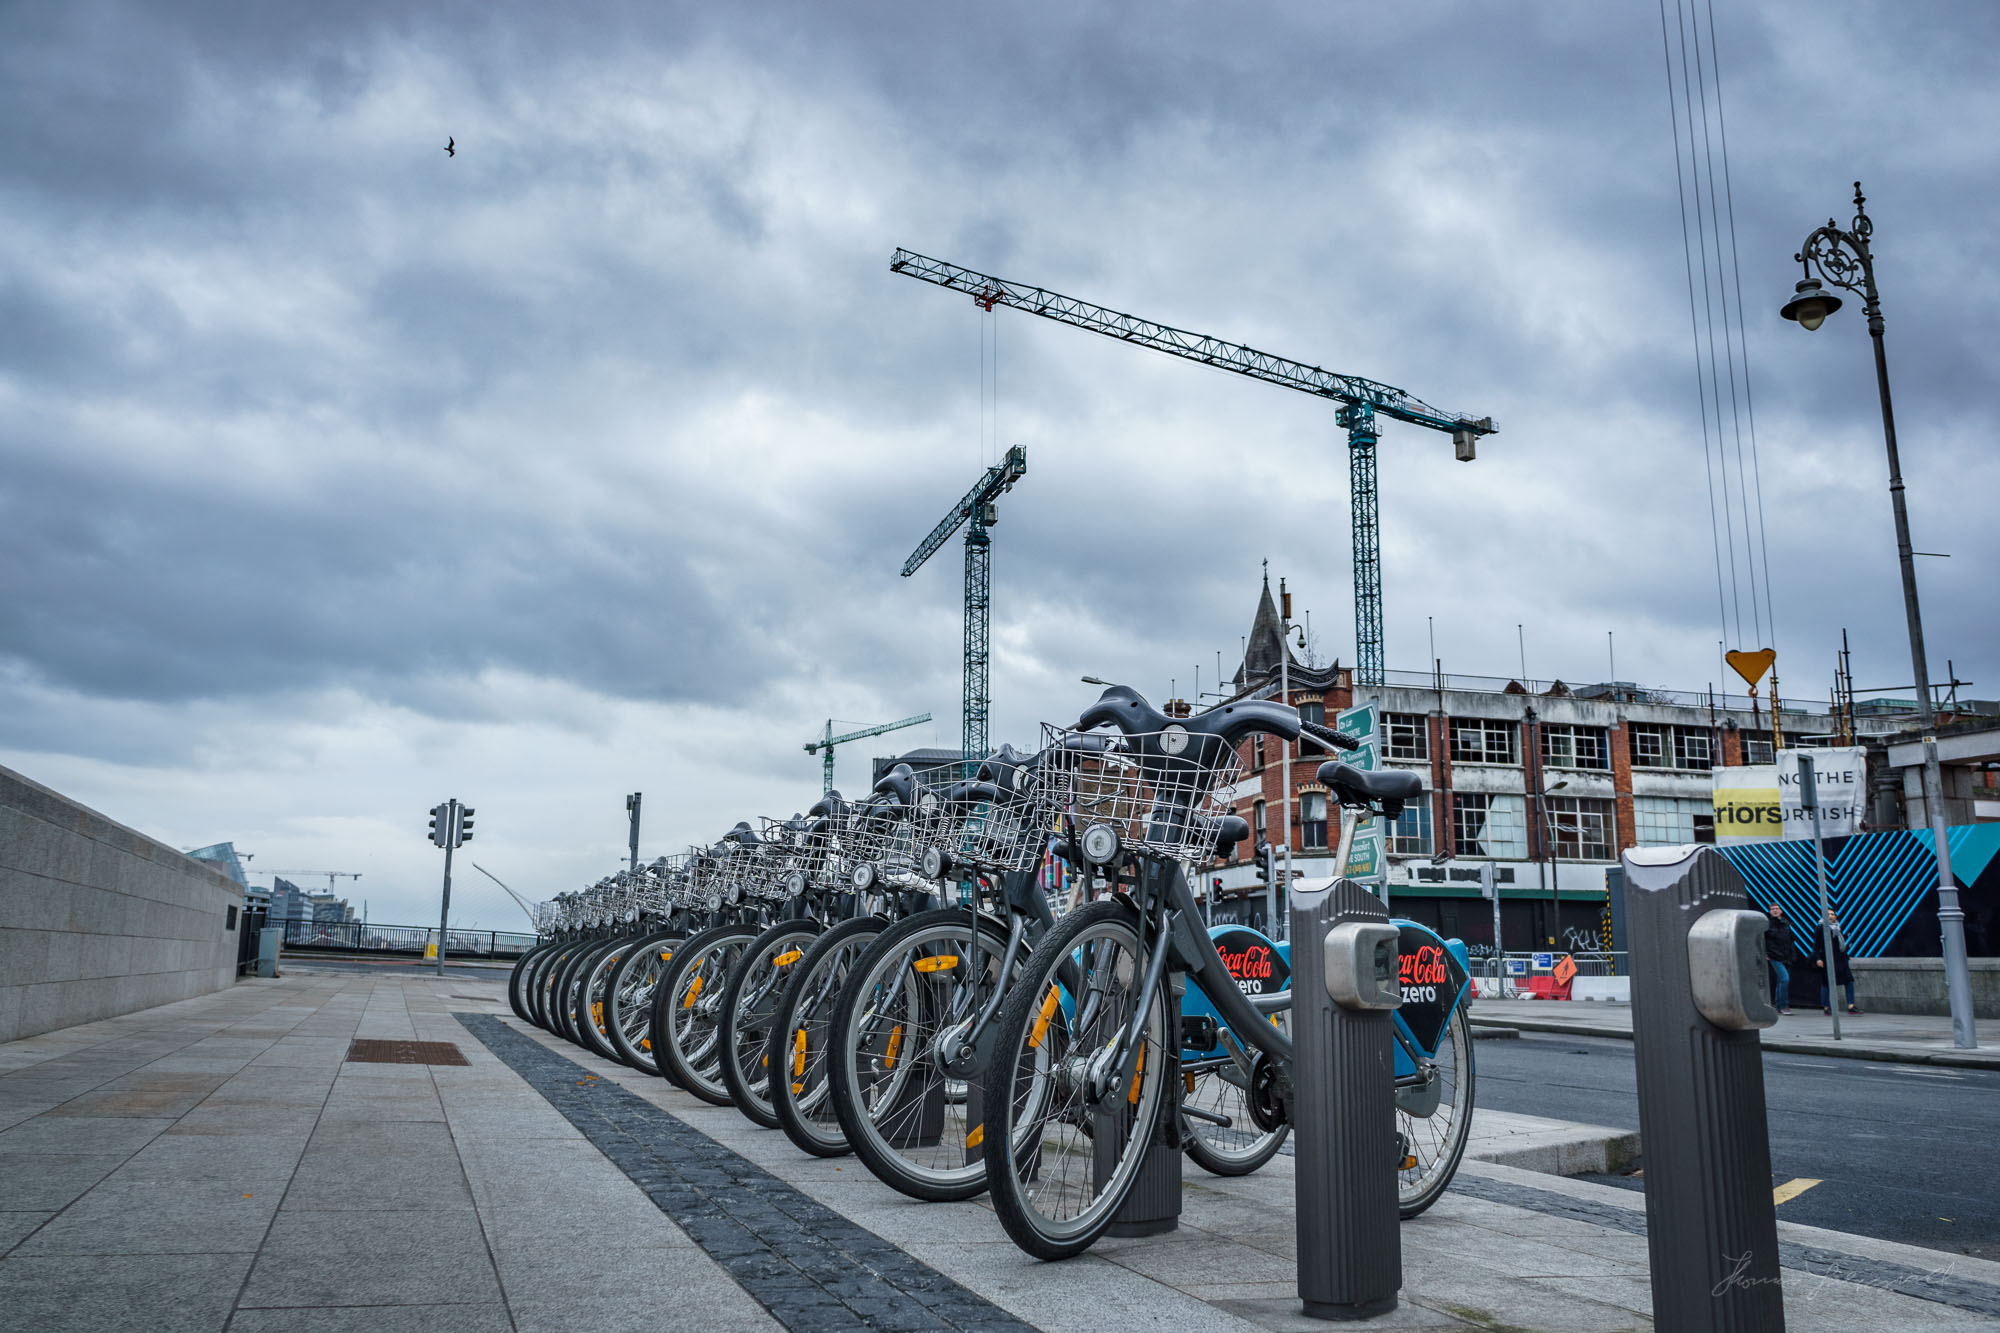
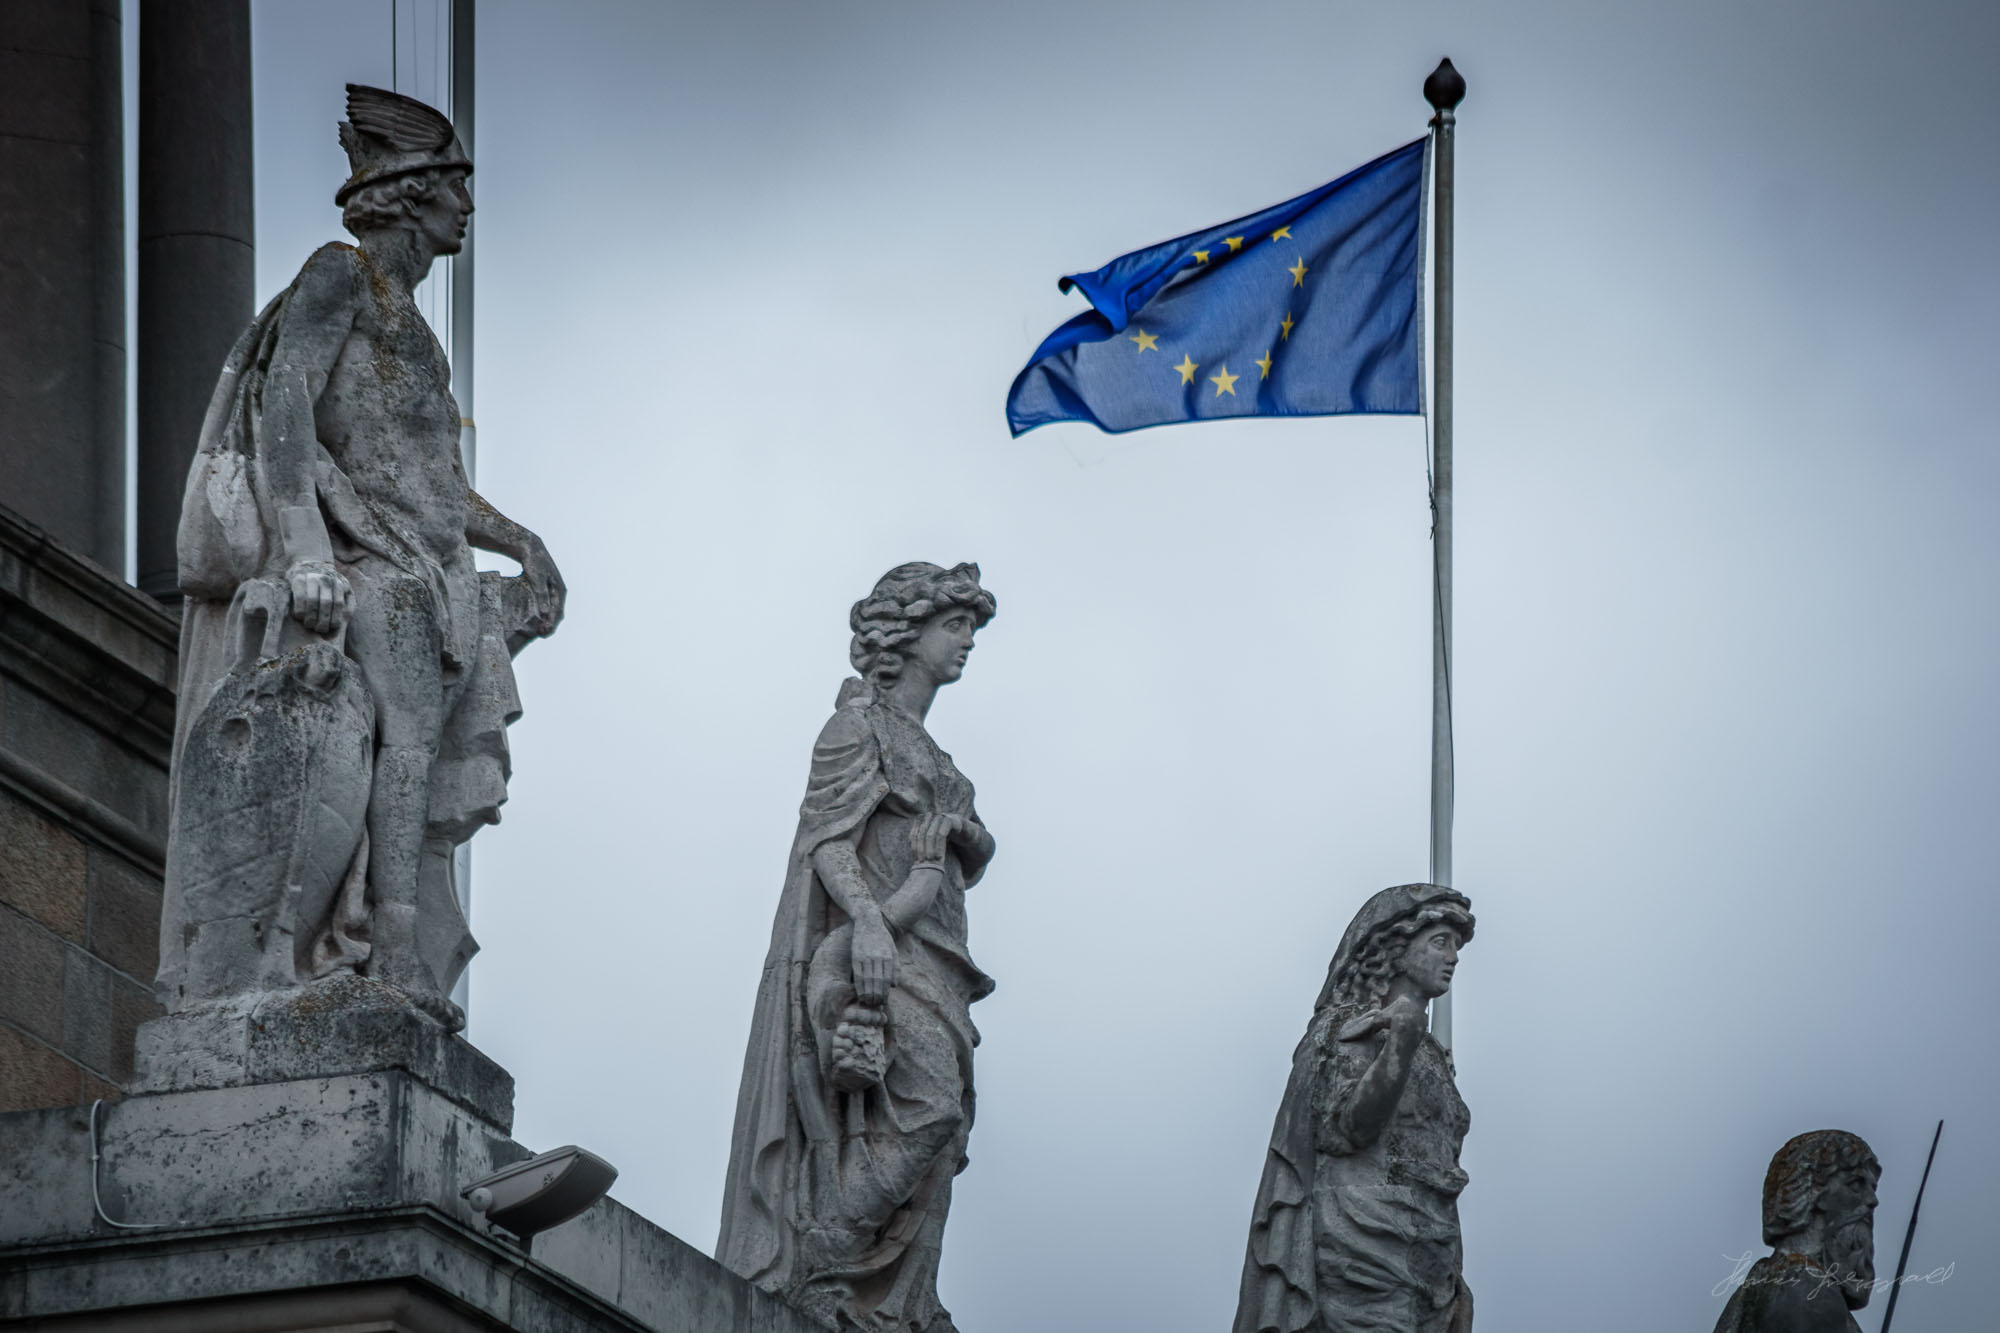
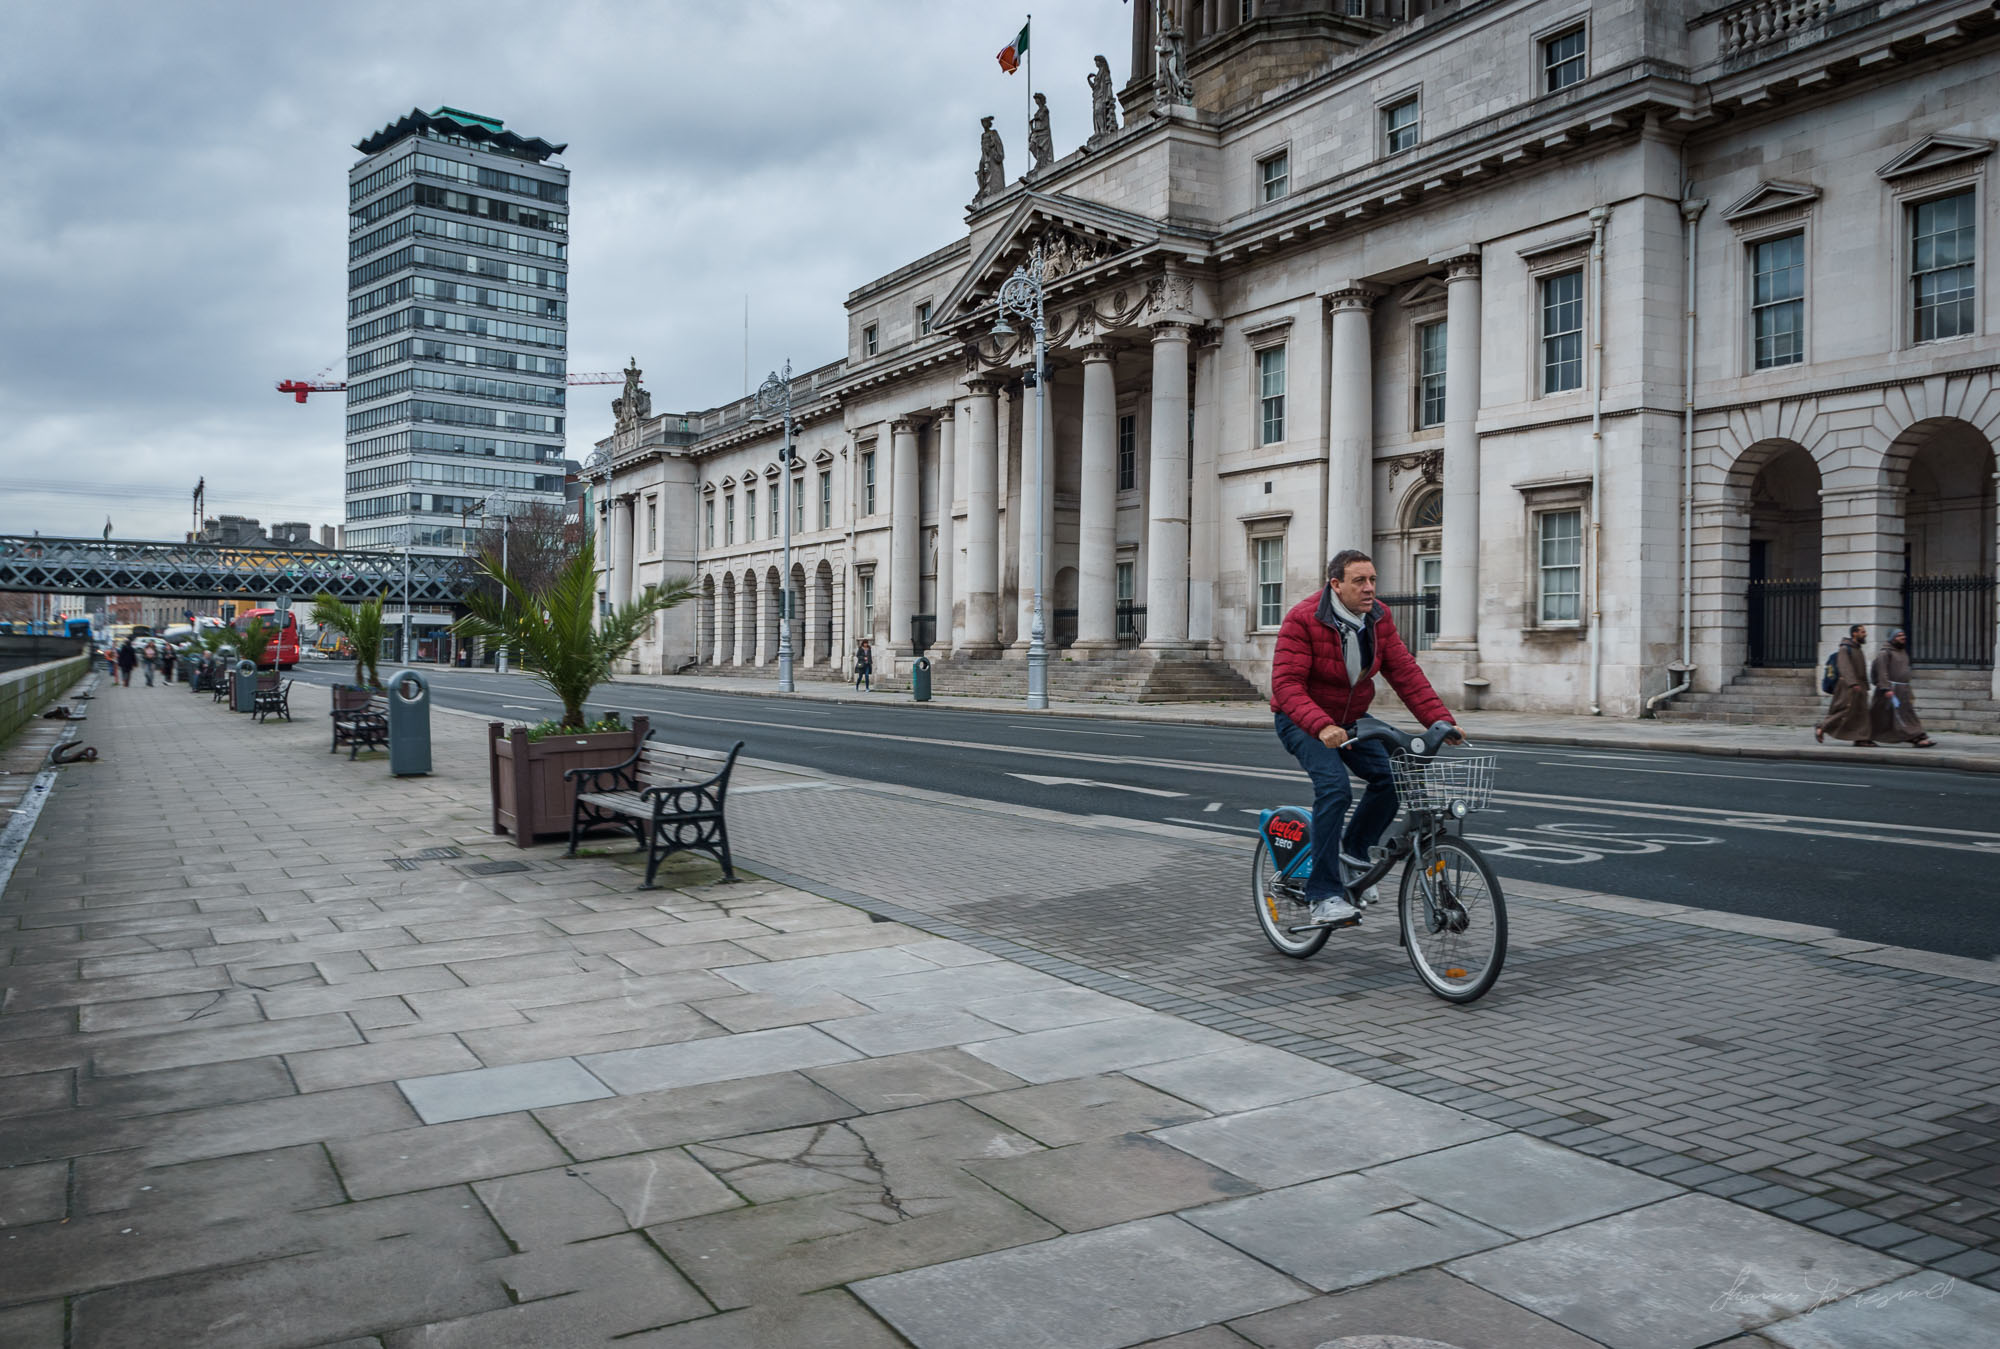
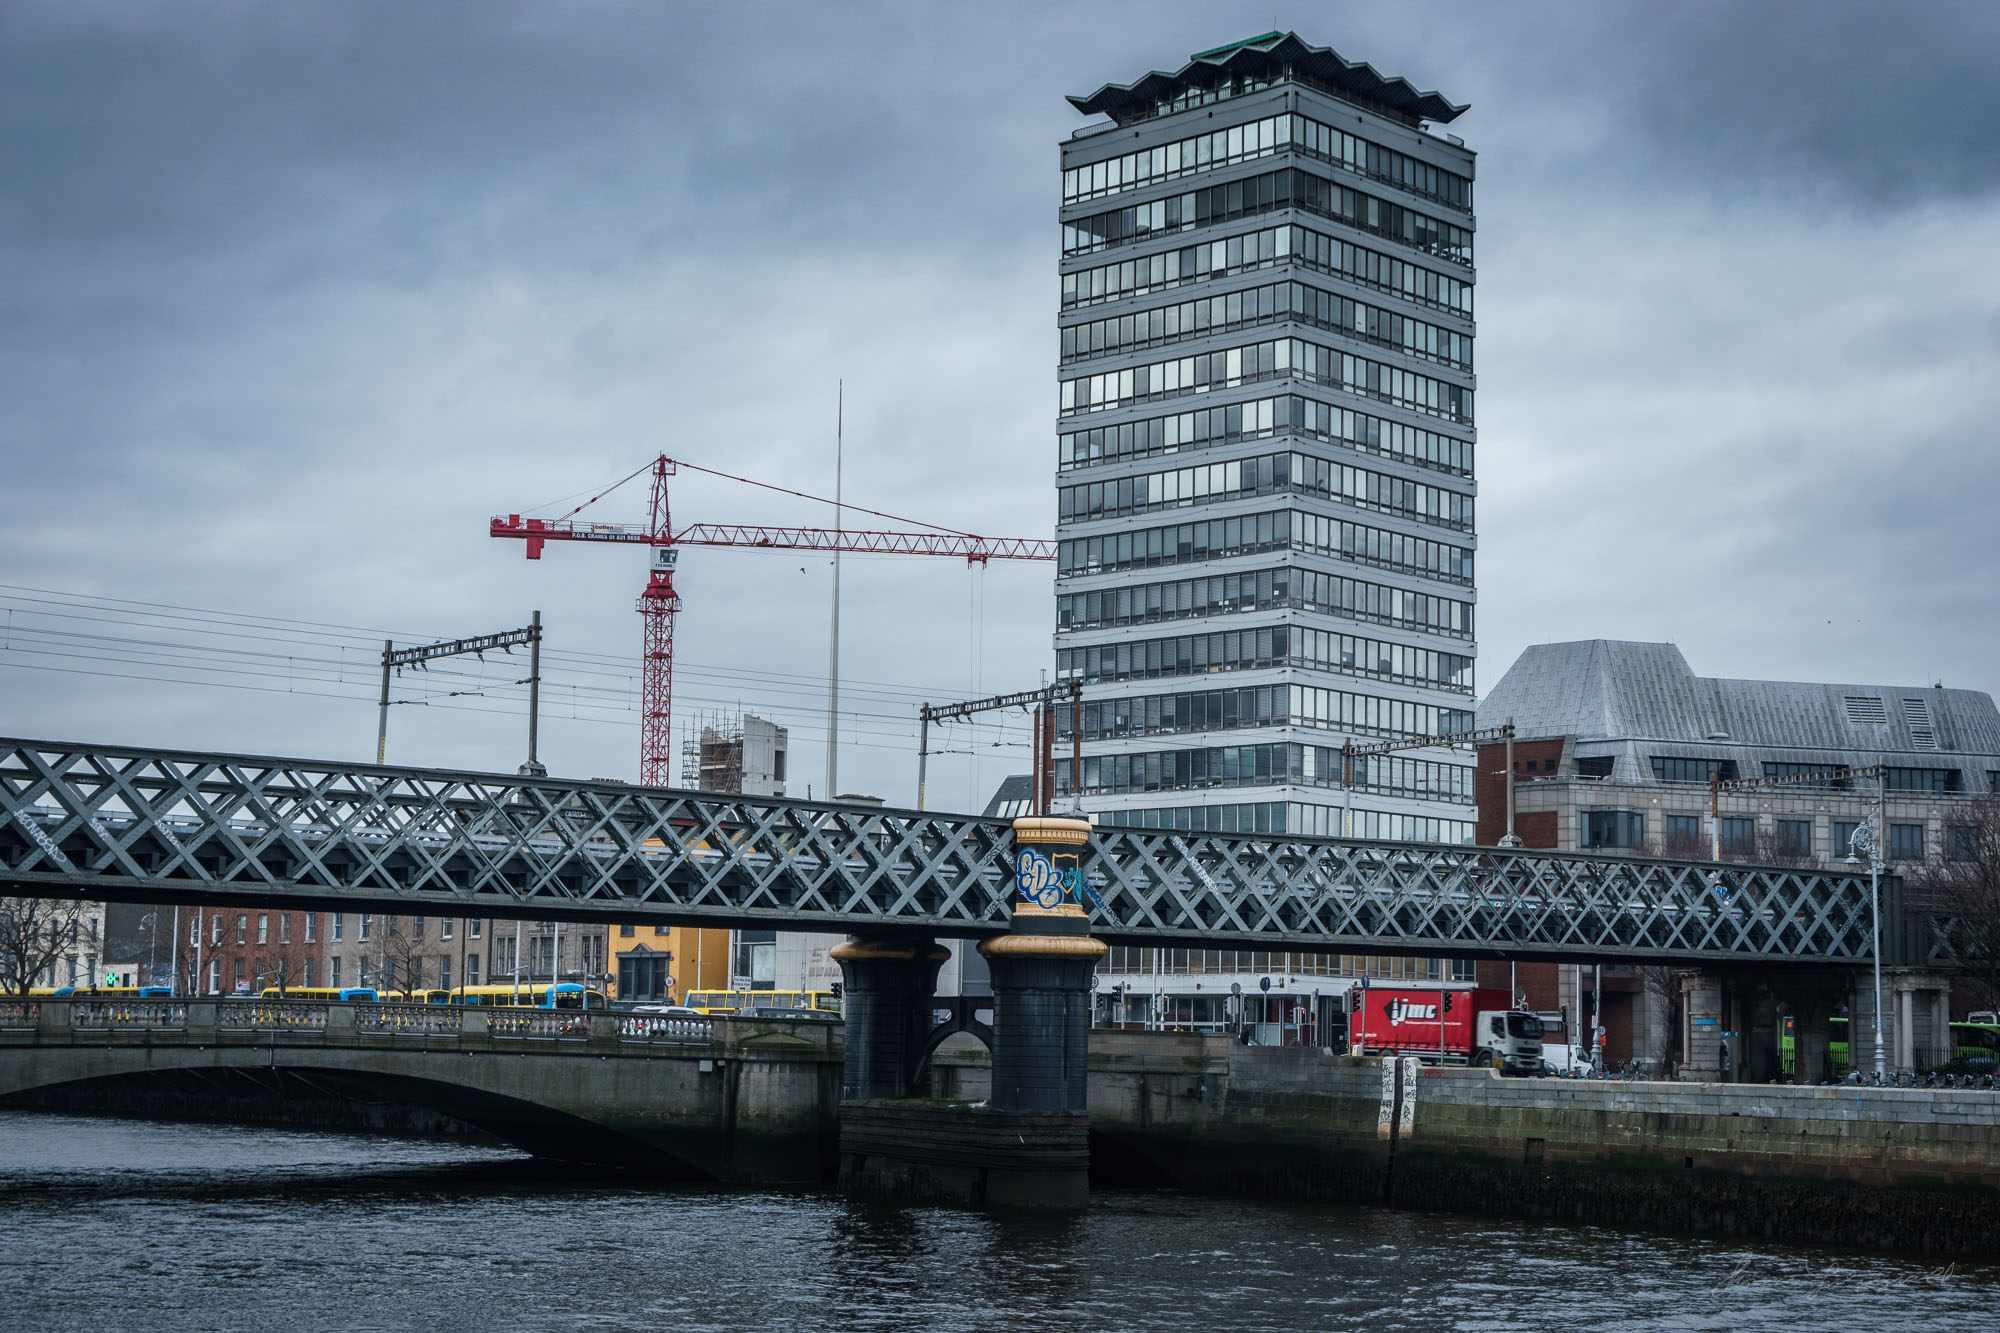
Below is a gallery of some of the resulting images that I created using this technique. The camera I was using this time was the Sony A6000 and most were using just the standard 18-55mm kit lens. A few were taken with an ageing (and kind of crappy) Canon 75-300 via the Metabones smart adaptor. These were all taken hand held. Incidentally, if you’re an A6000 user I do have a section in my A6000 Lightroom Guide on shooting and merging HDR images from the A6000 in Lightroom.


Help Support the Blog
If you like this post then you can see more of my work on Instagram, Twitter and Facebook. I also have a YouTube channel that you might like. You should also check out my other Photography Project: The Streets of Dublin. If you want to get regular updates, and notices of occasional special offers, and discounts from my store, then please sign up for the Newsletter.
All of the work I do here, and the information on this blog is done entirely free of charge and takes quite a bit of work. I want to spend more and more time on this blog, and offer more and more of this kind of information, tips and so on. All of this is funded exclusively through my Digital Download store, so If you like what I'm doing here and want to show support, then you can do so by buying something from my Digital Download Store where I have Lightroom Presets, and e-books available for download.
If you're a Fuji X-Trans shooter and Lightroom user, check out my guide to post processing X-Trans files in Lightroom. I also have a guides for processing X-Trans files in Capture One and Iridient Developer.
For Sony Alpha shooters I have a new guide with tips on how to get the best from processing your A6000 Images in Lightroom.